35
FASTCAM Multi Hardware Manual
For PFV (Standard)
4.
Input the slave camera’s synchronization. Connect the slave camera’s SYNC IN connector
with the master camera’s GENERAL OUT1 connector using a BNC cable. When the
synchronization signal is input to the SYNC IN connector, the SYNC IN LED (yellow) on the
rear of the slave camera illuminates.
5.
Verify that the camera mode is in LIVE mode (the image displayed is passed through from the
camera). If the system is in a mode other than LIVE mode, check "Live" on the camera
control panel.
6.
Select I/O on the left tree from "Camera Option" on the camera control panel.
7.
Set SYNC IN to "ON CAM POS".
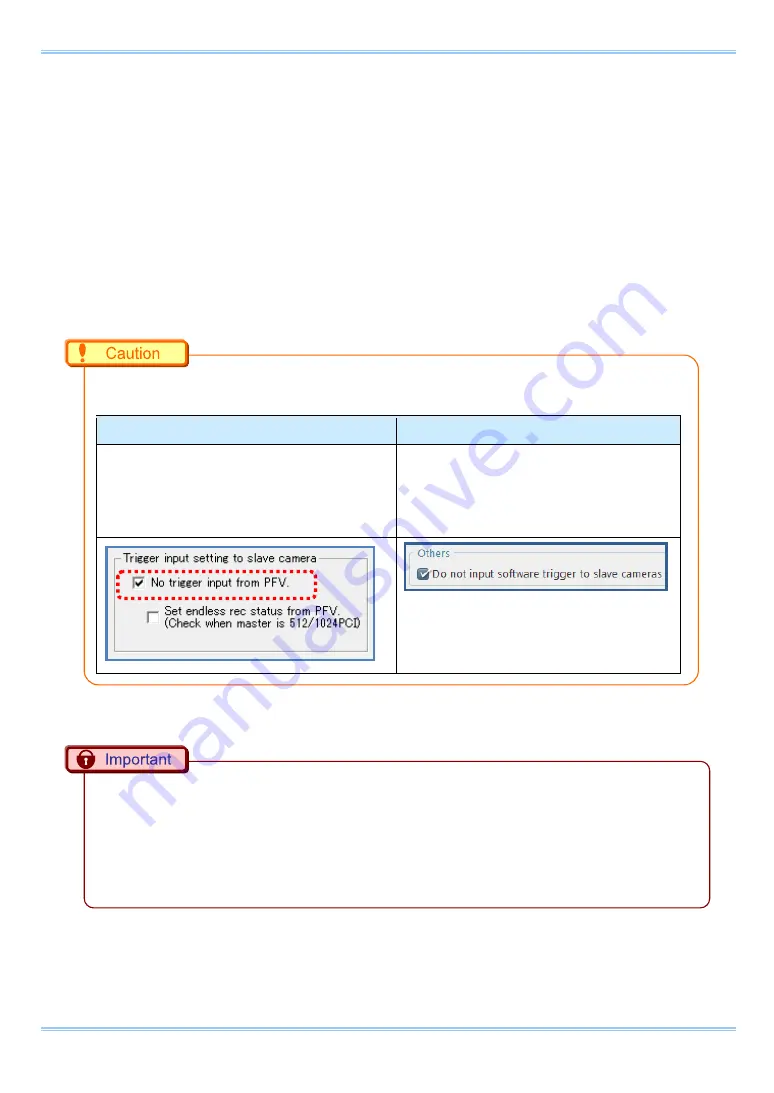
To start r
ecording using the “Record” button, setting from PFV side is also required besides the
above mentioned setting.
PFV3
PFV4
From [Configuration]-[Record Option], under
“Trigger input setting to slave camera”,
check to “No trigger input from PFV”.
From
[MENU]-[Configuration]-[Trigger]-[Others],
check to “Do not input software trigger to
slave cameras”.
When no synchronization signal is being input, the camera will not operate normally. As detailed in
the procedure, make the settings when the signal is being input.
It is necessary to connect a "Trigger signal" separate from a "Synchronized signal".
Please connect a "Trig TTL OUT" on a master camera and "Trig TTL IN" on any slave cameras, if
you need to operate multiple camera system with a Trigger signal on a master camera.
Summary of Contents for FASTCAM Multi
Page 1: ...F FA AS ST TC CA AM M M Mu ul lt ti i ...
Page 11: ......
Page 14: ...7 1 Contact Information 66 ...
Page 15: ...1 Chapter 1 Overview 1 1 Product Overview and Features ...
Page 40: ...Chapter 3 System Connections 26 ...
Page 66: ...Chapter 4 Functions 52 ...
Page 75: ...61 FASTCAM Multi Hardware Manual 5 2 5 Clearance for Camera Cable Connection mm Minimum 275 ...
Page 76: ...Chapter 5 Product Specification 62 ...
Page 77: ...63 FASTCAM Multi Hardware Manual Chapter 6 Warranty 6 1 About the Warranty ...
Page 79: ...65 FASTCAM Multi Hardware Manual Chapter 7 Contacting Photron 7 1 Contact Information ...


