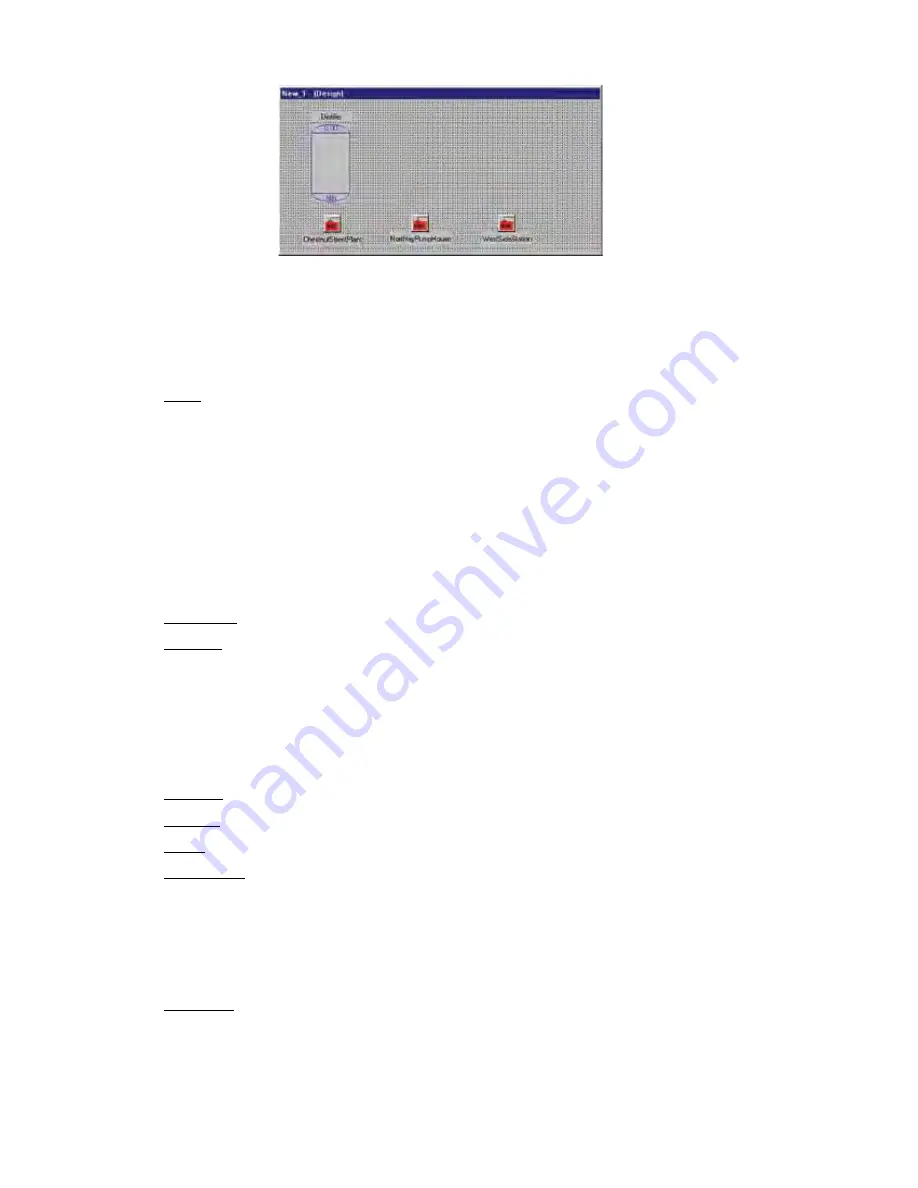
Figure 19: Label attached to vessel object
Labels can be used to customize the screen. You can edit the size, font and color of the text.
You can place DataPointValue labels directly on top of graphics to provide real-time readings.
Label properties are listed below.
Properties (Label/Value)
Align: To align graphic/component to edges of the palette area.
alBottom
: Stretches the component across the bottom of the palette.
alClient
: Fills the palette with the component. Useful for adding a background
graphic.
alLeft
: Stretches the component along the left edge of the palette.
alNone
: No realignment is applied. Note: this will not correct any other previ-
ously applied alignment.
alRight
: Stretches the component along the right edge of the palette.
alTop
: Stretches the component across the top of the palette.
Alignment: Aligns the text in the box: center, left justified, right justified.
Anchors: Sets one or more sides of the graphic/label as a positional anchor with
respect to the edges of the palette.
akBottom
: Anchors the element a fixed distance from the bottom of the palette.
akLeft
: Anchors the element a fixed distance from the left side of the palette.
akRight
: Anchors the element a fixed distance from the right side of the palette.
akTop
: Anchors the element a fixed distance from the top of the palette.
Autosize: Automatically sizes the background box to the size of the text.
Caption (Value): Name or text assigned to graphic.
Color: Sets the background color of the text box.
Constraints: Limits the maximum and minimum size of the label/graphic.
MaxHeight
: Sets the maximum height. (0 disables this property)
MaxWidth
: Sets the maximum width. (0 disables this property)
MinHeight
: Sets the minimum height. (0 disables this property)
MinWidth
: Sets the minimum width. (0 disables this property)
Datapoint: Assigns the component to an I/O point within a SCADA unit. Reveal
the sub-properties by clicking the white box next to the word
Datapoint.
Select a
SCADA unit first, then select the datapoint.
Datapoint: Enter the datapoint UAF or click in the
Datapoint
box above and then
click the button at the end of the box to display the Datapoint selection form.
14-14
SCADA 3000 User’s Manual
Summary of Contents for Sensaphone SCADA 3000
Page 1: ...Sensaphone SCADA 3000 User s Manual Version 2 34...
Page 6: ...vi SCADA 3000 User s Manual...
Page 10: ...x SCADA 3000 User s Manual...
Page 30: ...1 6 SCADA 3000 User s Manual...
Page 48: ...4 6 SCADA 3000 User s Manual...
Page 70: ...9 8 SCADA 3000 User s Manual...
Page 122: ...12 8 SCADA 3000 User s Manual...
Page 190: ...15 30 SCADA 3000 User s Manual...
Page 211: ...lead 1 lag 0 else lead 0 lag 1 16 21 Chapter 16 Programming in C...
Page 212: ...16 22 SCADA 3000 User s Manual...
Page 236: ...21 8 SCADA 3000 User s Manual...
Page 248: ...22 12 SCADA 3000 User s Manual...
Page 258: ...23 10 SCADA 3000 User s Manual...
Page 274: ...25 8 SCADA 3000 User s Manual...
Page 288: ...27 8 SCADA 3000 User s Manual...
Page 294: ...28 6 SCADA 3000 User s Manual...
Page 296: ...A 2 SCADA 3000 User s Manual...
Page 302: ...D 2 SCADA 3000 User s Manual...
Page 318: ...I 2 SCADA 3000 User s Manual...
Page 320: ...J 2 SCADA 3000 User s Manual...
Page 322: ...K 2 SCADA 3000 User s Manual...
Page 335: ...Test Log...
Page 336: ......


