Removing Data Points
To remove data points from the LCD, click on the point you wish to remove from the list
of Selected Data Points from the box on the right. Next, click on the
Remove from List
but-
ton identified by the arrow pointing to the left, located between the boxes. To remove all of
the Selected Data Points from the list, click on the
Remove All
button, located at the bottom
between the two boxes.
Grouping Data Points
The selected data points will be displayed four at a time. This means that the first four points
in the list will be displayed together, followed by the next four points, etc... The selected data
points can be rearranged so that they are grouped in an orderly fashion. The up/down arrows
on the far right of the form provide the ability to move data points up and down in the list. To
rearrange the Selected Data Points, highlight the data point you would like to move by click-
ing on it, or drag the mouse over a group of data points, then click on one of the arrows on
the right. The interior arrows will move the data points up or down one place and the outside
arrows will move them to the extreme top or bottom of the list. When finished editing the list,
click on the
Commit
button.
NAVIGATING THe DISPLAY USING THe KeYPAD
The SCADA 3000 window displays the various menu selections you choose with the but-
tons below it. The main menu choices—displayed by pressing the MENU button—are DATA
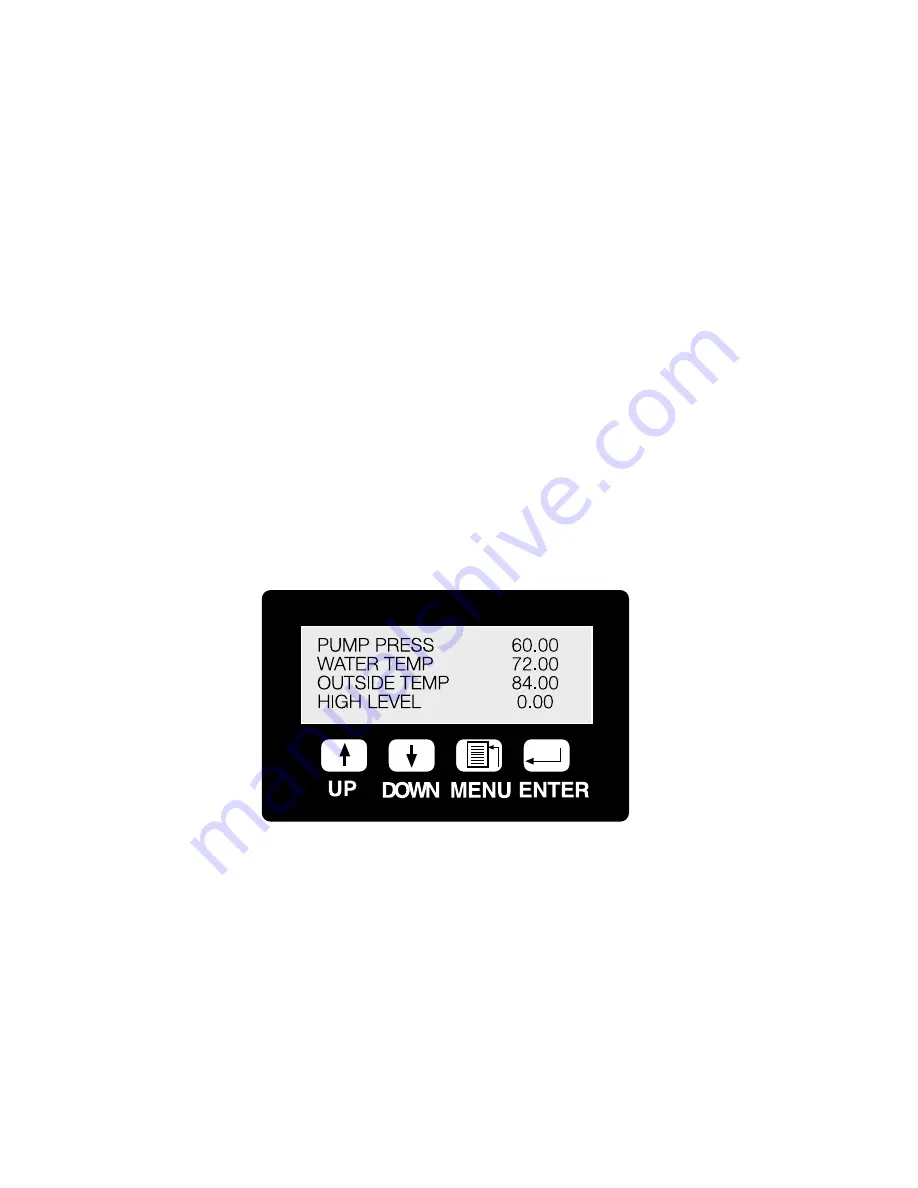
POINTS, ALARMS, SYSTEM STATUS, and RETURN. The figure below shows a typical
display for Input Status.
Figure 2: SCADA Display Window
Scrolling Display
The SCADA 3000 will normally scroll through a programmed list of I/O points and variables
that you select. It defaults to the 16 inputs and 8 outputs on the main board. You can add or
remove items to the scrolling list via the keypad or through the Programming Software. From
the keypad you would use the
Add to Display
and
Remove from Display
functions.
If you want to go back a menu or just want to return to the programmed scrolling values, keep
pressing the MENU button. Each time it is pressed, the display will go back a menu until you
reach the main menu. The last item in the main menu is RETURN. Selecting this option will
return the display to its normal scrolling routine.
Use the Up/Down arrows to select between ADD, REMOVE, and DISPLAY FROZEN. To
Add or Remove, press the ENTER key while the corresponding message is shown. To freeze
13-2
SCADA 3000 User’s Manual
Summary of Contents for Sensaphone SCADA 3000
Page 1: ...Sensaphone SCADA 3000 User s Manual Version 2 34...
Page 6: ...vi SCADA 3000 User s Manual...
Page 10: ...x SCADA 3000 User s Manual...
Page 30: ...1 6 SCADA 3000 User s Manual...
Page 48: ...4 6 SCADA 3000 User s Manual...
Page 70: ...9 8 SCADA 3000 User s Manual...
Page 122: ...12 8 SCADA 3000 User s Manual...
Page 190: ...15 30 SCADA 3000 User s Manual...
Page 211: ...lead 1 lag 0 else lead 0 lag 1 16 21 Chapter 16 Programming in C...
Page 212: ...16 22 SCADA 3000 User s Manual...
Page 236: ...21 8 SCADA 3000 User s Manual...
Page 248: ...22 12 SCADA 3000 User s Manual...
Page 258: ...23 10 SCADA 3000 User s Manual...
Page 274: ...25 8 SCADA 3000 User s Manual...
Page 288: ...27 8 SCADA 3000 User s Manual...
Page 294: ...28 6 SCADA 3000 User s Manual...
Page 296: ...A 2 SCADA 3000 User s Manual...
Page 302: ...D 2 SCADA 3000 User s Manual...
Page 318: ...I 2 SCADA 3000 User s Manual...
Page 320: ...J 2 SCADA 3000 User s Manual...
Page 322: ...K 2 SCADA 3000 User s Manual...
Page 335: ...Test Log...
Page 336: ......


