


Maintenance and troubleshooting
108716_en_01
PHOENIX CONTACT
5.3
Cleaning and replacing the pressure roller
Impurities on the pressure roller can impair the printing and material transport performance.
Poor quality printing may result if the pressure roller is damaged or worn. In this case, you
must replace the pressure roller.
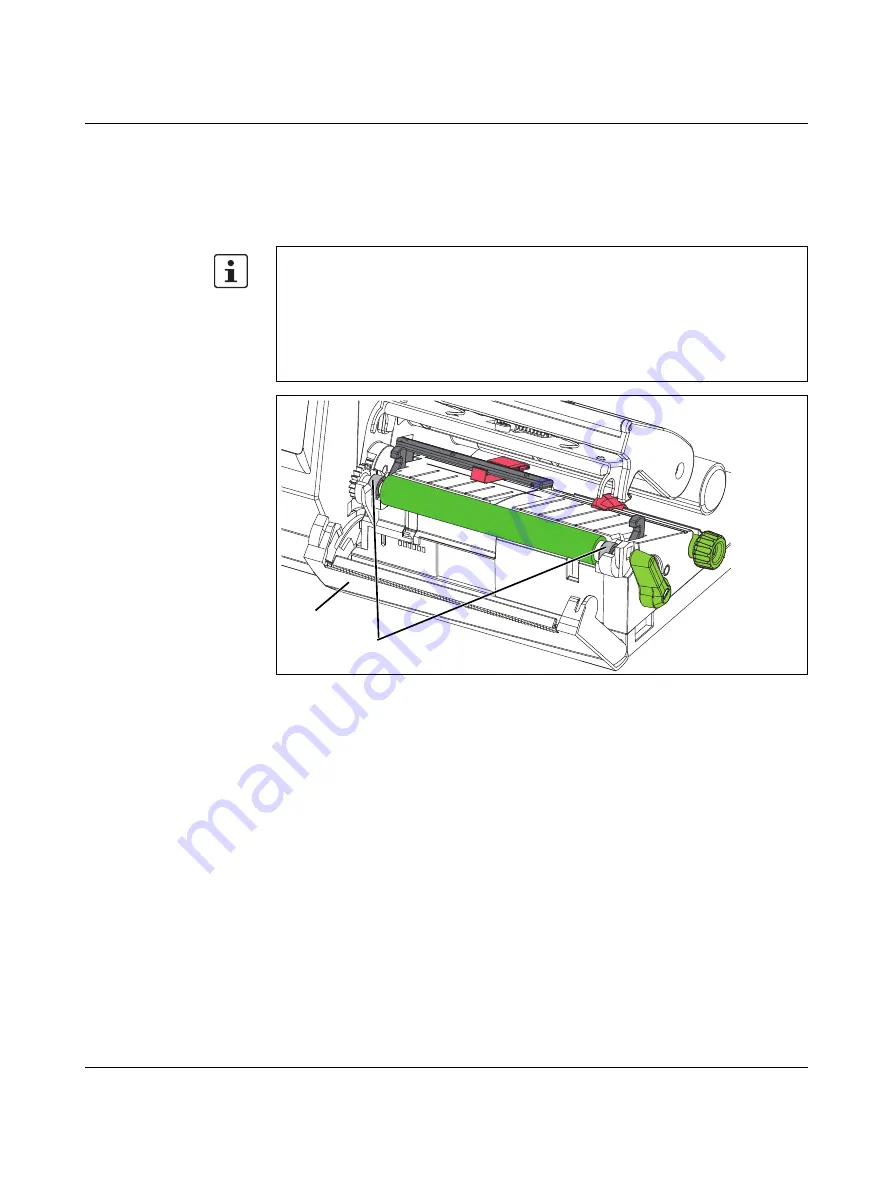
Figure 5-2
Pressure roller
Removing and installing
the pressure roller
•
If a cutter or perforator is installed, remove it.
•
To lift the printhead, turn the green lever counterclockwise.
•
Remove the material and the ink ribbon from the printer.
•
Flip open the panel (1) with the tear-off plate.
•
Lift the pressure roller out of the two holders (2). To do so, first strongly pull up the side
with the gear.
•
Remove the pressure roller.
•
Clean the pressure roller using a roller cleaner, or replace it. Do not use any sharp ob-
jects to clean the pressure roller.
•
Push the pressure roller with bearings into the holders until it snaps into place.
•
Flip in the panel.
Large amounts of sleeve material being processed may lead to constrictions in the pres-
sure roller. Constrictions over the width of the sleeve material occur. In this area, there
might be dropouts in the printing pf labels. The pressure roller often recovers after approx-
imately 24 hours.
We recommend using separate pressure rollers for sleeve material and for labels.
–
Pressure roller, standard, TRM-PRESSURE ROLLER STANDARD, 0804655
–
Pressure roller for sleeve material, TRM-PRESSURE ROLLER 4-50, 0804656
1
2


