


THERMOMARK ROLL 2.0
PHOENIX CONTACT
108716_en_01
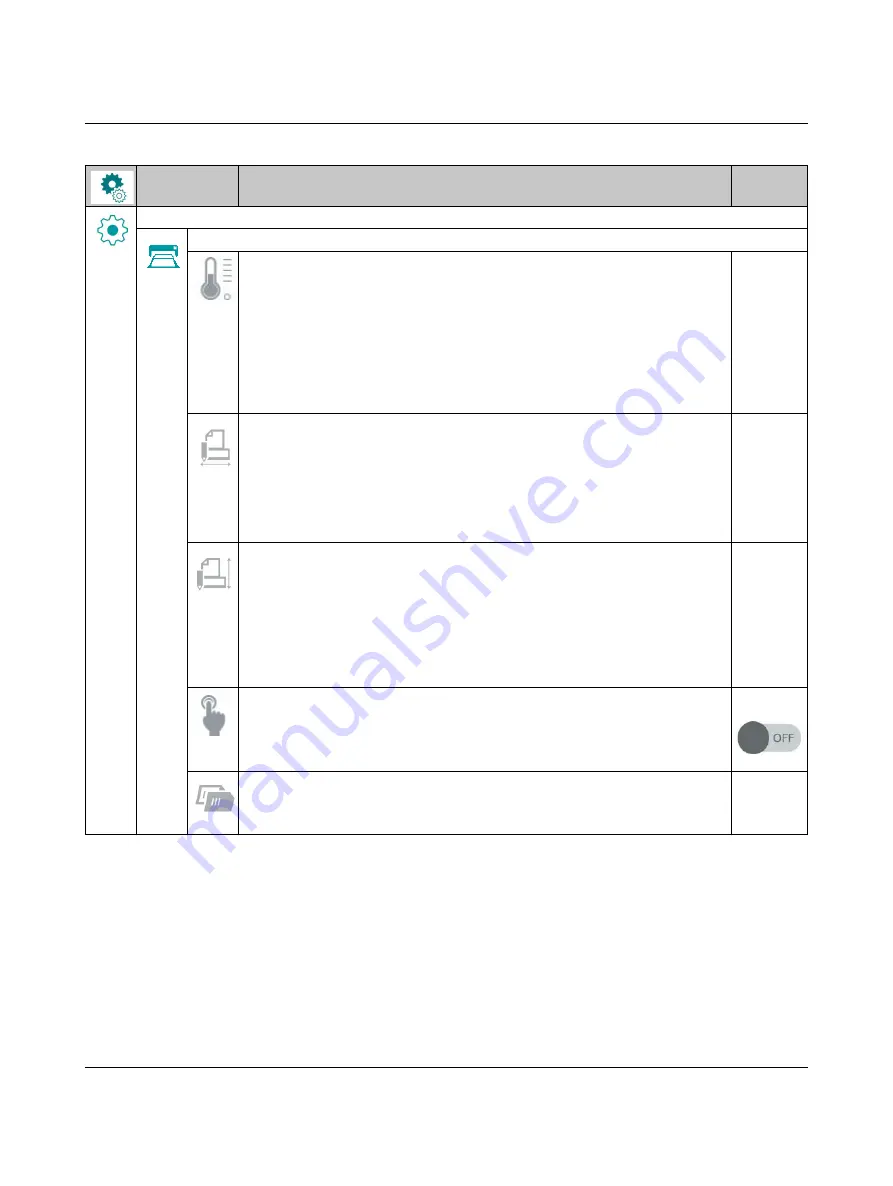
Settings
Changing printing parameters
Setting the heat level
If the printing quality is inadequate, you can change the value. We recommend in-
creasing or reducing the heat level via the marking software first.
–
CLIP PROJECT: at “File, Print setup...”
–
PROJECT complete: at “File, Printer Configurations”
You will find the “Printer parameters” under THERMOMARK ROLL 2.0.
Only change the settings in the printer after this has been done. This will result in
an additional increase or reduction.
0
Moving the print position horizontally
This can also be changed via the marking software.
–
CLIP PROJECT: at “File, Print setup...”
–
PROJECT complete: at “File, Printer Configurations”
You will find the “Printer parameters” under THERMOMARK ROLL 2.0.
The values from the printer and the marking software are added.
0.0 mm
Moving the print position vertically
This can also be changed via the marking software.
–
CLIP PROJECT: at “File, Print setup...”
–
PROJECT complete: at “File, Printer Configurations”
You will find the “Printer parameters” under THERMOMARK ROLL 2.0.
The values from the printer and the marking software are added. A negative value
is only possible via the printer.
0.0 mm
Printing on request
Off
Off:
All labels of a print job are printed without interruption.
On:
The next label will only be printed when the corresponding button is
pressed on the touch screen.
Repeating the print by pressing the button
There are several setting options. You can repeat the same print job or query the
data again before.
Edit
Table 3-1
Menu structure
Menu
Setting option [...]
Default


