Page 8
WiNG iNstaLLatiON
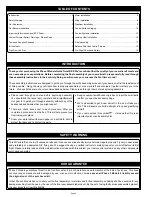
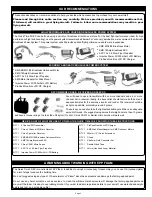
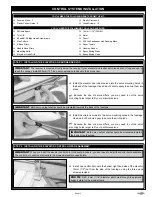
yOu'LL Need tHe fOLLOWiNG Parts frOM tHe Kit:
yOu'LL Need tHe fOLLOWiNG tOOLs aNd suPPLies:
steP 1: aLiGNiNG tHe WiNG
q
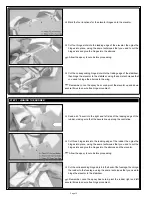
Set the ailerons aside for now.
q
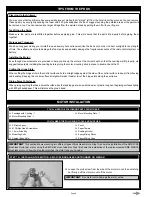
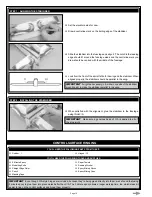
Carefully draw a centreline mark on the top of the wing, at the leading
edge, using the centreline joint on the bottom of the wing as a guide.
q
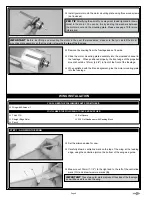
Remove the cowling from the fuselage and set it aside.
q
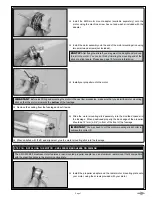
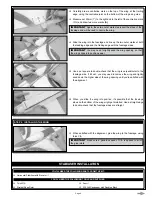
Slide the motor mounting plate assembly into the moulded channel in
the fuselage. When positioned properly, the front edge of the propeller
mount should be 2mm (4-3/4") in front of the front of the fuselage.
q
When satisfied with the fit and alignment, glue the motor mounting plate
into the fuselage.
IMPORTANT
Before test-fitting and mounting the motor in the next few procedures, make sure that you install the motor
mounting plate assembly so that the motor is towards the
top
of the fuselage.
q
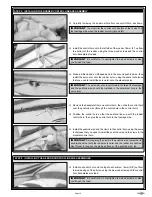
Install your motor onto the motor mounting plate, using three wood screws
(not included).
PRO TIP
After flying the aircraft, you may want to add right and/or down
thrust to the motor. You can do this by adding thin washers between
the motor mount and the mounting plate. Please see page 9 for more
information.
q
Thick C/A
q
Straight Edge Ruler
q
Pencil
q
Wing with Ailerons -
q
Set Square
q
220 Grit Sandpaper with Sanding Block
q
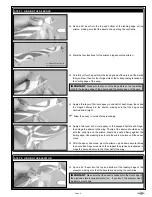
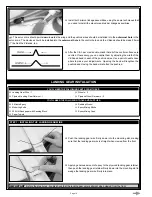
Measure out 32mm (-/4") to the right and to the left of the centreline
mark (C/L) and draw two more marks
(a)
.
IMPORTANT
These two outer marks represent the sides of the fuselage
and will be used to centre the wing.


