Page
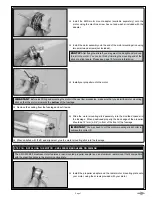
steP 1: HiNGiNG tHe aiLerONs
q
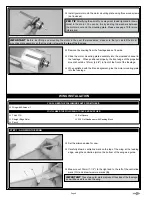
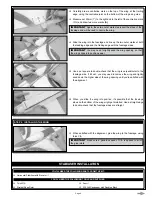
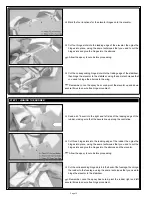
Sand a 45º bevel into the top and bottom of the leading edge of one
aileron, making sure that the bevels line up along the centreline.
q
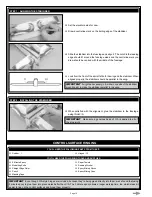
Mark the four locations for the aileron hinges onto the aileron.
q
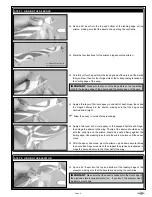
Apply a thin layer of 5 minute epoxy to one half of each hinge, then slide
the hinges halfway into the aileron, making sure that the hinges are
centred and straight.
+
Allow the epoxy to cure before proceeding.
q
Apply a thin layer of 5 minute epoxy to the exposed half of each hinge,
then hinge the aileron to the wing. The tip of the aileron should be even
with the wing tip and the aileron should be pushed firmly against the
trailing edge. Use masking tape to hold the aileron in place until the epoxy
cures.
q
After the epoxy has cured, pivot the aileron up and down several times
to ensure free hinge movement, then repeat the previous procedures to
hinge the second aileron to the other half of the wing.
steP 2: HiNGiNG tHe eLevatOr
q
Carefully cut four hinge slots in the leading edge of the aileron at the marks
that you drew, then cut four hinge slots at the corresponding locations in
the trailing edge of the wing.
IMPORTANT
Make sure that you cut the hinge slots on the centreline
of both the leading edge of the aileron and the trailing edge of the wing.
q
Sand a 45º bevel into the top and bottom of the leading edge of the
elevator, making sure that the bevels line up along the centreline.
IMPORTANT
Make sure that the bevel is sanded into the front edge of
the plywood elevator support plate, too. If you don't, the elevator won't
be able to pivot down.


