Page 6
tiPs frOM tHe PrOs
Cleaning up the airframe:
You may notice that the airframe has some small pieces of melted foam "strings" left from the hot-wire cutting process. You can remove
these quickly by very lightly sanding the foam with 220 grit sandpaper. We don't suggest sanding the painted areas or the paint will
be removed, too. You can remove any larger strings from the painted areas by pulling them off with your fingers.
test-fitting the Parts:
Make sure the parts are test-fitted together before applying glue. This will ensure that the parts fit properly before gluing them
together.
storage and transport:
We do not suggest storing your aircraft in an extremely hot environment (like the back of your car in direct sunlight) for any length
of time. The extreme heat could damage the foam parts and possibly damage the fragile components of the radio control system or
battery.
installing the Motor:
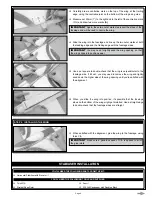
Even though measurements are provided to help you line up the motor at the correct depth so that the cowling will fit properly, we
suggest temporarily installing the cowling before gluing the motor mounting stick in place to double-check the fit.
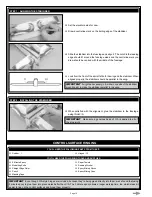
Cutting the Hinge slots:
When cutting the hinge slots in the control surfaces, hold a straight edge against the side of the control surface to keep it from flexing
and bending. Keeping the control surface straight will make it easier to cut the hinge slots along the centreline.
Gluing smooth surfaces:
When gluing anything that has a smooth surface, like the landing gear wire, pushrod wire or plastic, roughen the gluing surfaces lightly
with 220 grit sandpaper. This will improve the glue's bond.
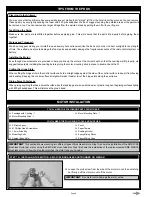
MOtOr iNstaLLatiON
yOu'LL Need tHe fOLLOWiNG Parts frOM tHe Kit:
yOu'LL Need tHe fOLLOWiNG tOOLs aNd suPPLies:
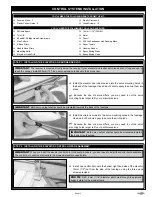
steP 1a: iNstaLLiNG tHe MOtOr - KMs 31/08 BrusHLess OutruNNer Or siMiLar
IMPORTANT
This section shows mounting two different types of brushless motors. Step A shows the installation of the KMS 3/08
brushless Outrunner motor, using the KMS stick mount adapter. Step B shows the installation of the radial-mounted KMS 2208/09
brushless motor. Follow the step that matches the motor type you're using.
q
5 Minute Epoxy
q
# Phillips Head Screwdriver
q
.5mm Allen Key
q
Modelling Knife
q
Straight Edge Ruler
q
Fuselage with Cowling -
q
Motor Mounting Stick -
q
Motor Mounting Plate -
q
Pencil
q
Paper Towels
q
Rubbing Alcohol
q
Epoxy Mixing Sticks
q
Epoxy Mixing Cups
q
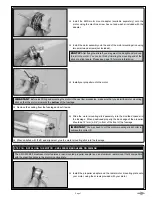
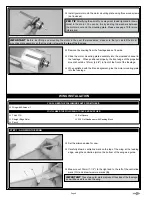
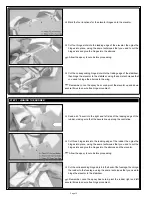
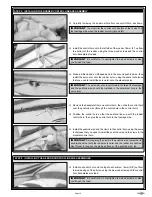
Loosen the grub screw from the side of the motor mount, then carefully,
but firmly, pull the motor mount off the motor.
IMPORTANT
Be careful not to damage the motor wires.


