Page 5
steP 4: iNstaLLiNG tHe aiLerON CONtrOL LiNKaGe asseMBLies
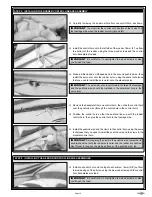
steP 3: iNstaLLiNG tHe rudder CONtrOL LiNKaGe asseMBLy
q
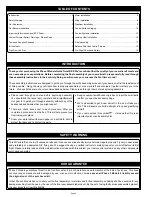
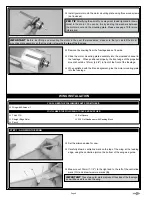
Remove the backplate from one control horn, then slide the control horn
over the pushrod wire (through the centre hole in the control horn).
q
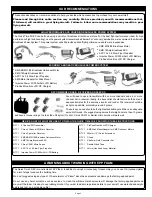
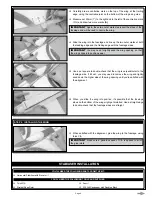
Position the control horn so that the pushrod lines up with the rudder
control horn, then glue the control horn to the fuselage side.
q
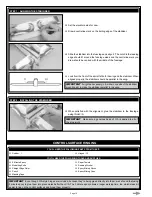
Carefully trim away the innermost hole from one control horn, as shown.
IMPORTANT
You must trim the control horn like this so that it won't hit
the fuselage side when the rudder pivots right and left.
q
Install the control horn onto the left side of the rudder, 76mm (3") up from
the bottom of the rudder, using the three wood screws and the control
horn backplate provided.
IMPORTANT
Be careful not to overtighten the wood screws or else
you'll crush the foam.
q
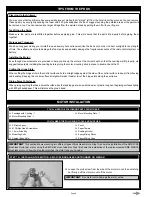
Make a Z-Bend and a V-Shaped bend in the second pushrod wire, then
install the servo arm onto the rudder servo, using the same techniques
that you used to install the servo arm onto the elevator servo.
IMPORTANT
The servo arm should point toward the
top
of the fuselage
and the pushrod wire should be installed in the outermost hole in the
servo arm.
q
Install the pushrod wire and the clevis to the control horn, using the same
techniques that you used to install the pushrod wire and the clevis to the
elevator control horn.
IMPORTANT
Before gluing the clevis to the pushrod wire, remember to
double-check that both the rudder servo arm and the rudder are centred.
Don't forget to roughen the gluing surfaces of the pushrod wire, too.
q
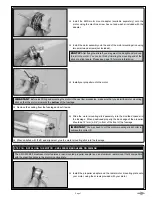
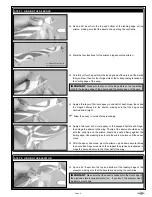
Install one control horn onto the top of each aileron, 6mm (5/8") out from
the inside edge of the aileron, using the six wood screws and the control
horn backplates provided.
IMPORTANT
Be careful not to overtighten the wood screws or else
you'll crush the foam.


