A
Pr
epar
ations
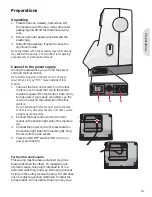
Pack away after sewing
1. Switch the main switch off.
2. Unplug the cord from the wall socket and then
from the machine.
3. Unplug the foot control cord from the machine.
Wind the cord around the foot control for easy
storage.
4. Place all accessories in the accessory tray. Slide
the tray on to the machine around the free arm.
5. Place the foot control in the space above the
free arm.
6. Put on the hard cover.
Free arm
To use the free arm, slide off the accessory tray.
When attached, a hook keeps the accessory tray
locked to the machine. Remove the tray by sliding
it to the left.
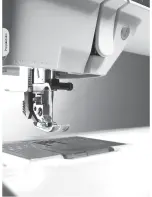
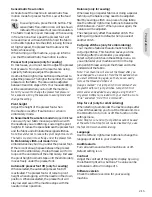
Thread cutter
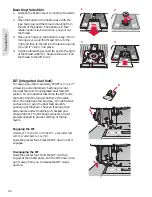
To use the thread cutter, pull the thread from back
to front as shown (A).
Spool pins
Your machine has two spool pins, a main spool
pin and an auxiliary spool pin. The spool pins
are designed for all types of thread. The main
spool pin is adjustable and can be used both in a
horizontal position (the thread reels off the spool)
and a vertical position (the thread spool rotates).
Use the horizontal position for normal threads and
the vertical position for large spools or specialty
threads.
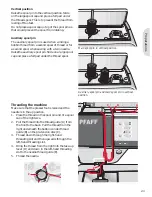
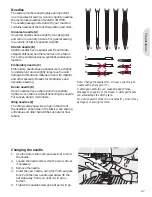
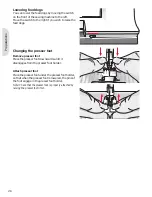
Horizontal position
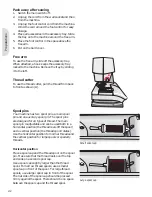
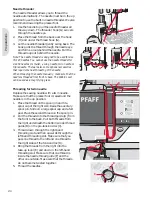
Place a spool cap and the thread spool on the spool
pin. Make sure that the thread reels over the top
and slide on a second spool cap.
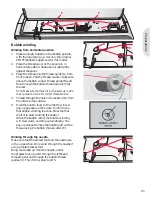
Use a spool cap slightly larger than the thread
spool. For narrow thread spools, use a smaller
spool cap in front of the spool. For large thread
spools, use a larger spool cap in front of the spool.
The
Á
at side of the spool cap should be pressed
À
rmly against the spool. There should be no space
between the spool cap and the thread spool.
Small spool cap
Large spool cap
2:2
Summary of Contents for CREATIVE 2.0 -
Page 1: ...Owner s manual ...
Page 12: ...Preparations ...
Page 28: ...Sewing ...
Page 40: ...Sequencing ...
Page 44: ...Embroidery preparations ...
Page 48: ...Embroidering ...
Page 64: ......
Page 65: ......
Page 66: ...5D Embroidery Machine Communication CD For personal computer See page 2 10 ...


