creative 2.0
Pr
epar
ations
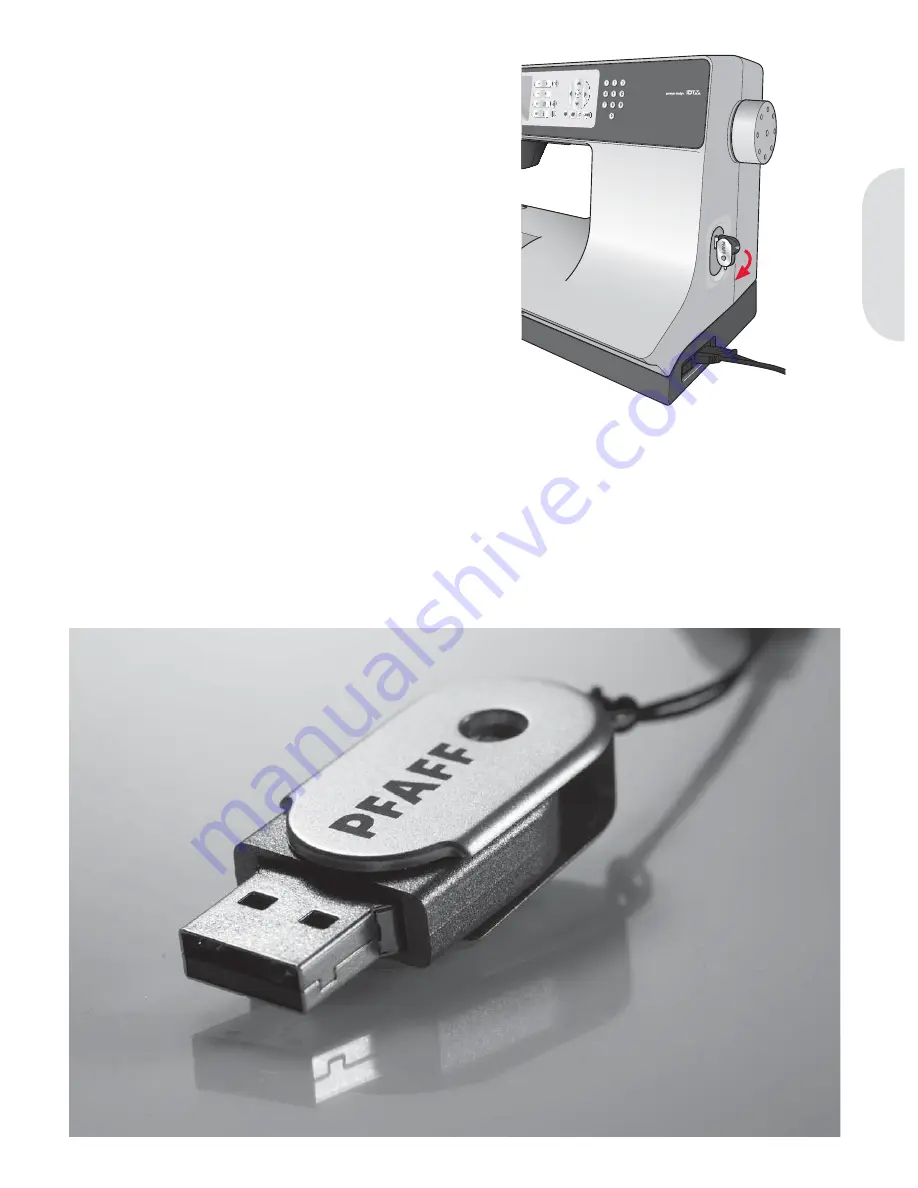
USB port
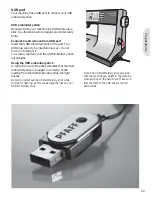
Your machine has a USB port to connect your USB
embroidery stick.
USB embroidery stick
Delivered with your machine is a USB embroidery
stick. Use the stick to store designs and embroidery
fonts.
Connect to and remove from USB port
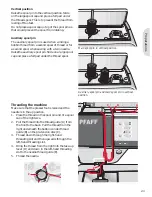
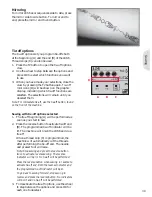
Insert the USB embroidery stick in the port. The
USB plug can only be inserted one way – do not
force it into the port!
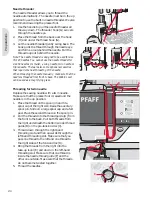
To remove, carefully pull the USB embroidery stick
out straight.
Using the USB embroidery stick
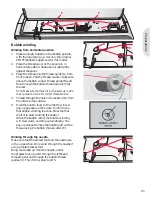
A light at the end of the stick indicates that the USB
embroidery stick is plugged in correctly. When
loading from the USB embroidery stick, the light
Á
ashes.
Note: Do not remove the USB embroidery stick while
the light is
Á
ashing, as this can damage the
À
les on your
USB embroidery stick.
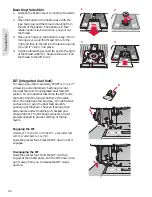
Note: The USB embroidery stick provided
with the machine can be left in the machine
when putting on the hard cover. Make sure
that the cover of the USB stick is turned
downwards.
2:9
Summary of Contents for CREATIVE 2.0 -
Page 1: ...Owner s manual ...
Page 12: ...Preparations ...
Page 28: ...Sewing ...
Page 40: ...Sequencing ...
Page 44: ...Embroidery preparations ...
Page 48: ...Embroidering ...
Page 64: ......
Page 65: ......
Page 66: ...5D Embroidery Machine Communication CD For personal computer See page 2 10 ...

