Tools menu
116
The window that appears allows you to define the centre point of each of the four corner
wells.
Each tab shows one of the four wells with a plot of the intensity of the light from the well.
This is colour coded with red showing the highest intensity. Position the mouse cursor
where you think the centre of the well is and click the left mouse button. A black cross will
appeared centred at the point of the cursor. If you are not satisfied with the position of the
cross move the mouse cursor and click the left button again.
Repeat this for each of the four wells.
When the centre of all four wells has been marked, the
Next
button will be enabled. Click
this to continue.
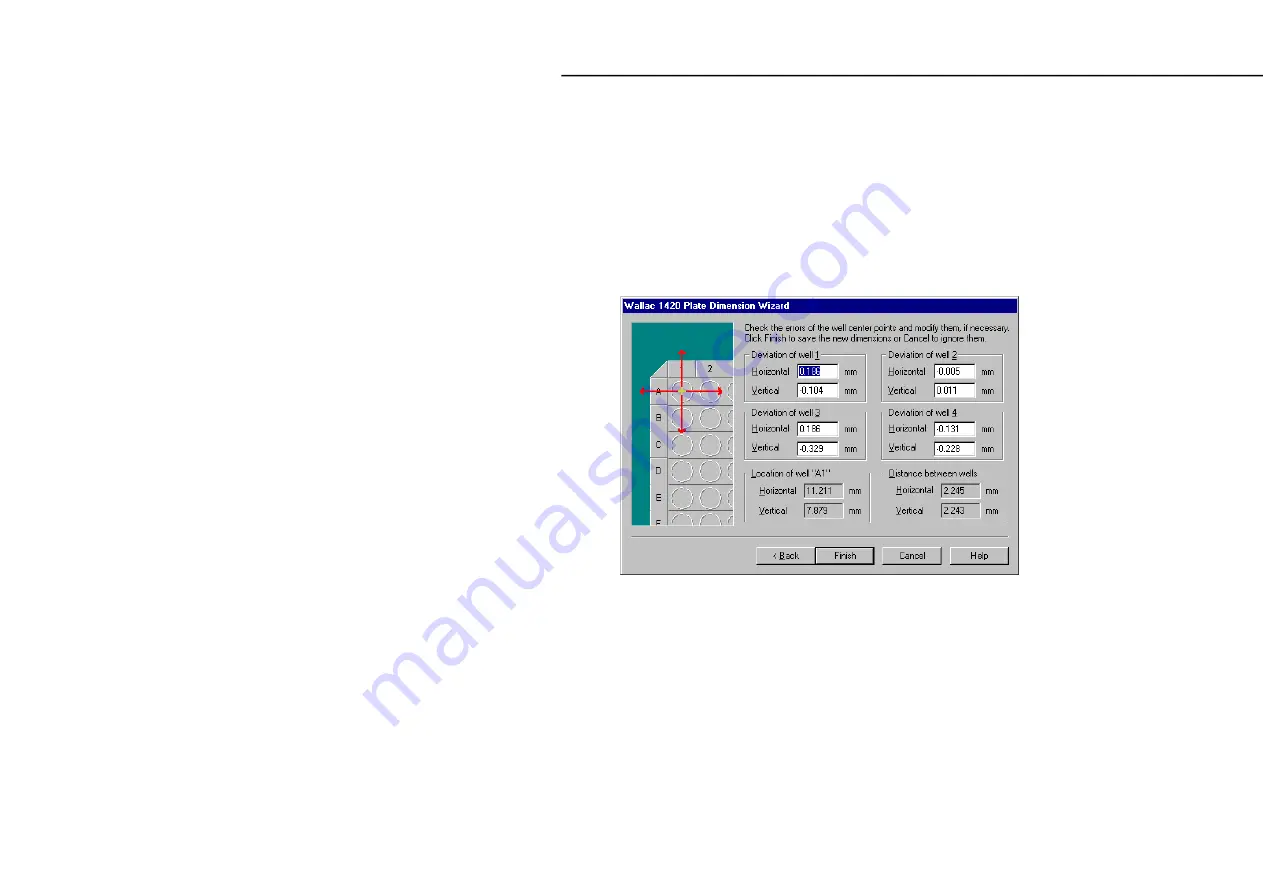
Numerical values are shown in the final window. If you approve these, click
Finish
to save
the values and end the wizard. If you feel the deviations are too large you can click
Back
to
reposition the well centres. You can alternatively click
Cancel
to end the wizard without
saving the values.
Note: for even better adjustment it is recommended that you repeat the scan with a smaller
area selected, see the lower figure on page 112, e.g. for a 1536-well plate this could be 1
mm per well.
Summary of Contents for Wallac 1420
Page 2: ......
Page 10: ......
Page 11: ...9 Introduction...
Page 12: ...10...
Page 17: ...15 Operating Wallac 1420...
Page 18: ...16...
Page 36: ...Operating Wallac 1420 34...
Page 37: ...35 Protocol editing...
Page 38: ...36...
Page 59: ...57 Result viewing...
Page 60: ...58...
Page 67: ...65 Tools menu...
Page 68: ...66...
Page 128: ......
Page 129: ...127 Exiting...
Page 130: ...128...
Page 132: ...Exiting 130...
Page 133: ...131 Troubleshooting...
Page 134: ...132...
Page 138: ...Troubleshooting 136...
Page 139: ...137 Appendices...
Page 140: ...138...
Page 165: ...163 Index...
Page 166: ...164...


