Pepperl+Fuchs F2D0-TI-Ex8.FF Series Manual Download Page 15

Temperature Multi-Input Device

Installation and Commissioning

 2

017-

05

15

3.2.2

F2 Housing Degree of Protection

The following section contains information concerning the installation and sealing of the cable 

glands and the housing cover.

Installing Cable Glands

When installing cable glands, observe the following:

Only insert permanently laid cables and wires into the cable glands. 

• Ensure that the cables laid do not execute any strain on the cable glands. 

• For permissible cable diameters, refer to the respective datasheet. 

Use an appropriate strain relief clamp, e.g., a suitable cable clamp. 

Seal unused cable glands with a suitable plug or replace them with  appropriate screw 

plugs. Observe the required degree of protection IP66. 

• For a choice of stop plugs and screw plugs, refer to the respective datasheets. 

• Note that the ambient temperature range can be restricted by the stopping plug.

Protect plastic cable glands against mechanical hazard.

The following table with tightening torques offers an approximate guideline:

F2D0-TI-Ex8.* Tightening Torques for Cap Nuts and Counterparts
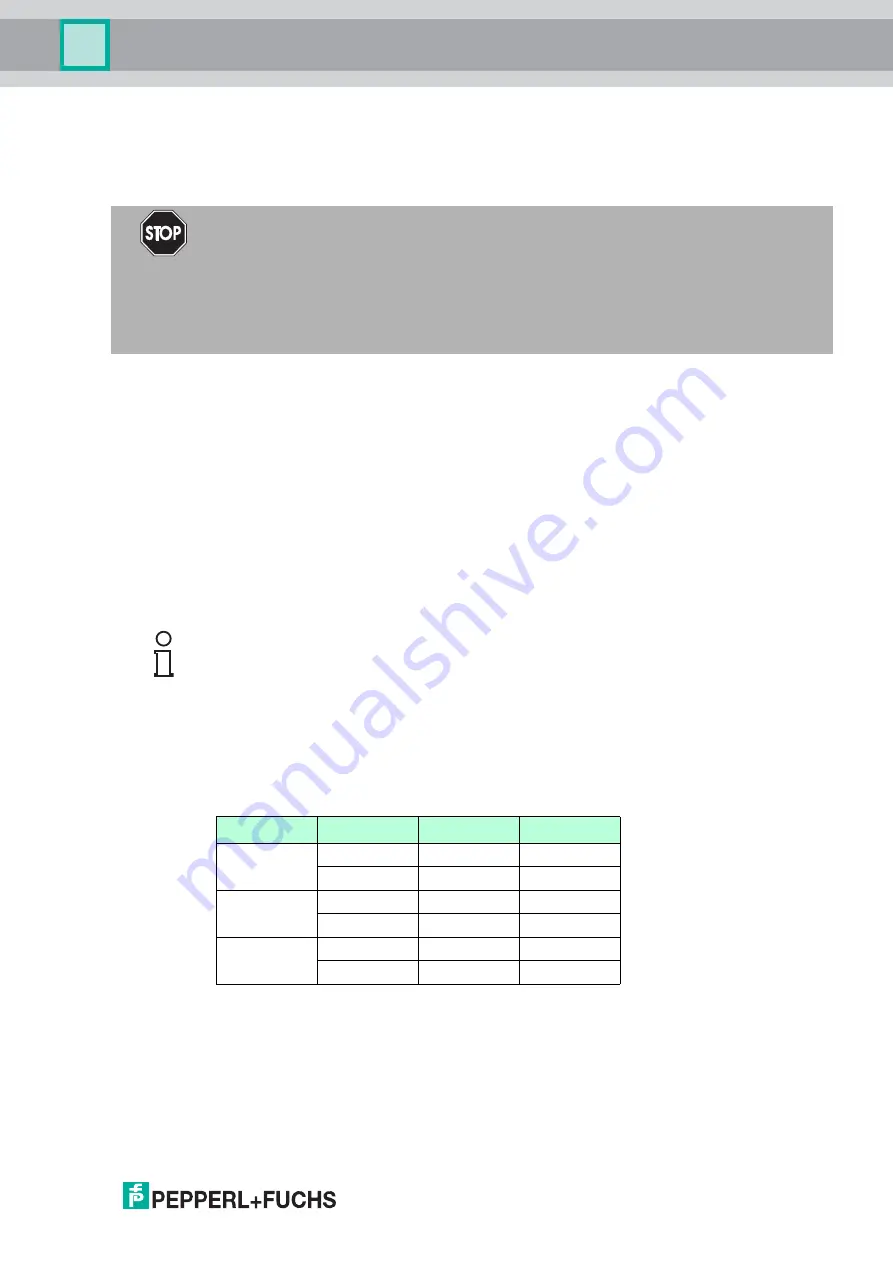
Danger!

Explosion hazard or danger to life from inadequate installation of cable glands
If you do not install cable glands according to the instructions given in the instruction manual, 

this can generate sparks that can ignite the surrounding potentially explosive atmosphere. 

Furthermore, insufficient installation practice can result in electric shock. 
Ensure you carry out any cable gland installations in accordance with the instructions given in 

the instruction manual. 

Note!
Careful when tightening cap nuts!

The cap nuts must be securely tightened. Tightening the cap nuts too much or not enough 

both can affect the degree of protection.

The tightening torques of cap nuts vary, depending on the cable type used. For exact 

details refer to the documentation of your cable manufacturer.

Type

Size

Cap nut

Counterpart

F2D0-TI-

Ex8.*.*:*.CG

M16

2.5 Nm

3.75 Nm

M20

2.5 Nm

3.75 Nm

F2D0-TI-

Ex8.*.*:*.CGB

M16

6 Nm

6 Nm

M20

10 Nm

10 Nm

F2D0-TI-

Ex8.*.*:*.CGS

M16

6 Nm

6 Nm

M20

10 Nm

10 Nm

Summary of Contents for F2D0-TI-Ex8.FF Series

Page 1: ...Temperature Multi Input Device F2D0 TI Ex8 FF RD0 TI Ex8 FF 6 2 0 DEV_REV 02 PROCESS AUTOMATION MANUAL...

Page 2: ...elivery for Products and Services of the Electrical Indus try published by the Central Association of the Electrical Industry Zentralverband Elektrotechnik und Elektroindustrie ZVEI e V in its most re...

Page 3: ...allation 14 3 2 1 TM I Cable and Connection Information 14 3 2 2 F2 Housing Degree of Protection 15 3 2 3 Grounding and Shielding 18 3 2 4 Electrical Connection 19 3 2 5 Fieldbus and Shield Connection...

Page 4: ...0 6 3 Sensor Block 31 6 4 Concentrator Block 32 6 5 AI Function Block 33 6 6 MAI Function Block Errors 33 6 7 Diagnostic Summary 34 6 8 Recommended Action for Field Diagnostics according to NE 107 35...

Page 5: ...station of conformity Certificates Control drawings Additional documents 1 2 Target Group Personnel Responsibility for planning assembly commissioning operation maintenance and dismounting lies with t...

Page 6: ...s Action This symbol indicates a paragraph with instructions You are prompted to perform an action or a sequence of actions Danger This symbol indicates an imminent danger Non observance will result i...

Page 7: ...device may be operated in Zone 1 For applications in Zone 1 the type of protection must be Ex i The device may be installed in Zone 2 For Zone 2 applications the type of protection must be Ex nA or E...

Page 8: ...can result in a current voltage flashover generating sparks The sparks can ignite the surrounding potentially explosive atmosphere Ensure you observe IEC EN 60079 14 and IEC EN 60079 25 for the verifi...

Page 9: ...g point for connecting the temperature multi Input device to earth with M4 screw 3 Cable gland for the fieldbus IN cable For outside dimensions see datasheet 4 8 cables glands for inputs wrench size A...

Page 10: ...on 4 Status LED for power 5 Dip switches for configuration 6 Separation wall Used if the temperature multi input device is supplied by a non intrinsical ly safe fieldbus 7 DIN mounting rail 8 Mounting...

Page 11: ...ing RD0 TI Ex8 RD0 TI Ex8 is designed for mounting on a 35 mm DIN rail in accordance with EN 50022 Danger Danger to life from using damaged or repaired devices Using a defective or repaired device can...

Page 12: ...mount the device Take off the device in reverse order RD0 TI Ex8 Installations Depending on the application the RD0 TI Ex8 must be mounted in a suitable environment If mounted in Zone 2 for an Ex nA a...

Page 13: ...ween intrinsically safe and non intrinsically safe signals Danger Explosion hazard from inadequate or missing separation appliance If you fail to apply the required separation appliance e g a separati...

Page 14: ...tion interface Service interface see image on page 10 Only trained specialists authorized by Pepperl Fuchs may carry out parameterization tasks via the Service interface Danger Explosion hazard from i...

Page 15: ...nst mechanical hazard The following table with tightening torques offers an approximate guideline F2D0 TI Ex8 Tightening Torques for Cap Nuts and Counterparts Danger Explosion hazard or danger to life...

Page 16: ...as shown 1 Seal 1 used in the following instance Type M20 x 1 5 Terminal area 5 8 mm 2 Seal 2 obligatory 3 Move the required seal s over the cable until after the last seal about 5 mm insulation protr...

Page 17: ...the cap nut from the temperature multi input device 3 Remove the inner plastic piece and slip it onto the cable move it far enough over the cable so it completely surrounds the cable insulation Ensur...

Page 18: ...ng the housing cover Visually inspect the housing for any visible signs of damage on the cover seal If damaged replace the seal with an original seal wear part Tightening torque for the screws of the...

Page 19: ...The grounding connection must be secured against loosening and corrosion e g by using tinned cable plates Shielding the R Electronic Component in Intrinsically Safe Segments The shield terminal S of...

Page 20: ...he sensor input that is transferred from the transducer block to the function block independent of the hardware input of an input channel For safety reasons it is recommended to set the switch to OFF...

Page 21: ...erature of the TM I device Information on EMC filter settings Simultaneous output of values and diagnostics information of all channels Analog Input AI Blocks The analog input AI blocks conform to the...

Page 22: ...ty of the measurement value For more information see chapter 5 Figure 4 1 Function block interaction Number Selected sensor Usable by 1 Sensor 1 AI 2 Sensor 2 AI 3 Sensor 3 AI 4 Sensor 4 AI 5 Sensor 5...

Page 23: ...ng tool you use For offline parameterization a capability file is available Unless the manufacturer of the control system has imported the files already you find them on the Internet on the Pepperl Fu...

Page 24: ...ignored It will not produce a configuration error if it is set to another value than 2 wire Measurement Unit You can select between several units for Primary Value Value via the Sensor Range Units In...

Page 25: ...y be necessary to turn off sensor diagnostics if the device is connected to a calibration source that interferes with the sensor monitoring 2 Write Execute user calibration to Calibration Mode paramet...

Page 26: ...ut of service and AUTO In OOS mode measurement is disabled and the sensor can be configured and or calibrated In AUTO mode measurement is enabled all functional parameters except Sensor Diagnostics ar...

Page 27: ...configured In AUTO mode body temperature status is GOOD Note that the concentrator block mode does not affect write protection of the sensor parameters since they solely depend on the target block mo...

Page 28: ...monitors its internal hardware and body temperature If an error occurs the following happens The status of all primary values switches to BAD The resource block BLOCK_ERR error parameter sets the bit...

Page 29: ...dications LED Status and Error Indication 1 2 3 LED Statuses Cause Remedy PWR green OFF No power supply Check power supply Check fieldbus cable wiring Permanentl y ON Power available COM red OFF Commu...

Page 30: ...meterization If this error occurs repeatedly send the device to Pepperl Fuchs for repair Device needs maintenance now Hardware error Send device to Pepperl Fuchs for repair Simulate active Simulation...

Page 31: ...oblems below OOS The target mode of the block is OOS Set block to Auto mode Transducer Error XD_ERROR Configuration error See above at BLOCK_ERR See above at BLOCK_ERR I O failure The sensor value exc...

Page 32: ...IP switch to OFF See chapter 3 2 6 Block is in AUTO mode Set MODE_BLK Target to OOS Table 6 3 Common sensor block problems Problem Remedy Parameter Message Cause Procedure BLOCK_ERR Body temperature o...

Page 33: ...block errors Problem Remedy Cause Procedure Function block does not leave OOS mode A BLOCK_ERR is reported Clear block error cause The function block does not have a schedule downloaded Include block...

Page 34: ...he device is defective LED Body temperature too high low The body temperature of the device exceeds its specification RB Alarm Concentrator BLOCK_ERR Resource block is in out of service mode The actua...

Page 35: ...torage verification failed NV storage write failed Hardware error detected Channel 8 input failure Over underrange of measured value Wiring error Check transducer block for more details see manual Cha...

Page 36: ...simulation possible Lost Static Data The database used for storing the NV parameters within the device is corrupt Device Needs Maintenance Now The hardware of the device failed in some way e g body te...

Page 37: ...ms 22 MEMORY_SIZE Available configuration memory in the empty resource 23 NV_CYCLE_T Interval between writing copies of NV parameters to non volatile memory Zero means none 24 FREE_SPACE Percent of me...

Page 38: ...bcode field The first alert to become active will set the Active status in the ALARM_STATE subcode 37 ALARM_SUM The current alert status unacknowledged states unreported states and disabled states of...

Page 39: ...ultiple errors may be shown 07 PV EU of XD_SCALE The primary analog process variable used in block execution 08 OUT EU of OUT_SCALE or XD_SCALE if in direct L_TYPE The primary analog block output valu...

Page 40: ...tatus in the ALARM_STATE subcode As soon as the Unreported status is cleared by the alert reporting task another block alert may be reported without clearing the Active status if the subcode has chang...

Page 41: ...of the block Actual The mode the block is currently in Target The mode to go to Permitted Allowed modes that target may take on Normal Most common mode for target 06 BLOCK_ERR This parameter reflects...

Page 42: ...number of the plant unit This information may be used in the host for sorting alarms etc 05 MODE_BLK The actual target permitted and normal modes of the block Actual The mode the block is currently in...

Page 43: ...nt in seconds of a first order lag filter applied to Primary value Valid values are 0 255 s A value of 0 disables filtering 13 Sensor Type S OOS Type of the attached sensor For a list of supported sen...

Page 44: ...ibration for the attached sensor 23 RTD 2 Wire Resistance S OOS Specifies an offset subtracted from the measured resistance if a two wire RTD or Ohm sensor is attached The value is specified as a posi...

Page 45: ...bration has been executed Failure The last user calibration failed The values are invalid The user calibrated measurement cannot be turned on The block will report a configuration error if Calibration...

Page 46: ...K S W The actual target permitted and normal modes of the block Actual The mode the block is currently in Target The mode to go to Permitted Allowed modes that target may take on Normal Most common mo...

Page 47: ...ng sensor block is in OOS mode 16 Sensor Diagnostics Channel 1 S W Allows to enable disable the sensor diagnostics for sensor 1 18 73 The sensor specific values above are repeated for the sensor input...

Page 48: ...rl fuchs com Worldwide Headquarters Pepperl Fuchs GmbH 68307 Mannheim Germany Tel 49 621 776 0 E mail info de pepperl fuchs com For the Pepperl Fuchs representative closest to you check www pepperl fu...

Reviews: