158
8
Setti
ngs
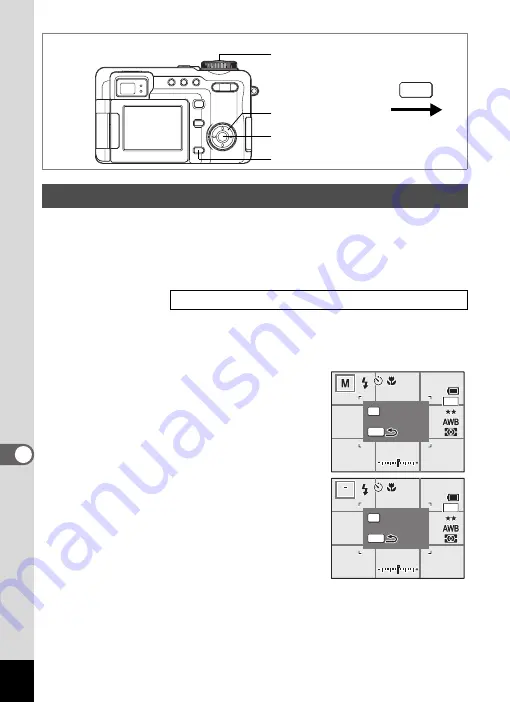
You can customize two user settings to determine the information
displayed on the LCD monitor during still image shooting.
When shipped from the factory, Setting 1 is set to full display and Setting
2 is set to display no information.
Refer to p.181 for information that can be displayed.
1
Select [DISPLAY] on the [
B
Set-up] menu.
2
Press the four-way controller (
5
).
The Capture Mode Information Display screen appears.
3
Use the four-way controller (
23
)
to select [1] or [2] and press the
four-way controller (
5
).
The Setting 1 Setting screen appears when
[1] is selected.
The Drive mode icon is surrounded by a
frame.
4
Use the
4
button to hide or
display the icon in the frame.
5
Use the four-way controller
(
2345
) to move the frame.
6
Repeat Steps 4 and 5 above to
customize the display information.
7
Press the shutter release button
halfway.
The Capture Mode Information Display setting is saved and the screen
returns to capture status. Refer to Step 6 of “How to Use the Menus”
(p.43) for other operations after the setting has been made.
Customizing the Display Mode
Displaying Shooting Information in Capture Mode
1
3
button
4
button
How to recall the [
B
Set-up] menu
Shutter release button
MENU
Four-way controller
3 8
3 8
3 8
200
200
ISO
ISO 200
ISO
1 4 : 2 5
1 4 : 2 5
1 4 : 2 5
OK
MENU
3056
Switch info
Switch info
Switch info
F 5 . 6
F 5 . 6
F 5 . 6
1 / 2 5 0
1 / 2 5 0
1 / 2 5 0
0 9 / 2 5 / 2 0 0 4
0 9 / 2 5 / 2 0 0 4
0 9 / 2 5 / 2 0 0 4
3 8
3 8
3 8
200
200
ISO
ISO 200
ISO
1 4 : 2 5
1 4 : 2 5
1 4 : 2 5
OK
MENU
3056
Switch info
Switch info
Switch info
F 5 . 6
F 5 . 6
F 5 . 6
1 / 2 5 0
1 / 2 5 0
1 / 2 5 0
0 9 / 2 5 / 2 0 0 4
0 9 / 2 5 / 2 0 0 4
0 9 / 2 5 / 2 0 0 4


