100
4
Tak
ing Pi
cture
s
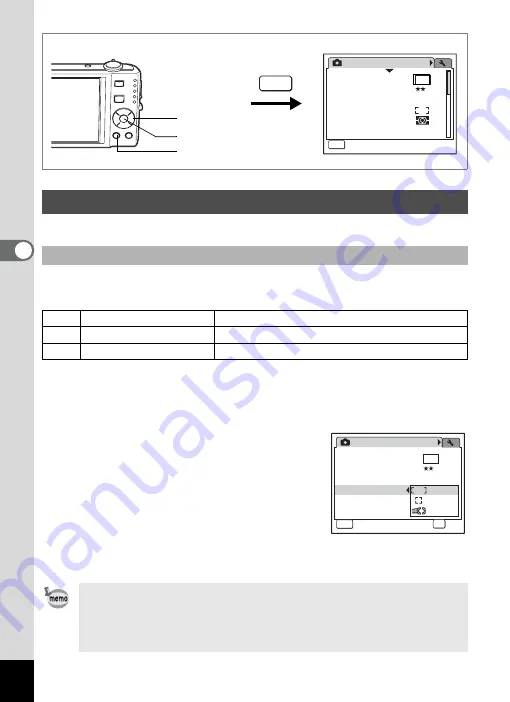
You can set various conditions for autofocus.
You can change the autofocus area (Focusing Area).
Focusing Area
1
Press the
3
button in
A
mode.
The [
A
Rec.Mode] menu appears.
2
Use the four-way controller (
23
) to select [Focusing Area].
3
Press the four-way controller (
5
).
A pull-down menu appears.
4
Use the four-way controller (
23
)
to change the Focusing setting.
5
Press the
4
button.
The AF Setting is saved.
6
Press the
3
button.
The camera returns to capture status with the current setting.
Setting the Autofocus Conditions
Setting the Focusing Area
J
Multiple
Normal autofocus area
K
Spot
The autofocus area becomes smaller.
W
Automatic Tracking AF
Keeps moving subjects in focus.
• In
Y
(Frame Composite) mode, [Focusing Area] can only be set to
J
(Multiple) or
K
(Spot).
• In
b
(Auto Picture) mode, [Focusing Area] is fixed at
J
(Multiple).
• If you use the [Focusing Area] function frequently, you can save
time by assigning it to the Green button. (p.58)
Rec.Mode
MENU
1 / 3
Recorded Pixels
Quality Level
White Balance
AE Metering
Sensitivity
AWB
Auto
Focusing Area
8
M
Exit
MENU
Four-way controller
4
button
3
button
Rec.Mode
MENU
Cancel
1 / 3
Recorded Pixels
Quality Level
White Balance
AE Metering
Sensitivity
AWB
AUTO
8
M
Focusing Area
OK
OK
OK
OK
Summary of Contents for 17191 - Optio V20 Digital Camera
Page 73: ...71 4 Taking Pictures 7 Press the shutter release button fully The picture is taken ...
Page 205: ...Memo ...
Page 209: ...207 9 Appendix Z Zoom lever 44 46 Zoom xw 78 ...
Page 210: ...Memo ...
Page 211: ...Memo ...


