HY13-1527-M1/US
Torqmotor™ Service Procedure
TF, TG, TH and TL Series
Parker Hannifin Corporation
Hydraulic Pump/Motor Division
Greeneville, TN 37745 US
27
• Replace all seals and seal rings with new ones each time you reassemble the Torqmotor™ unit. Lubricate all
seals and seal rings with SAE 10W40 oil or clean grease before assembly.
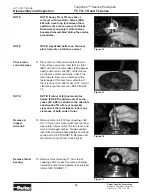
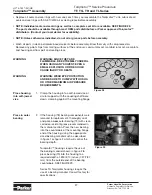
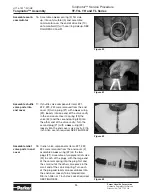
• NOTE: Individual seals and seal rings as well as a complete seal kit are available. SEE FIGURE 28.
The parts should be available through most OEM parts distributors or Parker approved Torqmotor™
distributors. (Contact your local dealer for availability).
•
NOTE: Unless otherwise indicated, do not oil or grease parts before assembly.
• Wash all parts in clean petroleum-based solvents before assembly. Blow them dry with compressed air.
Remove any paint chips from mating surfaces of the end cover, commutator set, manifold rotor set, wear plate
and housing and from port and sealing areas.
WARNING
WARNING
WARNING: SINCE THEY ARE
FLAMMABLE, BE EXTREMELY CAREFUL
WHEN USING ANY SOLVENT. EVEN A
SMALL EXPLOSION OR FIRE COULD
CAUSE INJURY OR DEATH.
WARNING: WEAR EYE PROTECTION
AND BE SURE TO COMPLY WITH OSHA
OR OTHER MAXIMUM AIR PRESSURE
REQUIREMENTS.
Press in outer
bearing
Place housing
into soft-jawed
vise
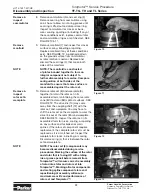
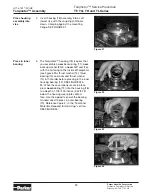
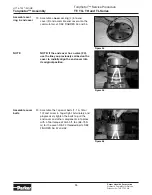
2. If the housing (18) bearing components were
removed for replacement, thoroughly coat
and pack a
new
outer bearing (19) with clean
corrosion resistant grease recommended in
the material section. Press the new bearing
into the counterbore at the mounting flange
end of the housing, using the appropriate
sized bearing mandrel such as described
in figure 1 or figure 2 which will control the
bearing depth.
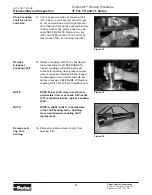
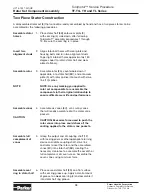
Torqmotor™ housings require the use of
the bearing mandrel shown in figure 2 to
press bearing (19) into the housing to a
required depth of .290/.310 inches (7.37/7,87
mm) from the outside end of the bearing
counterbore. SEE FIGURE 29.
Series TH Torqmotor housings require the
use of a bearing mandrel. Consult factory for
specifications.
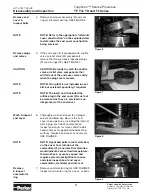
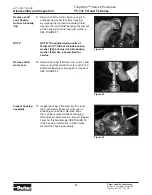
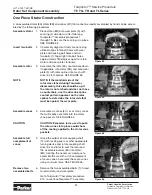
1. Clamp the housing into a soft-jawed vise or
similar support with the coupling shaft bore
down, clamping against the mounting flange.
Figure 28
Torqmotor™ Assembly
4
20
17
25
16
3
Figure 29


