73
9. General Settings
This Chapter mainly introduces some general settings.
Note
:
• Printer appearance may differ because of various models and functions, so the
schematic diagram is only for your reference.
• For LCD printers, you can change the settings through the printer control panel.
• For LED printers, you can change the settings through the computer (Steps:
Computer “Start” - “Control Panel” - “Device and Printer” - select corresponding
printer - right click -
“Printer Properties” - “Printer Setup” - “More Settings”).
9.1. System Setting
9.1.1. Language Setting
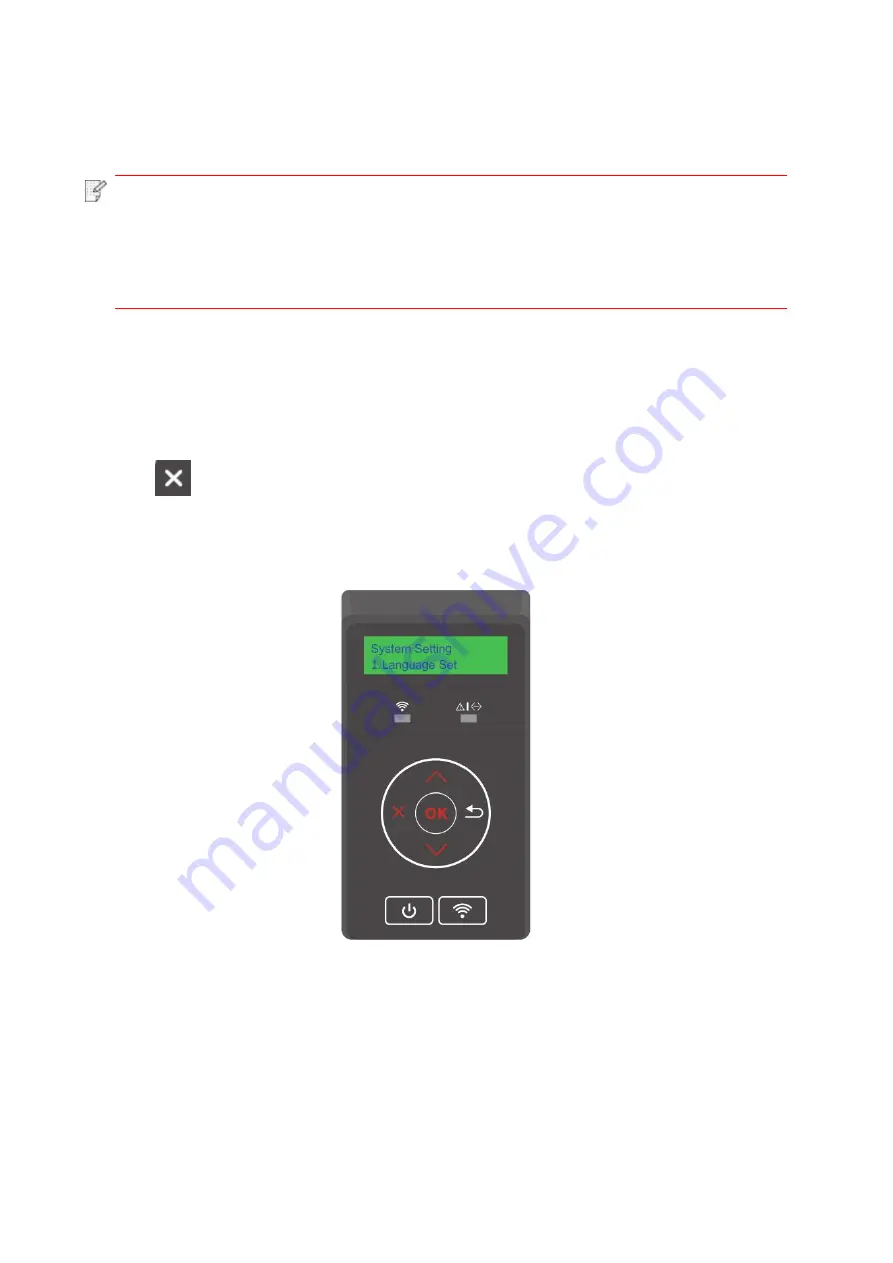
Language Setting is used to select the language to be displayed on the control panel.
1. Press “
” on the printer control panel to enter the ready interface.
2. Press “▲” or “▼”, select “System Settings” - “Language Setting”, and set the language as you
want.
Summary of Contents for CP1100 Series
Page 15: ...3 Pantum Warranty Note The Pantum Warranty may not be attached in some regions...
Page 104: ...89 5 Insert a new toner cartridge 6 Insert the toner cartridge tray and then close the cover...
Page 106: ...91 10 2 3 Replace the tray 1 Remove the used tray 2 Unpack the new tray 3 Insert a new tray...
Page 114: ...99 Below the fuser area Duplex unit 3 Close the cover...
Page 124: ...1...


