104
Mottled print and
dots
time.
• Toner cartridge is not installed
properly.
• The print mode is set
incorrectly.
• Pull out the toner cartridge tray, remove
the toner cartridge, then insert the toner
cartridge, and insert the toner cartridge tray.
• Please set another print mode.
。
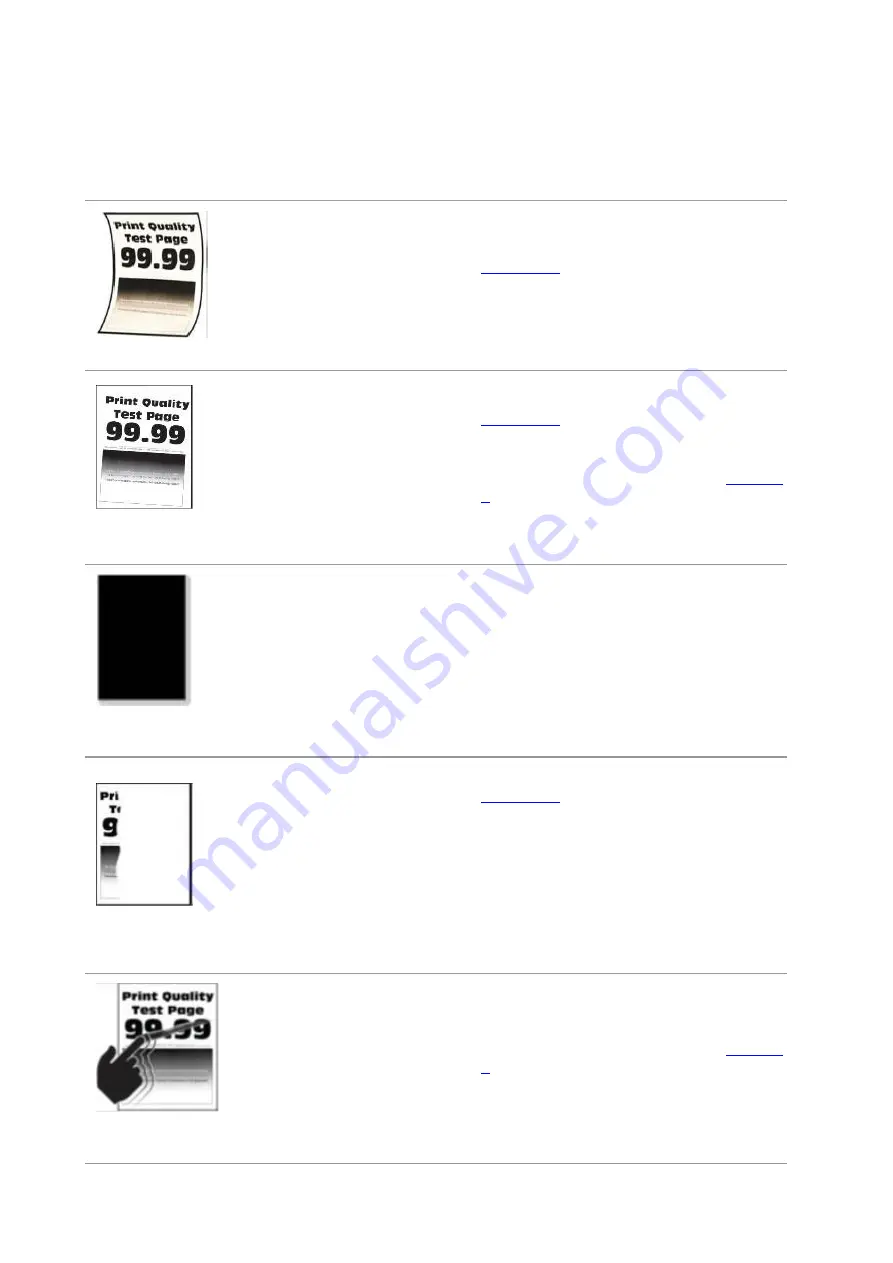
Paper crooked
• The tray fails to load the media
properly.
• The paper used has been
stored in the air for a prolonged
time.
• Load correct paper. Please refer to
correctly.
• Keep the paper in its original wrapper
before use.
Print is crooked or
skewed
• The tray fails to load the media
properly.
• The print media does not meet
the usage specification. For
example, the print media is
textured, damp, or too rough.
• The paper used has been
stored in the air for a prolonged
time.
• Load correct paper. Please refer to
correctly.
• For proper use of media within the
specification range, please refer to
• Keep the paper in its original wrapper
before use.
Single color or
black images
• Toner cartridge is not installed
properly.
• Pull out the toner cartridge tray, remove
the toner cartridge, then insert the toner
cartridge, and insert the toner cartridge tray.
• It is recommended to replace with the
original toner cartridge.
Text or image cut
off
• The tray fails to load the media
properly.
• Toner cartridge is not installed
properly.
• There are foreign objects
inside the printer.
• The parts inside the printer are
damaged.
• Load correct paper. Please refer to
correctly.
• Pull out the toner cartridge tray, remove
the toner cartridge, then insert the toner
cartridge, and insert the toner cartridge tray.
• Please contact the customer service
center.
• It is recommended to replace with the
original toner cartridge.
Toner comes off
easily
• Print media that does not meet
the specifications is used. For
example, the media weight is not
supported by the printer.
• The paper used has been
stored in the air for a prolonged
time.
• For proper use of media within the
specification range, please refer to
• Keep the paper in its original wrapper
before use.
Summary of Contents for CP1100 Series
Page 15: ...3 Pantum Warranty Note The Pantum Warranty may not be attached in some regions...
Page 104: ...89 5 Insert a new toner cartridge 6 Insert the toner cartridge tray and then close the cover...
Page 106: ...91 10 2 3 Replace the tray 1 Remove the used tray 2 Unpack the new tray 3 Insert a new tray...
Page 114: ...99 Below the fuser area Duplex unit 3 Close the cover...
Page 124: ...1...


