


54
09
General Settings
This Chapter mainly introduces some general settings.
Note:
• The panel appearance may be a little different due to difference in type or function. All
diagrams are only for reference.
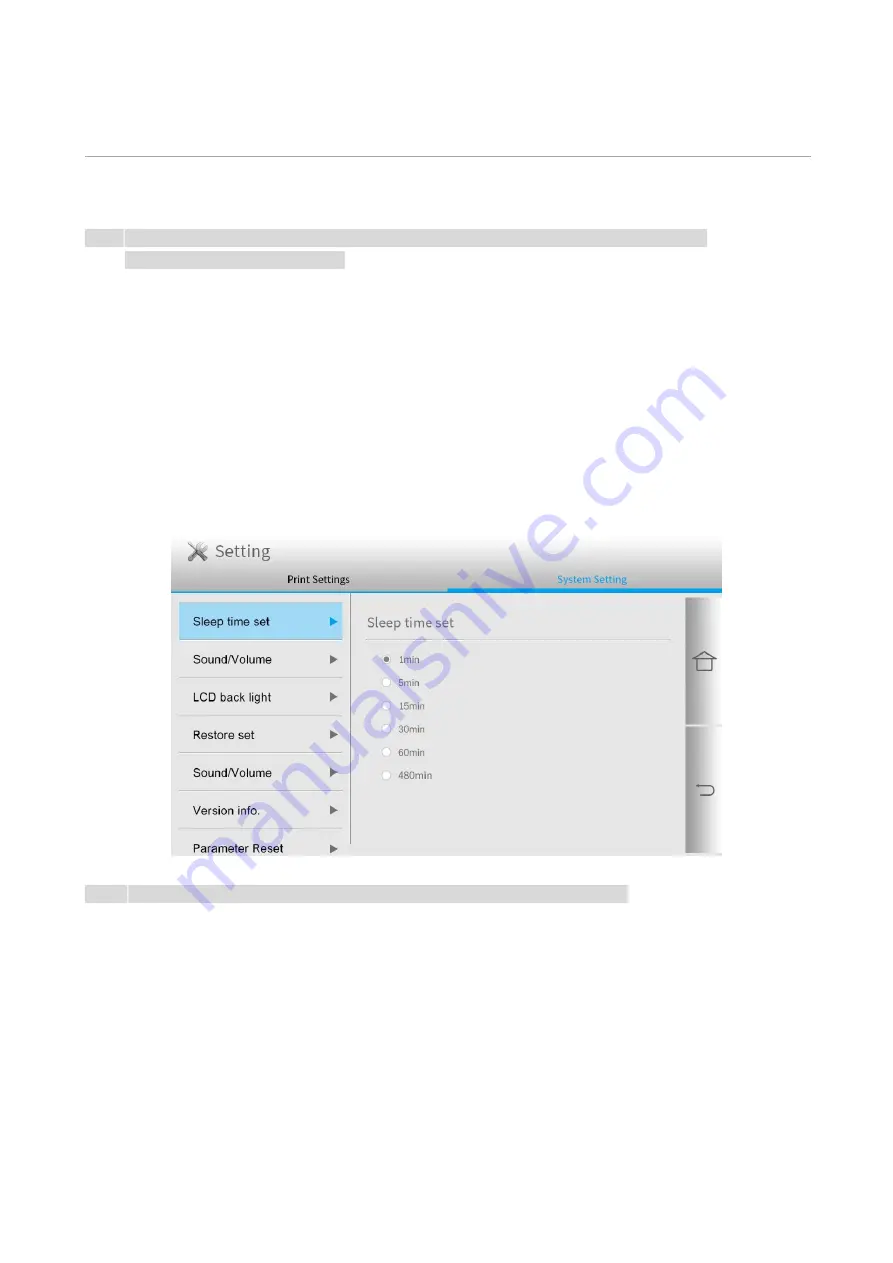
System Settings
Sleep Time Setting
Sleep mode can reduce the energy consumption of printer effectively, and “Sleep time setting” can
be made in the idle time before the device enters sleep mode.
You can make the settings in the following methods as required:
1. Click the “Settings” button on the home screen to enter the “System Settings” interface.
2. Click and select “Sleep Time Setting” to set the corresponding sleep time.
Note:
• When the printer is in the sleep state, press any key to wake up the printer.
Summary of Contents for CM9106 Series
Page 1: ...Pantum CM9106 CM9706 Series Color Multifunction Printer...
Page 82: ...67 ADF glass mat Scanner glass Scanner glass mat...
Page 83: ...68...
Page 84: ...69 3 Open the door B1 4 Wipe the following areas ADF glass in door B1...
Page 88: ...73 2 Remove and then empty the punching box 3 Insert the punching box 4 Close the cover...
Page 92: ...77 9 Insert the waste toner bottle and close the door...
Page 97: ...82 5 Unpack the new waste toner bottle 6 Insert a new waste toner bottle and close the door...
Page 107: ...92 Replace the ADF separation roller 1 Power off the printer 2 Remove the ADF separation pad...
Page 117: ...102 7 Connect the tray connector to the printer 8 Open the feed tray 2 3 and 4...
Page 122: ...107 9 Remove the stabilizers from the tray 10 Remove the rubber cover...
Page 126: ...111 18 Connect the tray cable to the printer 19 Install the tray cable cover...
Page 127: ...112 20 Slide the tray until it clicks into place 21 Install the stabilizers to the printer...
Page 148: ...133 2 Open the door J 3 Open the door H...
Page 151: ...136 Area H8 Area H9...
Page 153: ...138 2 Remove the staple box holder 3 Remove the loose staples...
Page 155: ...140 2 Remove the staple box holder 3 Remove the loose staples...
Page 168: ...153...


