


IV
Safety Information
Conventions
Note:
Note indicates the information that can help you.
Warning:
Warnings indicate things that may damage printer’s hardware or software.
CAUTION:
A caution indicates a potentially hazardous situation that could injure you.
Different types of caution statements include:
CAUTION - POTENTIAL INJURY: Indicates a risk of injury.
CAUTION - SHOCK HAZARD: Indicates a risk of electrical shock.
CAUTION - HOT SURFACE: Indicates a risk of burn if touched.
CAUTION - TIPPING HAZARD: Indicates a crush hazard.
CAUTION - PINCH HAZARD: Indicates a risk of being caught between moving parts.
CAUTION - ROTATING FAN BLADES: Indicates a risk of being lacerated by moving fan blades.
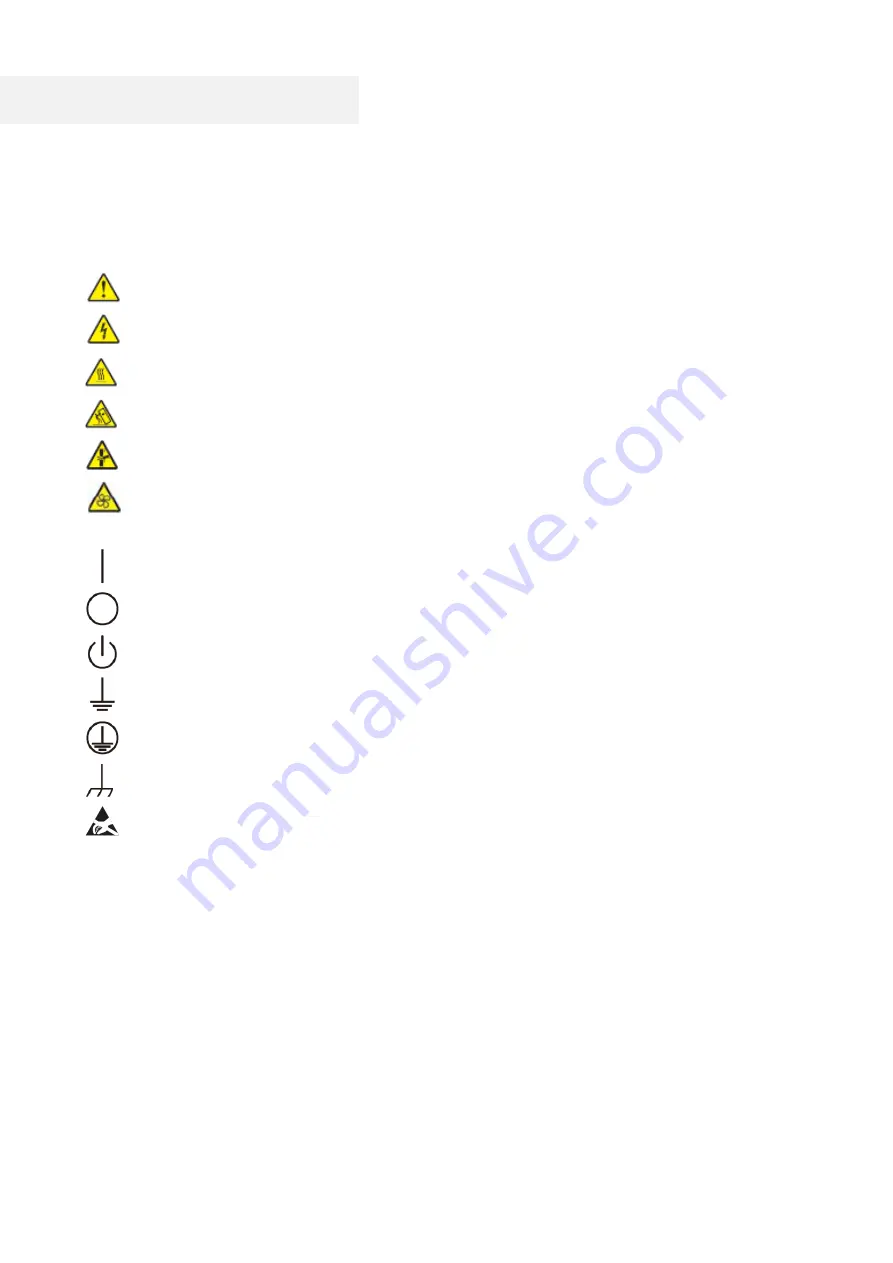
Symbols used in this machine
—Open
—Shut
—Standby, Power on and off
—Grounding (protective terminal)
—Grounding (protective grounding)
—Functional grounding
—Electrostatic discharge (ESD) sensitivity
Summary of Contents for CM9106 Series
Page 1: ...Pantum CM9106 CM9706 Series Color Multifunction Printer...
Page 82: ...67 ADF glass mat Scanner glass Scanner glass mat...
Page 83: ...68...
Page 84: ...69 3 Open the door B1 4 Wipe the following areas ADF glass in door B1...
Page 88: ...73 2 Remove and then empty the punching box 3 Insert the punching box 4 Close the cover...
Page 92: ...77 9 Insert the waste toner bottle and close the door...
Page 97: ...82 5 Unpack the new waste toner bottle 6 Insert a new waste toner bottle and close the door...
Page 107: ...92 Replace the ADF separation roller 1 Power off the printer 2 Remove the ADF separation pad...
Page 117: ...102 7 Connect the tray connector to the printer 8 Open the feed tray 2 3 and 4...
Page 122: ...107 9 Remove the stabilizers from the tray 10 Remove the rubber cover...
Page 126: ...111 18 Connect the tray cable to the printer 19 Install the tray cable cover...
Page 127: ...112 20 Slide the tray until it clicks into place 21 Install the stabilizers to the printer...
Page 148: ...133 2 Open the door J 3 Open the door H...
Page 151: ...136 Area H8 Area H9...
Page 153: ...138 2 Remove the staple box holder 3 Remove the loose staples...
Page 155: ...140 2 Remove the staple box holder 3 Remove the loose staples...
Page 168: ...153...


