


141
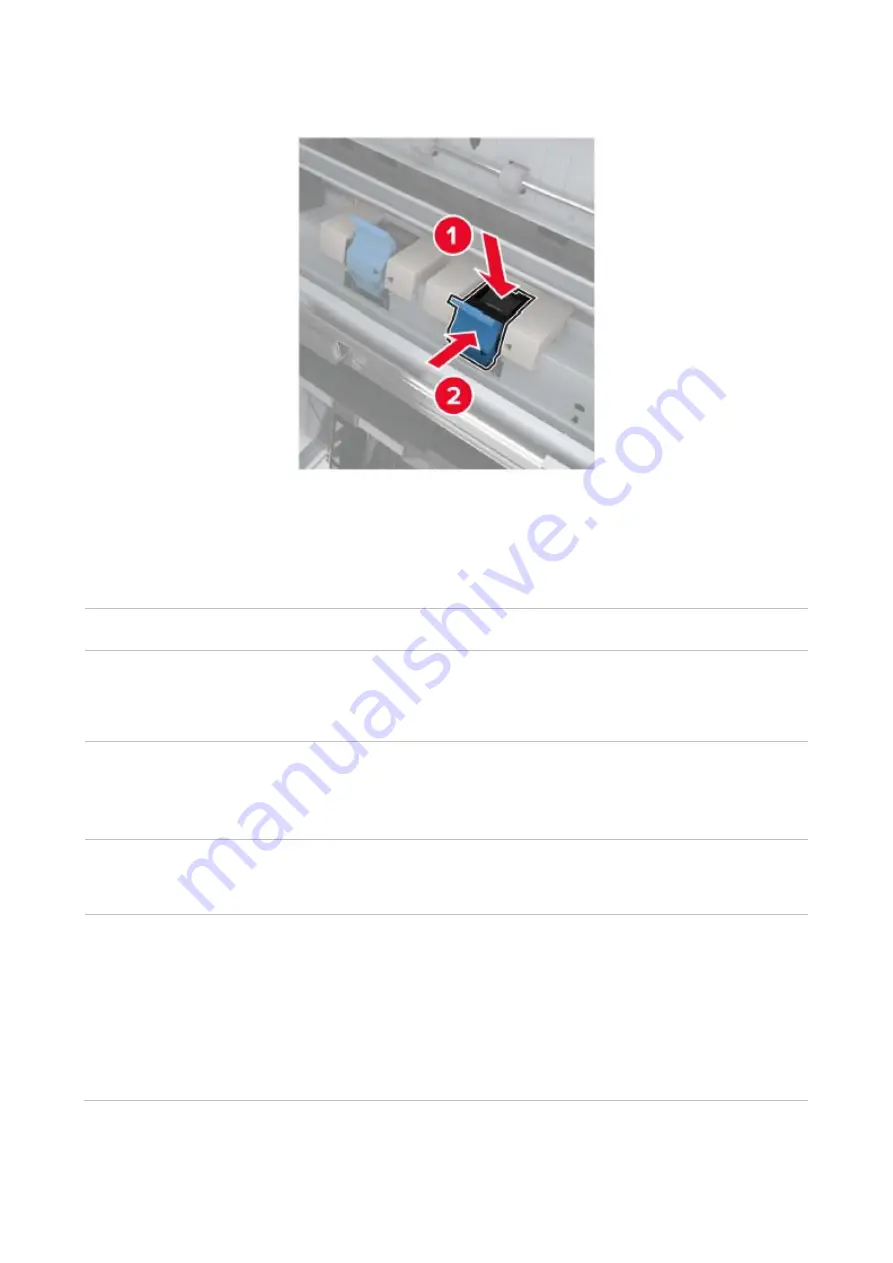
4. Insert a new staple box holder until it clicks into place.
5. Push the booklet maker back to its original place and close the door.
Software Failure
Problem
Solution
The printer icon does not appear
in the "Devices and Printers"
folder.
Reinstall the printer driver.
Ensure that the USB interface cable and the power cord are
properly connected.
The printer is in Ready mode but
it will not perform any print job.
If the failure still exists after restarting the printer, please reinstall
the printer driver.
Make sure the network cable of USB cable is connected correctly.
Failed to install the driver.
Check whether the print spooler service is enabled.
Check the power supply and the connection of the printer.
The driver cannot be used if the
IP address of the printer has
been changed.
Modify the port IP address of the printer driver.
If the above method does not work, please reinstall the printer
driver.
It is recommended that a fixed IP address should be set to the
network printer.
In the DHCP network, it is recommended to bind the IP address
with the MAC address of the printer.
Summary of Contents for CM9106 Series
Page 1: ...Pantum CM9106 CM9706 Series Color Multifunction Printer...
Page 82: ...67 ADF glass mat Scanner glass Scanner glass mat...
Page 83: ...68...
Page 84: ...69 3 Open the door B1 4 Wipe the following areas ADF glass in door B1...
Page 88: ...73 2 Remove and then empty the punching box 3 Insert the punching box 4 Close the cover...
Page 92: ...77 9 Insert the waste toner bottle and close the door...
Page 97: ...82 5 Unpack the new waste toner bottle 6 Insert a new waste toner bottle and close the door...
Page 107: ...92 Replace the ADF separation roller 1 Power off the printer 2 Remove the ADF separation pad...
Page 117: ...102 7 Connect the tray connector to the printer 8 Open the feed tray 2 3 and 4...
Page 122: ...107 9 Remove the stabilizers from the tray 10 Remove the rubber cover...
Page 126: ...111 18 Connect the tray cable to the printer 19 Install the tray cable cover...
Page 127: ...112 20 Slide the tray until it clicks into place 21 Install the stabilizers to the printer...
Page 148: ...133 2 Open the door J 3 Open the door H...
Page 151: ...136 Area H8 Area H9...
Page 153: ...138 2 Remove the staple box holder 3 Remove the loose staples...
Page 155: ...140 2 Remove the staple box holder 3 Remove the loose staples...
Page 168: ...153...


