


148
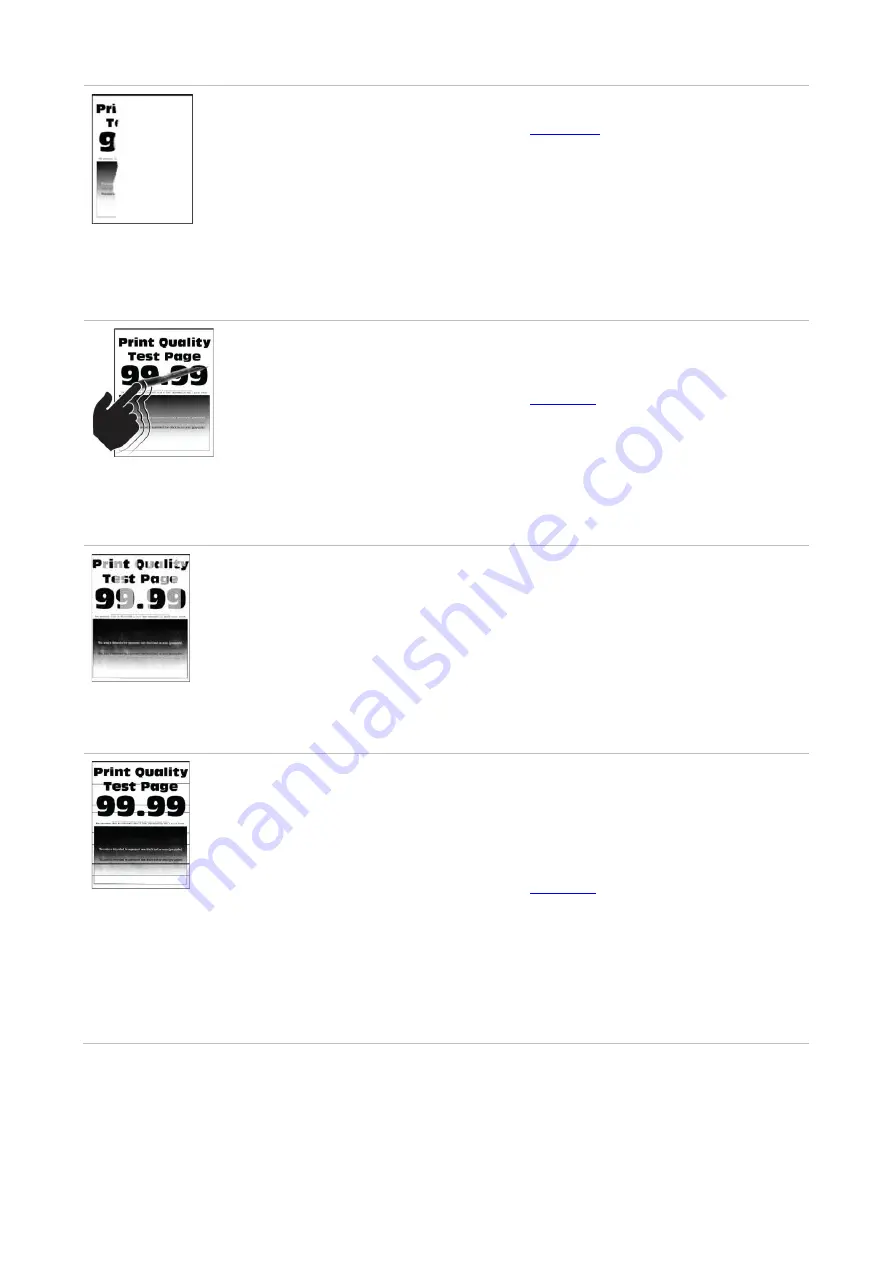
Text or image cut
off
• The tray fails to load the media
properly.
• Photosensitive drum is not installed
normally.
• The print head lenses are dirty.
• There is a foreign body inside the
printer.
• Load correct paper. Please refer to
correctly.
• Remove the photosensitive drum and
reinstall it.
• Clean print head lenses.
• please contact the customer services
center.
Toner comes off
easily
• Print media that does not meet the
specifications is used. For example,
the media weight is not supported by
the printer.
• The paper used has been stored in
the air for a prolonged time.
• Photosensitive drum is not installed
normally.
• Please correctly use the medium
conforming to the specifications. See
• Keep the paper in its original wrapper
before use.
• Remove the photosensitive drum and
reinstall it.
Uneven
density
• The print head lenses are dirty.
• The photosensitive drum is damaged.
• Clean print head lenses.
• Replace photosensitive drum.
Horizontal
dark
lines
• The paper used has been stored in
the air for a prolonged time.
• The print media does not meet the
usage specification. For example, the
print media is textured, damp, or too
rough.
• Photosensitive drum is not installed
normally.
• The print head lenses are dirty.
• The photosensitive drum is damaged.
• Keep the paper in its original wrapper
before use.
• Please correctly use the medium
conforming to the specifications. See
• Remove the photosensitive drum and
reinstall it.
• Clean print head lenses.
• Replace photosensitive drum.
Summary of Contents for CM9106 Series
Page 1: ...Pantum CM9106 CM9706 Series Color Multifunction Printer...
Page 82: ...67 ADF glass mat Scanner glass Scanner glass mat...
Page 83: ...68...
Page 84: ...69 3 Open the door B1 4 Wipe the following areas ADF glass in door B1...
Page 88: ...73 2 Remove and then empty the punching box 3 Insert the punching box 4 Close the cover...
Page 92: ...77 9 Insert the waste toner bottle and close the door...
Page 97: ...82 5 Unpack the new waste toner bottle 6 Insert a new waste toner bottle and close the door...
Page 107: ...92 Replace the ADF separation roller 1 Power off the printer 2 Remove the ADF separation pad...
Page 117: ...102 7 Connect the tray connector to the printer 8 Open the feed tray 2 3 and 4...
Page 122: ...107 9 Remove the stabilizers from the tray 10 Remove the rubber cover...
Page 126: ...111 18 Connect the tray cable to the printer 19 Install the tray cable cover...
Page 127: ...112 20 Slide the tray until it clicks into place 21 Install the stabilizers to the printer...
Page 148: ...133 2 Open the door J 3 Open the door H...
Page 151: ...136 Area H8 Area H9...
Page 153: ...138 2 Remove the staple box holder 3 Remove the loose staples...
Page 155: ...140 2 Remove the staple box holder 3 Remove the loose staples...
Page 168: ...153...


