


Operating Instructions
Network Camera
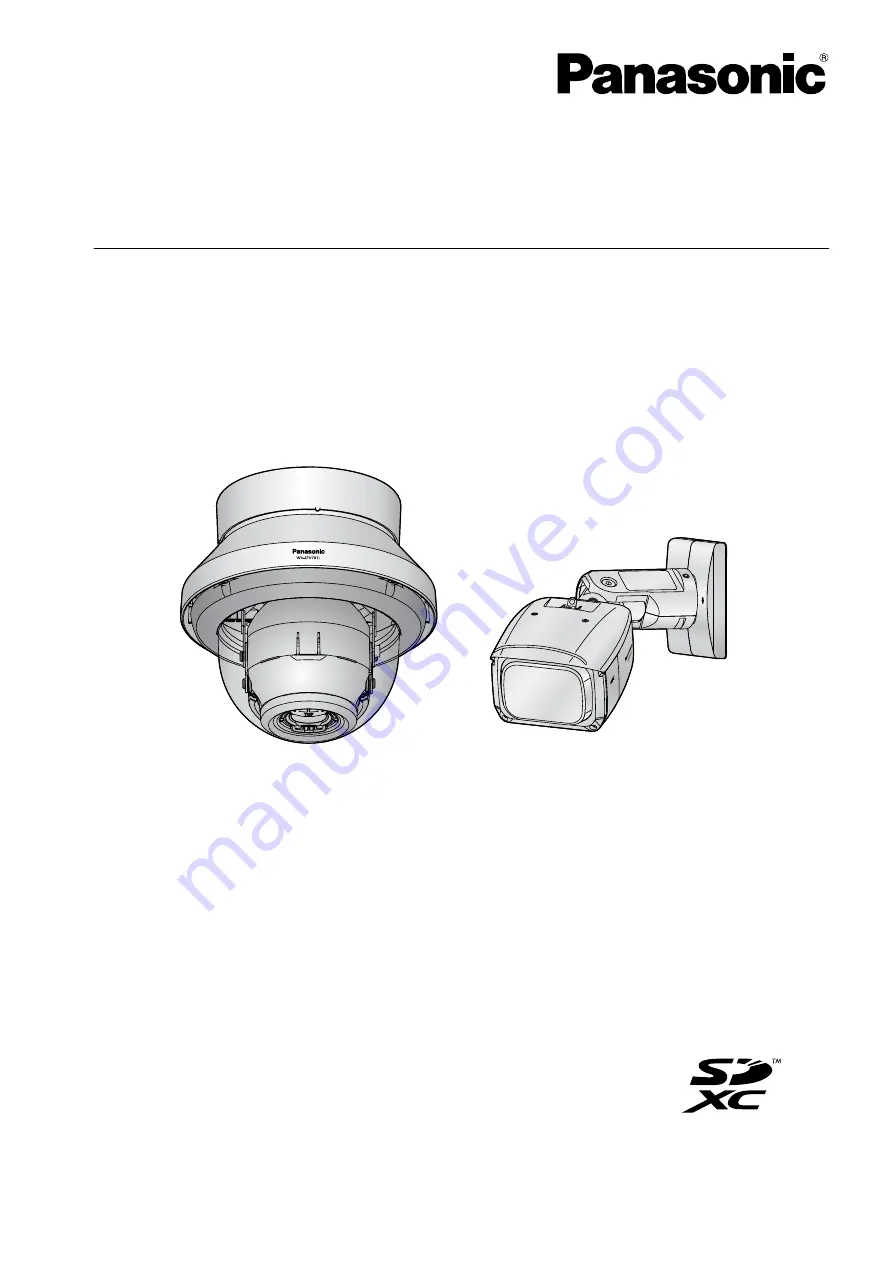
Model No.
WV-SFV781L
WV-SPV781L
WV-SPV781LPJ
WV-SFV781L
WV-SPV781L
This manual covers the models: WV-SFV781L, WV-SPV781L and WV-SPV781LPJ.
Before attempting to connect or operate this product, please read these instructions
carefully and save this manual for future use.


