Maintenance
8
0
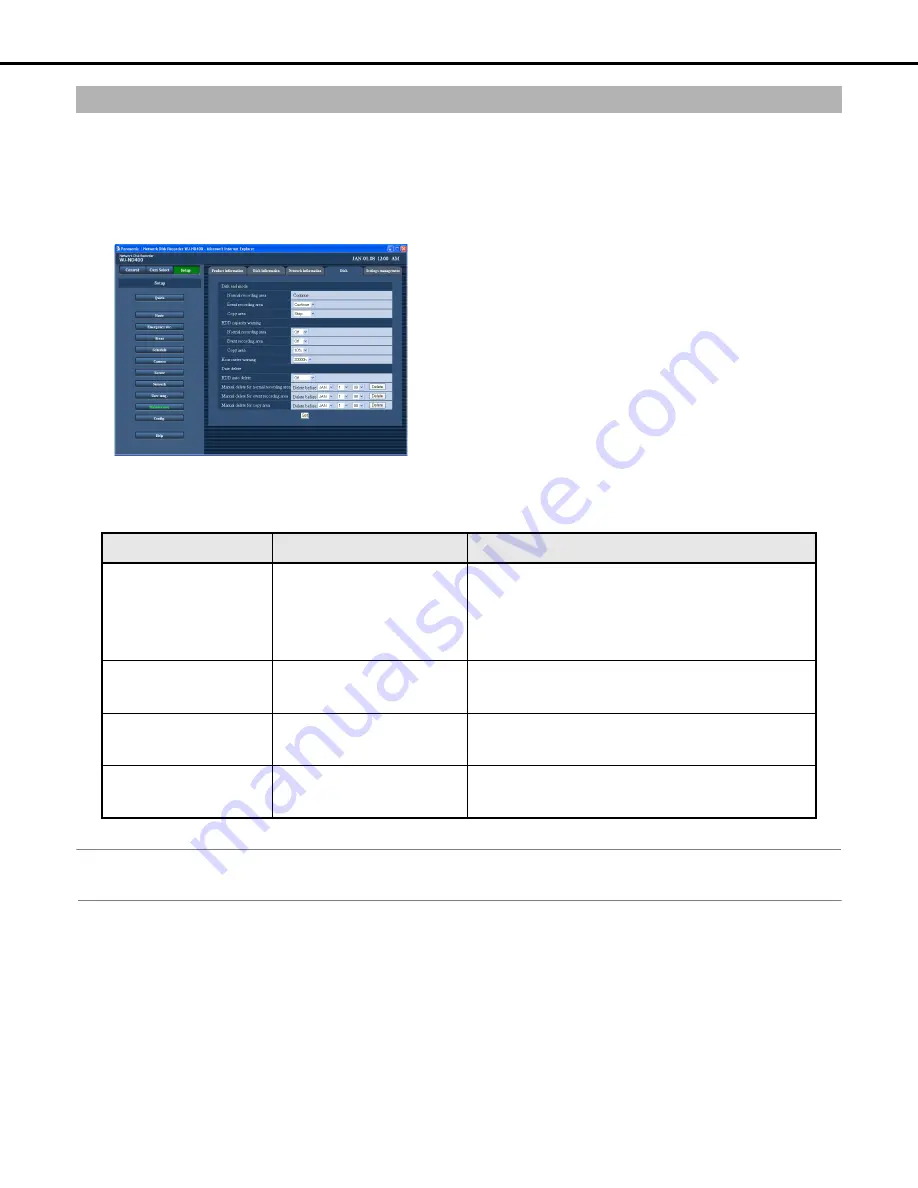
Use the following procedure to delete image data from the HDD of the recorder.
There are two methods available for deletion: auto delete and manual delete.
1
Click the [Maintenance] button on the setup menu.
2
On the sub-menu that appears, click [Disk].
This will display the "Disk setting" window.
3
Configure the settings for each item.
Refer to “Data delete” table for details about the settings.
4
Click the [Set] button.
Data delete
♦
Initial default
Note:
•
HDD auto delete does not delete image or video data in the Copy or Pre-event recording areas.
Deleting image data from a disk
Item
Settings
Description
HDD auto delete
Off
♦
/ 1day / 2days / 3days /
4days / 5days / 6days / 7days /
8
days / 9days / 10days / 14days /
30days / 1month / 45days /
60days / 90days / 120days /
150days / 1
8
0days
Specifies automatic image data deletion after the specified
period passes.
•
The execution time of the auto delete operation is 00:05:00.
Manual delete for normal
recording area
0
8
to 34 (Year) / Jan to Dec
(Month) / 1 to 31 (Day)
Deletes image data in the normal recording area until the day
before the specified date. After specifying the date, click the
[Delete] button.
Manual delete for event
recording area
0
8
to 34 (Year) / Jan to Dec
(Month) / 1 to 31 (Day)
Deletes image data in the event recording area until the day
before the specified date. After specifying the date, click the
[Delete] button.
Manual delete for copy area
0
8
to 34 (Year) / Jan to Dec
(Month) / 1 to 31 (Day)
Deletes image data in the copy area until the day before the
specified date. After specifying the date, click the [Delete]
button.
Summary of Contents for WJND400 - NETWORK DISK RECORDER
Page 73: ...4 ...


