53
English
Using Comparison mode
Use the Comparison mode function to compare the image from the real projector with the data on the internal memory
or USB memory.
■
About Comparison mode
●
When starting this function, it is possible to automatically switch to the input to which a real projector is connected.
(see page 46)
●
When comparing using a USB memory, the first one inserted is valid.
Activating the Comparison mode function
Select App Launcher in the Control menu and tap [Comparison mode] from the launcher to launch it.
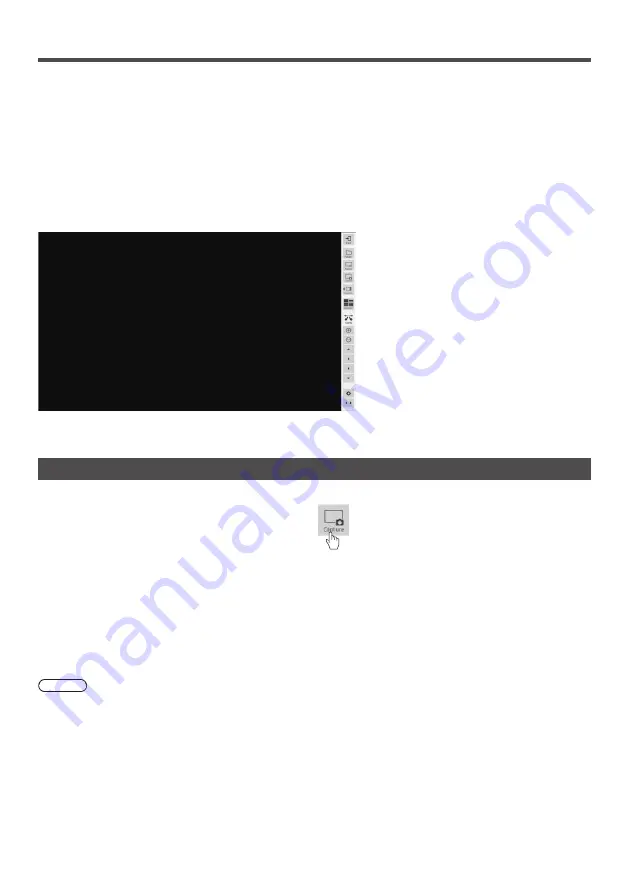
When it is started, the following screen is displayed:
[Comparison mode] menu
The Comparison mode has the following functions:
Capturing a video
Capture the video displayed on the screen and saves it into memory.
Tap the [Capture] button in the comparison mode menu
The video at the time of tapping is captured and saved in memory.
On one screen:
Only the video is captured.
On a screen other than one screen (on a split display, during simple drawing, etc.):
All other than video parts (drawing contents, etc.) are captured.
During zooming, simple drawing, split screen, and image display, screen shots including drawing contents are saved.
When saving, the captured image is displayed on the screen.
The save destination is the captured image folder. The folder that opens by default changes depending on whether or
not a USB memory device is used.
Note
●
Because there is a gap between the tap of the [Capture] button and the actual capture timing, it may not be possible
to capture the intended image for a movie with large actions.
●
If you tap [Image list] or [Disp mode] before selecting a comparison image, only the data captured on the Live
1 screen will be displayed in the new order. To display other captured data, select it using the comparison image
selection function.


