TH-42/50PD50U
Self-check Function
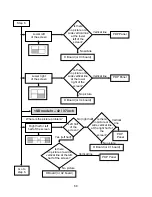
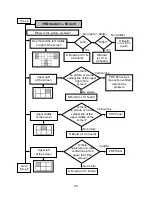
Diagnostic Procedures
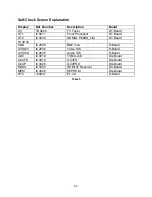
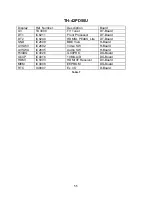
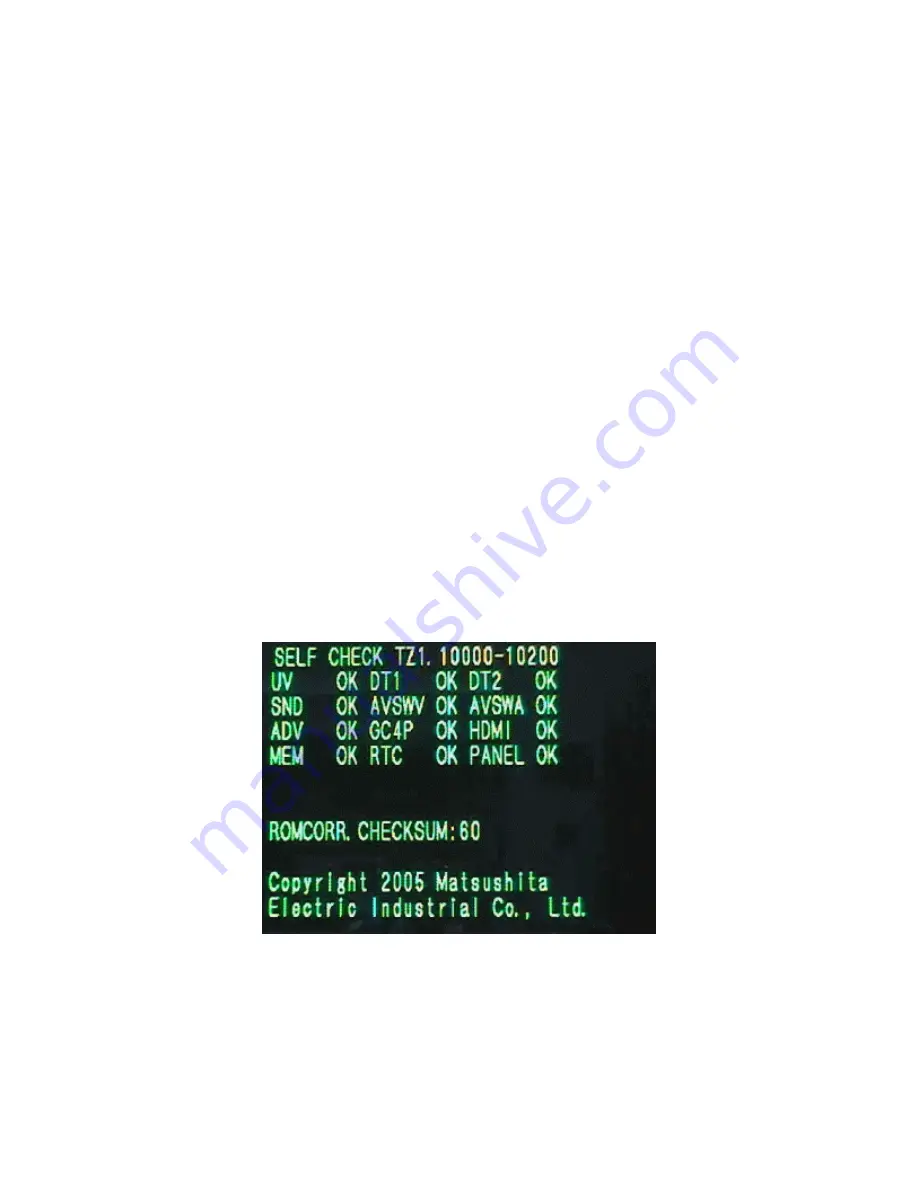
Self-check is used to automatically check the status of the ICs that are controlled via the
IIC bus line. Under normal condition, the status is
OK.
A status indication other than OK
indicates a problem within a specific board
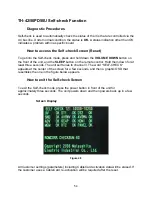
How to access the Self-check Screen (Reset)
To get into the Self-check mode, press and hold down the
VOLUME DOWN
button on
the front of the unit, and the
SLEEP
button on the remote control. Hold them down for at
least three seconds. The unit self tunes to channel 3. The word “SELF-CHECK“
appears at the center of the screen for a few seconds, and then a graphic OSD that
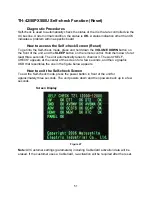
resembles the one in the figure below appears.
How to exit the Self-check Screen
To exit the Self-check mode, press the power button in front of the unit for
approximately three seconds. The unit powers down and then powers back up in a few
seconds.
Screen Display
Figure 48
All Customer settings (parameters) including CableCard activation data will be erased. If
the customer uses a CableCard, re-activation will be required after the reset.
54
Summary of Contents for TH-42PX50U
Page 40: ...SC board Waveform Figure 30 SU And SD Board Shift Registers Figure 31 35 ...
Page 43: ...SS Board Schematic Figure 33 SS Board Waveform Figure 34 38 ...
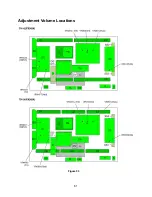
Page 66: ...Adjustment Volume Locations Figure 53 61 ...
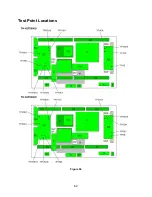
Page 67: ...Test Point Locations Figure 54 62 ...
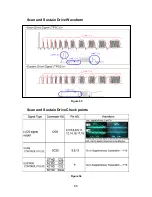
Page 71: ...Scan and Sustain Drive Waveform Figure 55 Scan and Sustain Drive Check points Figure 56 66 ...

