TH-42/50PX500U Self-check Function (Reset)
Diagnostic Procedures
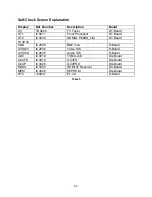
Self-check is used to automatically check the status of the ICs that are controlled via the
IIC bus line. Under normal condition, the status is
OK.
A status indication other than OK
indicates a problem within a specific board
How to access the Self-check Screen (Reset)
To get into the Self-check mode, press and hold down the
VOLUME DOWN
button on
the front of the unit
,
and the
SLEEP
button on the remote control. Hold them down for at
least three seconds. The unit automatically tunes to channel 3. The word “SELF-
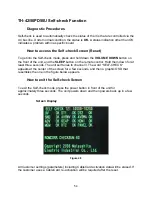
CHECK“ appears at the center of the screen for a few seconds, and then a graphic
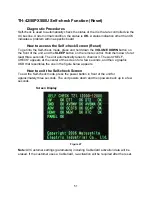
OSD that resembles the one in the figure below appears.
How to exit the Self-check Screen
To exit the Self-check mode, press the power button in front of the unit for
approximately three seconds. The unit powers down and then powers back up in a few
seconds.
Screen Display
Figure 47
Note:
All Customer settings (parameters) including CableCard activation data will be
erased. If the customer uses a CableCard, re-activation will be required after the reset.
51
Summary of Contents for TH-42PX50U
Page 40: ...SC board Waveform Figure 30 SU And SD Board Shift Registers Figure 31 35 ...
Page 43: ...SS Board Schematic Figure 33 SS Board Waveform Figure 34 38 ...
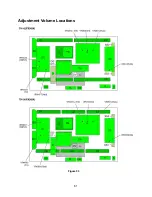
Page 66: ...Adjustment Volume Locations Figure 53 61 ...
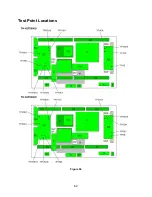
Page 67: ...Test Point Locations Figure 54 62 ...
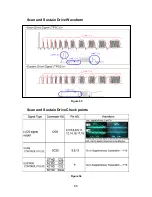
Page 71: ...Scan and Sustain Drive Waveform Figure 55 Scan and Sustain Drive Check points Figure 56 66 ...

