64
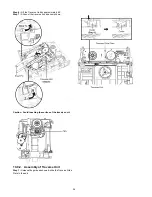
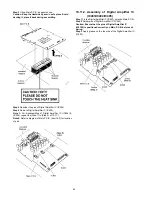
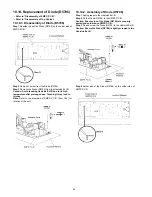
Step 4 Remove 4 screws.
Step 5 Lift up to remove SMPS P.C.B..
Caution: Handle the SMPS P.C.B. with care. Avoid touching
the heatsink due to its prolong use.
Caution: During assembling, ensure that SMPS P.C.B. is
properly located & fully inserted onto Bottom Chassis.
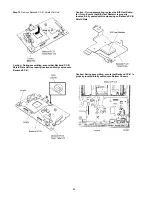
Caution: Replace the Bottom PC Sheet if broken Ensure
that it is pasted on the Bottom Chassis properly.
Summary of Contents for SA-XH50P
Page 13: ...13 4 1 Others Licences ...
Page 16: ...16 5 4 Speaker Connection ...
Page 17: ...17 5 5 Linked Operations with the TV VIERA LINK HDAVI Control ...
Page 18: ...18 ...
Page 19: ...19 5 6 Connection with an ARC compatible TV ...
Page 21: ...21 5 7 2 File Extension Type Support MP3 JPEG ...
Page 23: ...23 3 Gently pull out the tray 4 Remove disc ...
Page 46: ...46 10 2 Main Components and P C B Locations ...
Page 82: ...82 ...
Page 92: ...92 ...
Page 94: ...94 ...


