


60
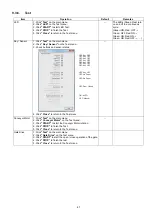
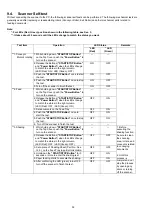
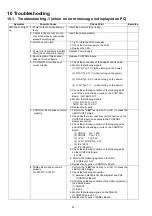
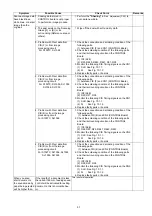
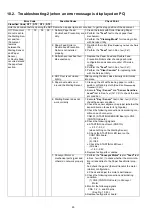
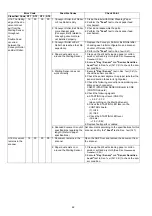
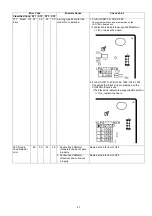
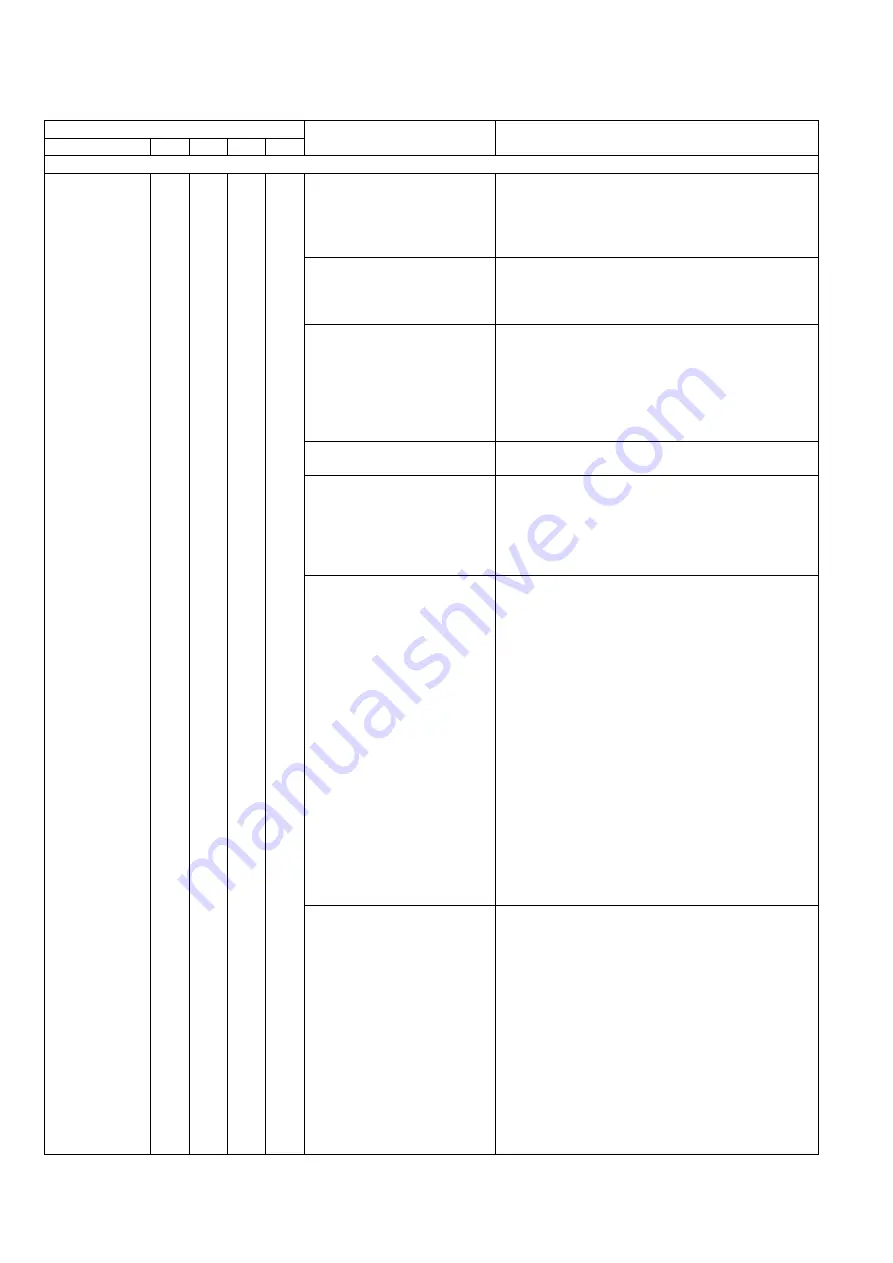
10.2. Troubleshooting-2 (when an error message is displayed on PC)
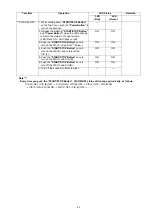
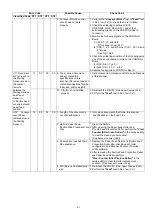
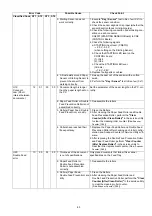
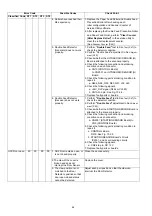
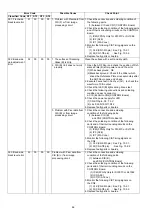
Error Code
Possible Cause
Check Point
Classified Code ST1
ST2
ST3
ST4
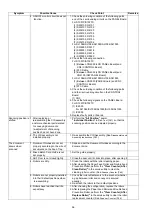
Hold the document before opening the ADF Door when a paper jam error occurred, to get the stop position of the document.
U11: Document
did not reach to
the Starting Sen-
sor position.
(Document
remains
between the
Starting Sensor
and Paper
Sensor.)
or Double Feed
occurred around
the paper feed
section.
11
00
00
00
1. Rollers (Paper Feed,
Double Feed Prevention) are
dirty.
1. Clean the rollers with Roller Cleaning Paper.
2. Perform the
"Feed"
test to check paper feed
mechanism.
3. Perform the
"Cleaning Mode"
for cleaning roller
with Service Utility.
2. Paper Feed Roller or
Double Feed Prevention
Roller is not installed
properly.
(
2. Perform the
"Feed"
test in Sec.
).
3. Rollers have reached their
life expectancy.
1. Replace the Paper Feed and Double Feed
Prevention Rollers after checking each roller
configuration and scanner counter of Service
Utility.
2. Perform the
"Feed"
test in Sec.
).
3. Perform the
"Clear Counter"
for replacing roller
with the Service Utility.
4. ADF Door is not closed
tightly.
After opening the door, close it slowly until it clicks
into place.
5. Paper dust exists on or
around the Starting Sensor.
1. Clean up the dirt with cleaning paper or cotton
swab or soft and dry cloth.(See Sec.
2. Execute
"Key / Sensor"
and
"Sensor Sensitive
Level"
test in Sec.
) to check the sen-
sor condition.
6. Starting Sensor does not
work correctly.
1. Execute
"Key / Sensor"
test in Sec.
(
check the sensor condition.
2. Check the sensor alignment is proper (whether the
sensor direction faces to its light guide.)
3. Check the following connection and soldering con-
dition on each connector.
CN2301 ( STARTING SENSOR Board) to CN9
(CONTROL Board)
4. Check the following signals
a. STARTING input level. (CN9-7th)
2.5 V - 3.3 V
(when nothing on the Starting Sensor)
b. Check the STARTING LED level on the
CONTROL board.
(1). IC24
(2). IC42
c. Check the STARTING LED level.
(CN9-6th)
1.9V - 2.6V
6. Replace faulty parts or cables.
7. Conveyor Motor or
mechanical parts (gear and
others) do not work properly.
1. Perform the
"Conveyor Motor"
test or
"Feed"
test
in Sec.
) to check whether the motor rota-
tion is transmitted to the Paper Feed Roller prop-
erly.
And check the gears' (that will transmit the motor
rotation) configuration.
2. Check and adjust the motor’s belt tension.
3. Check the following connection and soldering
condition.
(1) CN8 (CONTROL Board) to Conveyor
Motor
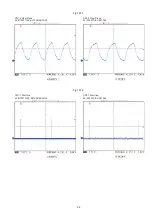
4. Monitor the following signals.
CN8- 1, 2, 3, and 4th pins
(See Fig. 10.2.3.)
5. Replace faulty parts or board.
Summary of Contents for KV-S1057C
Page 7: ...7...
Page 9: ...9 3 Location of Controls and Components 3 1 Main Unit...
Page 10: ...10...
Page 16: ...16 5 Section Views 5 1 Motor 5 2 Roller...
Page 17: ...17 5 3 Board and Sensor...
Page 31: ...31 7 3 8 Wiring of Upper Chassis...
Page 128: ...128 14 Exploded View and Replacement Parts List...
Page 133: ...133 14 3 Feed Tray Assembly 302 305 302 303 307 301 306 305 302 304 Feed Tray Assembly...
Page 188: ...Index 74 8 Operating Manual Table of Contents...
Page 255: ...PNQX6995ZA DD0914HS0 Panasonic System Networks Co Ltd 2014...


