
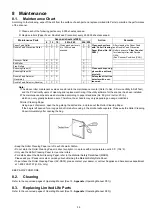
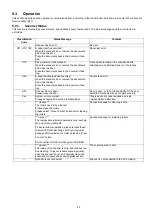


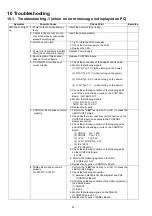

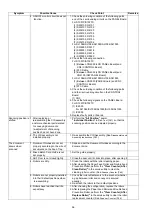
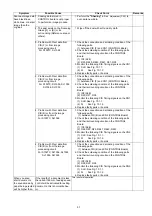

48
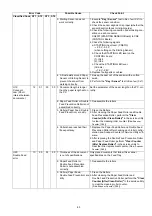
Feed
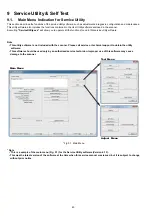
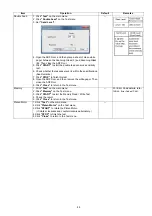
1. Click
“Test”
on the main menu.
2. Set documents on the Feed Tray.
3. Click
“Feed”
on the Test menu.
4. After setting each
“Test Condition”
, click
“START”
to start
feeding documents.
5. Click
“OK”
.
6. Click
“Close”
to return to the Test menu.
—
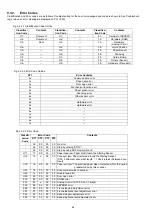
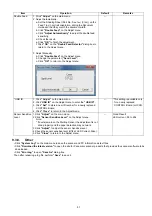
LCD Test
for KV-S10xxC
7-segment LED
Test
for KV-SL10xx
1.Click
“Test”
on the main menu.
2.Click
“LCD Test”
/
“7-segment LED Test”
on the Test menu.
3.Click
“START”
to start.
4. Click
“STOP”
to finish the test.
5. Click
“Close”
to return to the Test menu.
The test pattern changes
each time clicking
“START”
on dialog box.
Sleep Mode
1. Click
“Test”
on the main menu.
2.Click
“Sleep Mode”
on the Test menu.
3.Click
“START”
to enter the sleep mode.
4.Click
“STOP”
to return from the sleep mode.
5.Click
“Close”
to return to the Test menu.
Green LED on the panel
blinks under the sleep mode.
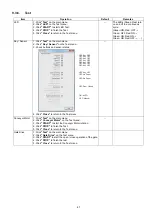
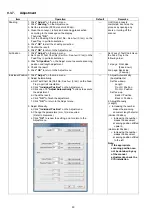
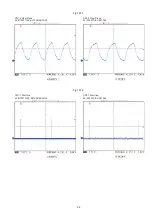
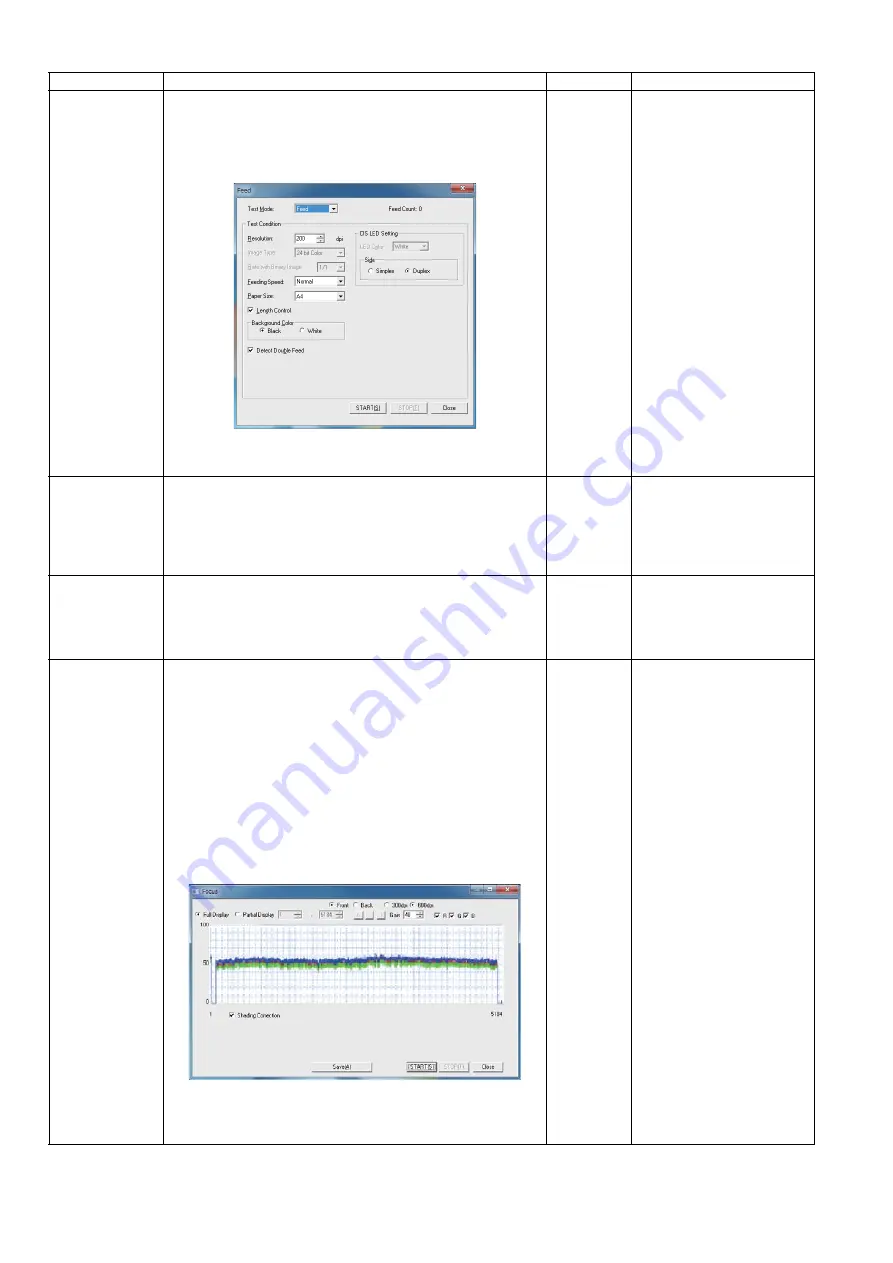
**Focus
1. Click
“Test”
on the main menu.
2. Click
“Focus”
on the Test menu.
3. Open the ADF Door, and then place a sheet of clean white
paper (A4 (80 g/m2),or Letter (20lb.)) between the Scanning
Glass (F) and Scanning Glass (B). Then, close the ADF
Door.
4. Set the value for
“Gain”
. (Value: 40 or less)
5. Select a side (Front or Back) and resolution (300 dpi or 600
dpi).
6. As required, check the box of
“Shading Correction”
so that
the image sensor waveform after shading correction can be
seen.
7. Click
“START”
to monitor the image sensor waveform.
8. Click
“STOP”
to finish the test.
9. Click
“Close”
to return to the Test menu.
10. Open the ADF Door, and then remove the paper.
—
This test indicates the output
level of each image sensor.
When some white or black
lines appear on the scanned
images, execute this test with
no check
“Shading Correc-
tion”
and follow below proce-
dure.
1.Find too low level location
of the output on the test
indication.
2.Check if the location on the
scanning glass has an
damage (scratch etc.) or
dust. If there is any dam-
age, replace the scanning
glass.
3.Clean the location with a
soft and dry cloth and wipe
off any dirt.
4.Execute
“Shading”
, if
some white or black lines
do not disappear.
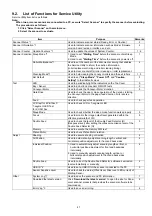
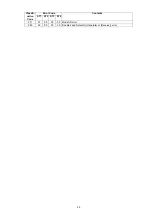
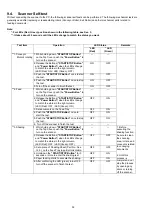
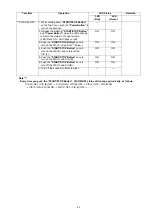
Item
Operation
Default
Remarks
Left Side
Right side
Summary of Contents for KV-S1057C
Page 7: ...7...
Page 9: ...9 3 Location of Controls and Components 3 1 Main Unit...
Page 10: ...10...
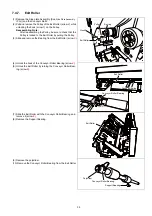
Page 16: ...16 5 Section Views 5 1 Motor 5 2 Roller...
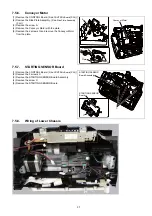
Page 17: ...17 5 3 Board and Sensor...
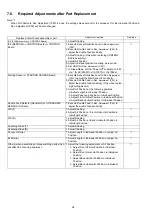
Page 31: ...31 7 3 8 Wiring of Upper Chassis...
Page 128: ...128 14 Exploded View and Replacement Parts List...
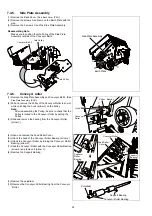
Page 133: ...133 14 3 Feed Tray Assembly 302 305 302 303 307 301 306 305 302 304 Feed Tray Assembly...
Page 188: ...Index 74 8 Operating Manual Table of Contents...
Page 255: ...PNQX6995ZA DD0914HS0 Panasonic System Networks Co Ltd 2014...


