9. Useful Information
74
9.3 Cancelling the operations
You can cancel the current operation from the unit. You
can also select the desired operation to cancel.
1
{
W
}
L
“
USER STOPPED
”
is displayed.
L
If
“
USER STOPPED
”
is not displayed, go to step
2
To cancel printing:
Press
{
W
}
repeatedly to display
“
STOP
PRINTING?
”
.
To cancel scanning:
Press
{
W
}
repeatedly to display
“
STOP
SCANNING?
”
.
To cancel copying:
Press
{
W
}
repeatedly to display
“
STOP
COPYING?
”
.
To cancel sending or receiving faxes:
Press
{
W
}
repeatedly to display
“
STOP FAX?
”
.
To cancel broadcast transmission:
Press
{
W
}
repeatedly to display
“
BROAD
CANCELLED?
”
.
To cancel fax redialling:
Press
{
W
}
repeatedly to display
“
SEND
CANCELLED?
”
.
3
{
OK
}
Option
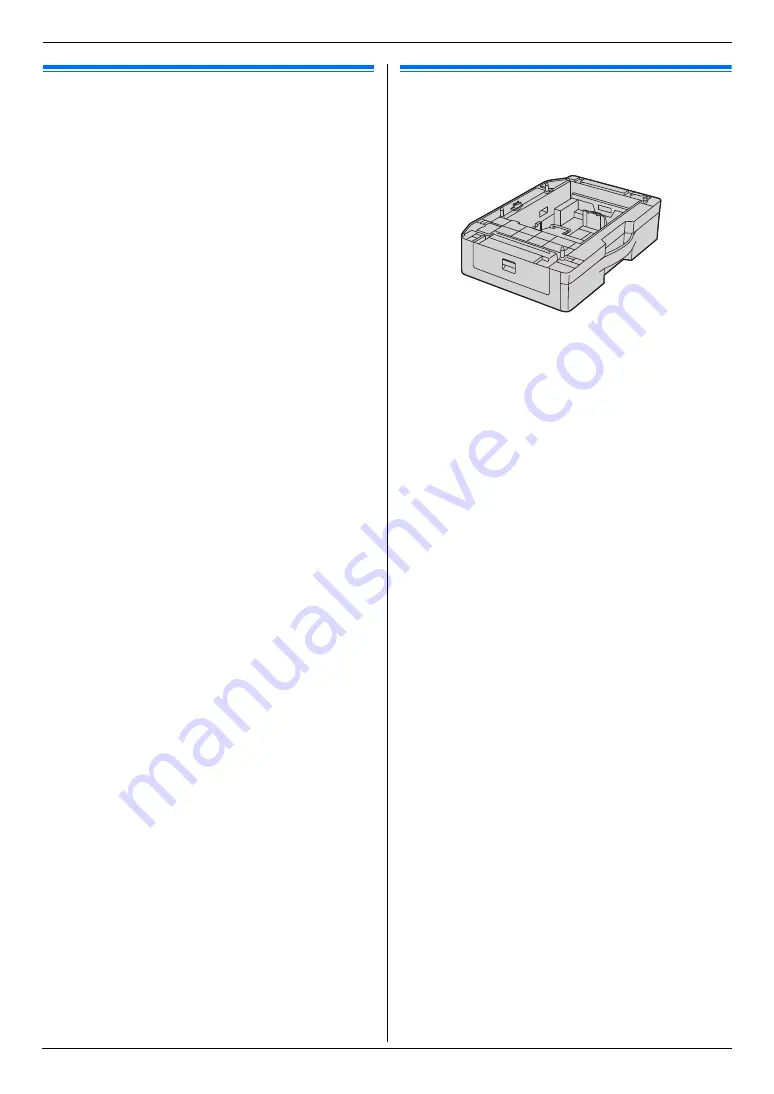
9.4 Lower input tray (optional)
You can add a lower input tray. See page 8 for accessory
information.
The lower input tray can hold:
–
Up to 520 sheets of 75 g/m
2
paper.
–
Up to 470 sheets of 80 g/m
2
paper.
–
Up to 410 sheets of 90 g/m
2
paper.
L
The unit is set for printing A4-size plain paper by
default.
–
To use other paper sizes, change the
recording paper size setting (feature #382 on
page 57).
–
To use thin paper, change the recording paper
type setting (feature #383 on page 57).
Important:
L
Before starting installation of the lower input
tray, be sure to turn the power switch OFF. For
more details about the installation, please refer
to the installation guide for the lower input tray.
L
After installation, you can select the lower input
tray to be used for the following:
–
Paper input tray setting for faxing (feature
#440 on page 62).
–
Paper input tray setting for copying (feature
#460 on page 63).
–
Paper input tray in PCL (feature #760 on page
64).
–
Paper input tray setting for the scan to email
print feature (feature #565 on page 69).
L
To use the lower input tray with your computer,
you need to change the printer properties. See
page 75 for details.


