Edit
ing video
TQBS0165
36
1
Select “Divide Programme” in “Edit”, then
press [OK].
2
Press [OK] at the point to divide the
programme.
• You can find the desired point by using play,
search, etc. (
>
31)
3
Select “Continue”, then press [OK].
4
Select “Divide”, then press [OK].
To confirm the division point
After performing step 2.
Select “Preview”, then press [OK].
• The unit plays 10 seconds before and after the
division point.
To change the division point
After performing step 2.
Restart play and select “Divide”, then press [OK]
at the division point.
• Divided programmes will become a group of programmes.
The Picture Quality Change function changes the
recording mode of programmes in DR mode or
AVCHD format. It takes about the same amount of
time as recording to change the mode.
1
Select “Picture Quality Change” in “Edit”, then
press [OK].
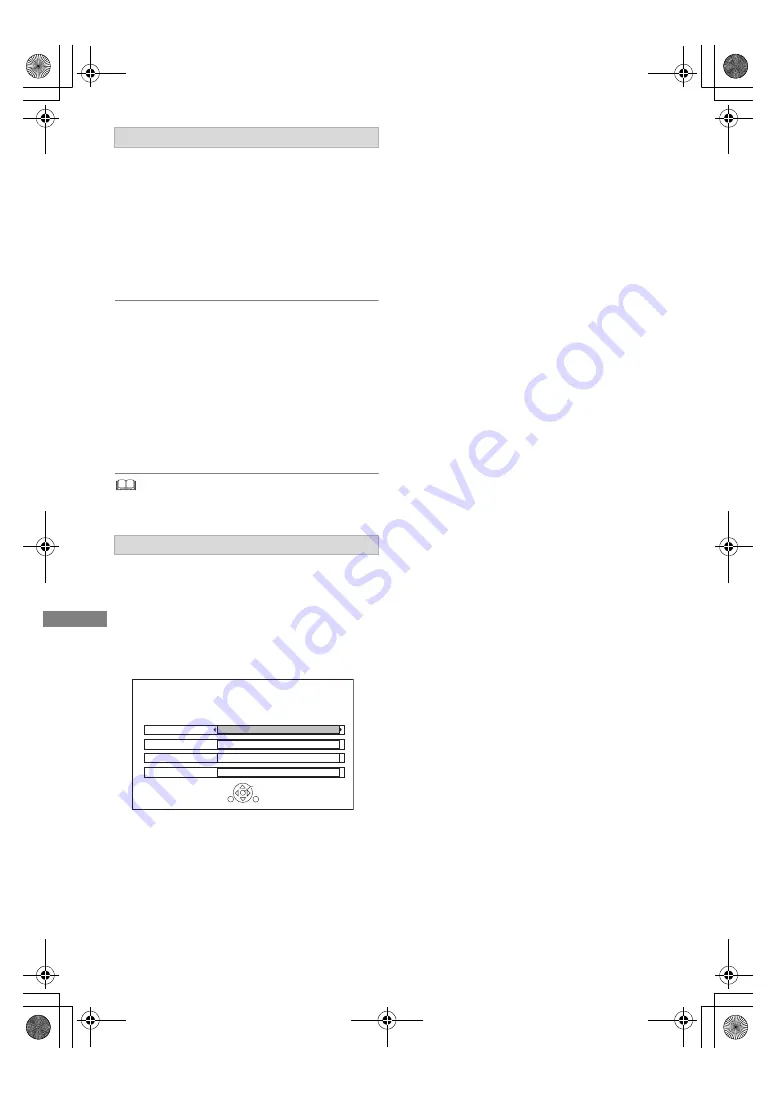
2
Set the picture quality change options, then
press [OK].
Picture Quality (
>
66):
•
[USB_HDD]
You cannot select XP, SP and LP
mode.
Subtitles:
• Automatic
Subtitles will be recorded if they are included
in the programme.
• Off
Subtitle will not be recorded.
Audio Description:
• Automatic
Audio Description will be recorded if they are
included in the programme.
• Off
Audio Description will not be recorded.
Timing:
• Now
A picture quality change starts immediately
after step 4.
• Timer recordings cannot be performed
while a picture quality change is in
progress.
• During standby
A picture quality change starts after the unit
is switched to standby mode.
3
Select the item below, then press [OK].
Delete:
The original programme will be deleted to save
the storage capacity of the HDD after the
picture quality is changed.
Keep:
The original programme is retained even after
the picture quality is changed.
Dividing programme
Picture Quality Change
Picture Quality Change
Change picture quality of the selected programme.
Please select picture quality and other options, then press OK.
RETURN
Subtitles
Off
Picture Quality
HL – Longer Play
Audio Description
Off
Timing
During standby
OK
4 If you have selected “Now”:
Select “Start”, then press [OK].
If you have selected “During standby”:
Press [OK].
• Picture quality change will be performed
after the unit is switched to standby mode.
“COPY” or “CONV” on the front panel display
stay lit while a picture quality change is in
progress.
DMR-HST270GZ_eng.book 36 ページ 2017年12月26日 火曜日 午後5時47分


