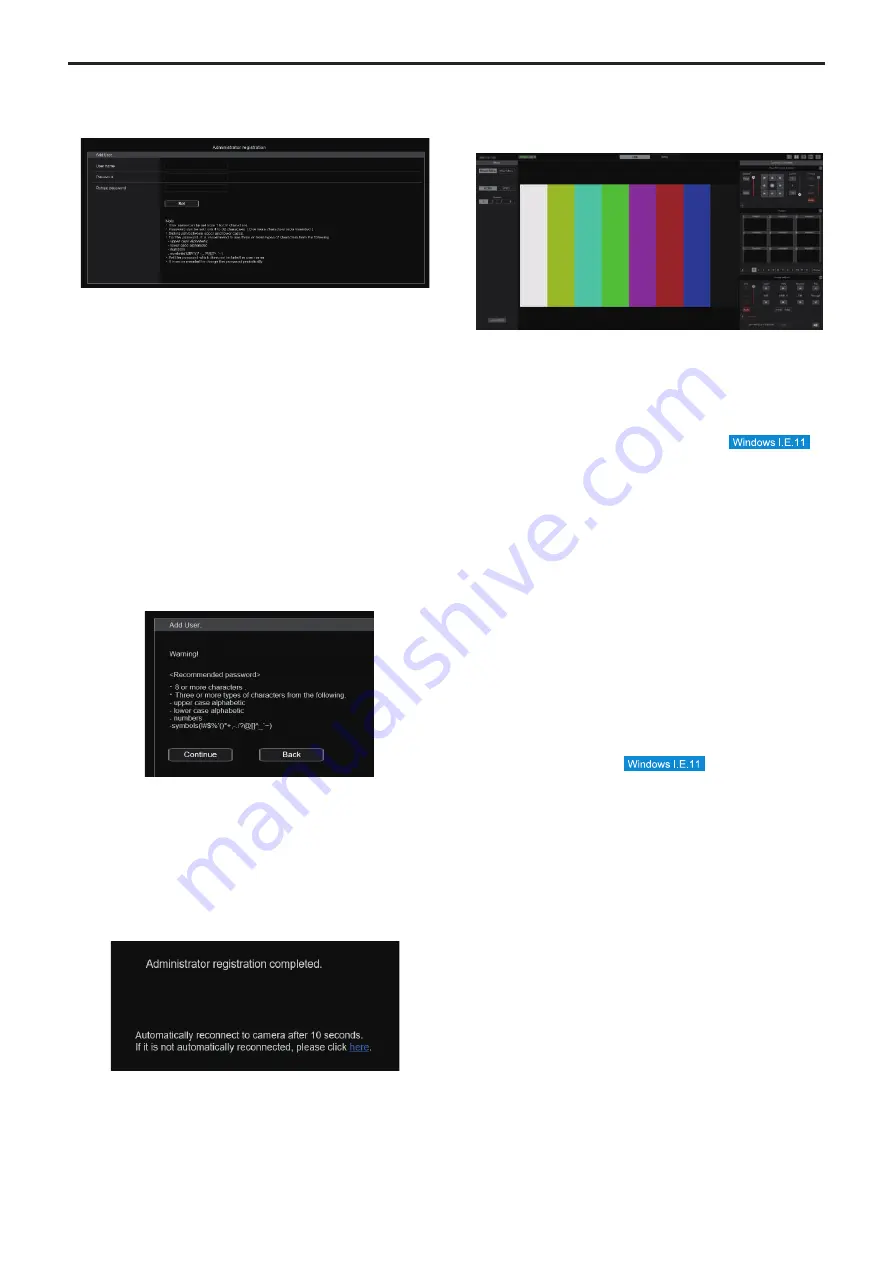
3.
Set the initial account.
In the initial state, the initial account setting screen is displayed when
the web screen is displayed.
Set a user name and password.
<NOTE>
• Do not set character strings that can be easily guessed by third
parties.
• Change the password at regular intervals.
• The password must use at least 3 of the following 4 character types
and be 8 characters or longer.
Alphabet upper cases
Alphabet lower cases
Numerals
Symbols ( ! # $ % ’ ( )
*
+ , - . / ? @ [ ] ^ _ ` ~ )
• When a password is set that does not adhere to the above policy,
take responsibility for use of the device with due consideration for
the security risks in the installation environment, etc.
• A warning is displayed if the set password goes against the
recommended setting policy. When changing the password, click
the [Back] button and set the password again.
When continuing with the setting with full understanding of the
security risks, click [Continue] to complete the setting.
• If you forget the account information that was set, use the switches
for initialization of service switches to reset the user information
used for connecting to the network. (→ page 16)
4.
Completing registration of the initial account
After completing registration of the initial account, the following
registration completed screen is displayed.
The live screen [Live] is automatically displayed after about
10 seconds elapse after the completed screen is displayed.
If the live screen [Live] is not displayed after 10 seconds elapse,
manually move to the live screen [Live] by clicking the “please click
here” link.
This completes the process of registering the initial account.
<NOTE>
• Network connection with AW-RP150 or AW-RP60 requires setup of an
initial account. (→ page 27)
When an initial account is not set up, AW-RP150 or AW-RP60 can
detect but cannot control this unit.
5.
Display the live screen [Live].
The web screen appears.
The live screen [Live] (→ page 76) is displayed initially. You
can switch to the web setup screen [Setup] (→ page 81) when
necessary. (→ page 75)
<NOTE>
• Standby mode is the factory default setting, so switch to Power ON
mode.
• If the personal computer does not have the plug-in viewer software
already installed, an installation confirmation message is displayed
before the live screen [Live] is displayed. In a case like this, follow
the on-screen instructions to install the software.
For details, refer to “Installing the plug-in viewer software”
(→ page 27).
• Depending on the firewall settings on your personal computer,
transmitted images may not be displayed. If this occurs, change the
firewall settings and change the settings to permit communications
with your web browser.
• When an attempt is made to display multiple IP images on one
personal computer, IP videos may not be displayed depending on
the performance of the personal computer concerned.
• A maximum of 14 users, including users receiving IP video, can
access the unit simultaneously. However, the number of users that
can access the unit may be restricted to less than 14 depending on
the network communication bandwidth used by the unit. A message
indicating the access limit will appear if the number of users
exceeds 14. When [Transmission type] is set to [Multicast port] for
[H.264] or [H.265], the second and subsequent users receiving
H.264 or H.265 images will not be counted toward the total access
count.
•
When [H.264 transmission] (→ page 92) is set to [On], H.264
images are displayed. When it is set to [Off], JPEG images will
be displayed. JPEG images can be displayed even when [H.264
transmission] is set to [On].
• The JPEG image frame rate may be slower depending on the
network environment, performance of your personal computer,
subject of the video, and access volume.
74
Displaying the web screen (continued)
Summary of Contents for AW-HE145WP
Page 102: ...z zPicture 102 Web screen configurations continued ...
Page 155: ...155 MEMO ...


