Chapter 3
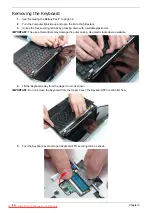
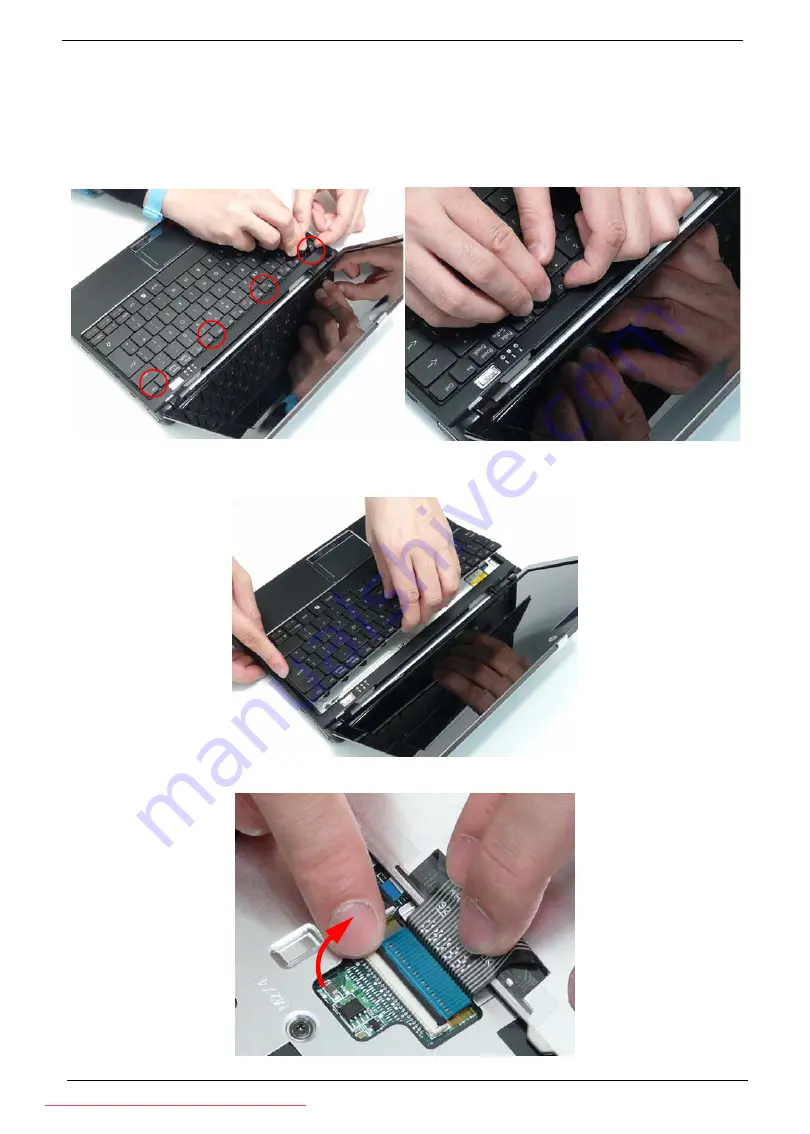
Removing the Keyboard
1.
See “Removing the Battery Pack” on page 36.
2.
Turn the computer rightside up and open the lid to the full extent.
3.
Unlock the four securing latches by pressing down with a suitable plastic tool.
IMPORTANT:
The use of metal tools may damage the outer casing. Use plastic tools where available.
4.
Lift the Keyboard away from the Upper Cover as shown.
IMPORTANT:
Do not remove the Keyboard from the Upper Cover; the Keyboard FFC is still attached.
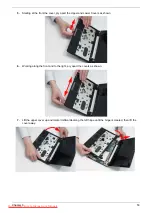
5.
Turn the Keyboard over and open Keyboard FFC securing latch as shown.
Summary of Contents for DOTMA-111G16i
Page 6: ...VI Downloaded from LpManual com Manuals ...
Page 10: ...X Table of Contents Downloaded from LpManual com Manuals ...
Page 54: ...44 Chapter 3 6 Remove the WLAN Board from the Mainboard Downloaded from LpManual com Manuals ...
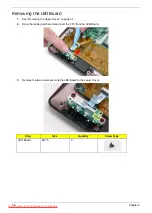
Page 67: ...Chapter 3 57 4 Lift the LED Board from the Lower Cover Downloaded from LpManual com Manuals ...
Page 132: ...122 Chapter 3 Downloaded from LpManual com Manuals ...
Page 154: ...144 Chapter 5 Downloaded from LpManual com Manuals ...
Page 172: ...162 Appendix C Downloaded from LpManual com Manuals ...

