


91
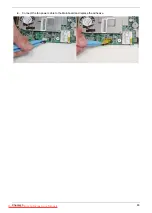
Main Module Reassembly Procedure
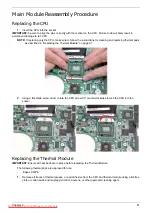
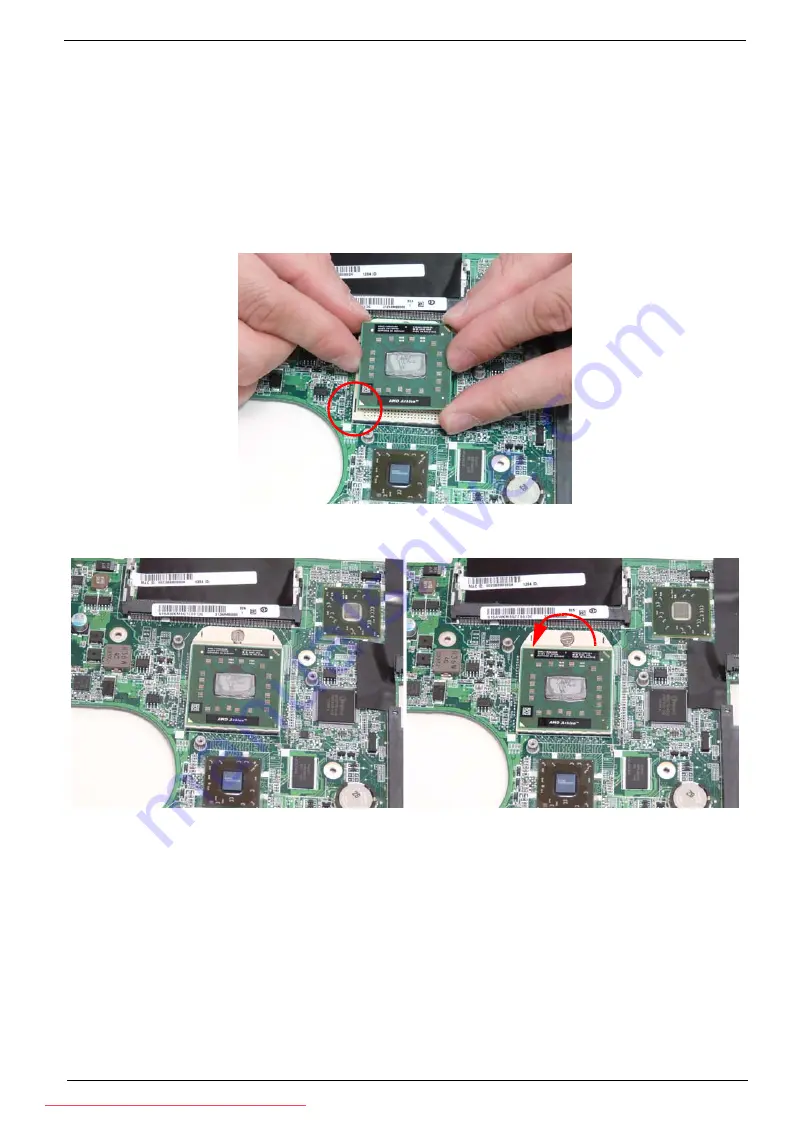
Replacing the CPU
1.
Insert the CPU into the socket.
IMPORTANT:
be sure to align the pins correctly with the marker on the CPU. Failure to do will likely result in
permanent damage to teh CPU.
NOTE:
If replacing only the CPU, make sure to follow the instrucitons for cleaning and replacing thermal pads
as described in “Replacing the Thermal Module” on page 91.
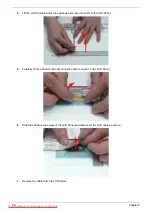
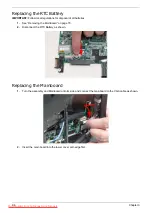
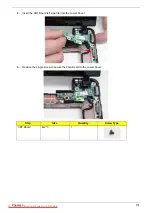
2.
Using a flat blade screw driver, rotate the CPU screw 90° counterclockwise to lock the CPU into the
socket.
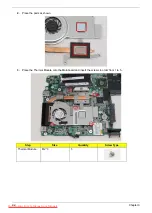
Replacing the Thermal Module
IMPORTANT:
Ensure all heat pads are in place before replacing the Thermal Module.
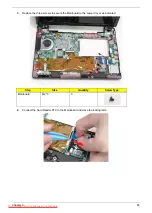
The following thermal pads are approved for use:
•
Eapus XR-PE
1.
Remove all traces of thermal grease or pad adhesive from the CPU and thermal module using a lint-free
cloth or cotton swab and Isopropyl Alcohol, Acetone, or other approved cleaning agent.
Summary of Contents for DOTMA-111G16i
Page 6: ...VI Downloaded from LpManual com Manuals ...
Page 10: ...X Table of Contents Downloaded from LpManual com Manuals ...
Page 54: ...44 Chapter 3 6 Remove the WLAN Board from the Mainboard Downloaded from LpManual com Manuals ...
Page 67: ...Chapter 3 57 4 Lift the LED Board from the Lower Cover Downloaded from LpManual com Manuals ...
Page 132: ...122 Chapter 3 Downloaded from LpManual com Manuals ...
Page 154: ...144 Chapter 5 Downloaded from LpManual com Manuals ...
Page 172: ...162 Appendix C Downloaded from LpManual com Manuals ...