Osprey 800e Series User Guide
Osprey by Variosystems
59
7.
Select the
Audio Configurator
tab.
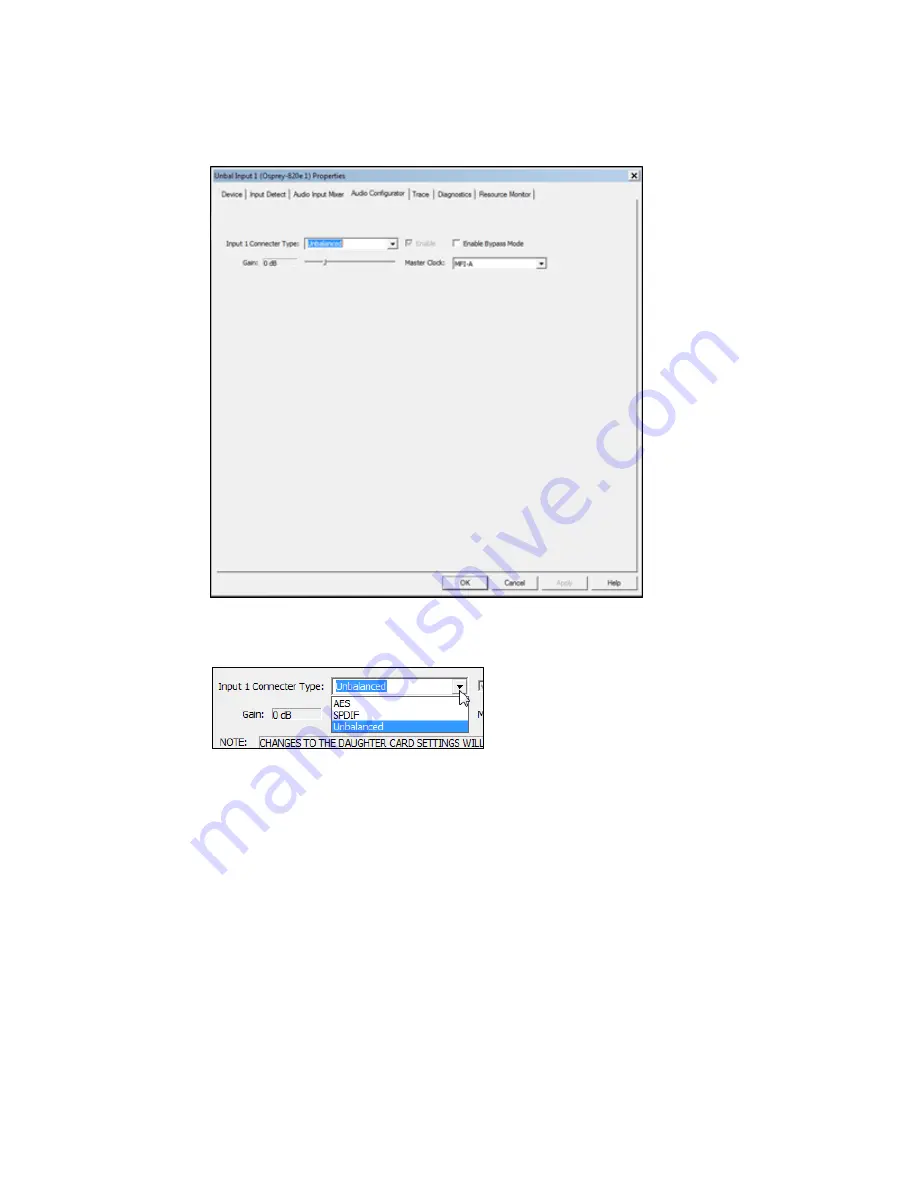
Figure 42. Audio Configurator tab
8.
Select the audio input in the
Input 1 Connector Type
field (Figure 43).
Figure 43. Input 1 Connector Type field
9.
The
Master Clock
field should correspond to the video connectors on the back of the card. If
you change the connector on the card, you need to change the Master Clock field as well.
10.
Click
Apply
and then
OK
.
11.
Reboot the system so your changes can take effect.
After you configure the inputs for the audio input card, any encoders that you create will display the
additional audio inputs on the Audio tab. If you configure the inputs after you create encoders, the
additional audio inputs will display on the Audio tab. However, if you change the audio connector on
the card and in Osprey Preview, you need to manually change the audio settings on each encoder in
the web interface.
Summary of Contents for 800a
Page 1: ...Osprey 800e Series User Guide...
Page 8: ......
Page 22: ......
Page 56: ......
Page 62: ...Selecting the Audio Source and Input Volume 58 Osprey by Variosystems...
Page 64: ...Selecting the Audio Source and Input Volume 60 Osprey by Variosystems...
Page 71: ...Osprey 800e Series User Guide Osprey by Variosystems 67 Figure 52 Osprey 815e backplate...
Page 79: ......


