Installation and operating manual for WATERFRIEND -Chlorine MRD-3 Page 22
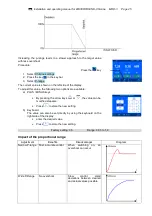
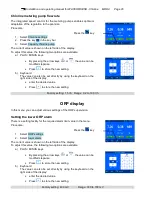
Setting the lower chlorine alarm
There is a setting facility for the required alarm limit value in the menu.
Procedure:
Press the
key
1. Select Chlorine settings
2. Select lower alarm
The current value is shown on the left side of the display.
To adjust this value, the following two options are available:
a) PLUS / MINUS keys
•
By pressing the arrow keys
or
, the value can be
modified stepwise.
•
Press
to store the new setting.
b) Keyboard
The value can also be set directly by using the keyboard on the
right side of the display:
•
enter the desired value
•
Press
to store the new setting.
Factory setting: 0,1
Range: from 0,01 to chlorine target value (setpoint)
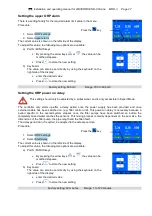
Setting the upper ORP alarm
There is a setting facility for the required alarm limit value in the menu.
Procedure:
Press the
key
1. Select Chlorine settings
2. Select upper alarm
The current value is shown on the left side of the display.
To adjust this value, the following two options are available:
a) PLUS / MINUS keys
•
By pressing the arrow keys
or
, the value can be
modified stepwise.
•
Press
to store the new setting.
b) Keyboard
The value can also be set directly by using the keyboard on the
right side of the display:
•
enter the desired value
•
Press
to store the new setting.
Factory setting: 0,8
Range: from chlorine target value to 9,99
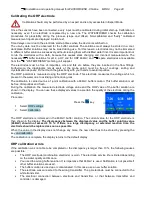
Calibrating the chlorine sensor
Calibration should only be performed by an expert and is only accessible in Expert Mode.
Once the sensors have been connected, every input must be calibrated during initial start-up. Calibration is
necessary even if an electrode is replaced by a new one. The WATERFRIEND checks the calibration
procedures for plausibility during the process (slope and offset). Non-calibrated and "badly" calibrated
measurement inputs are displayed in plain text.
Time delays occur due to the electrode start-up times when the device is switched on.

