


On-Net Surveillance Systems, Inc.
NetDVMS 6.5e
Administration
17
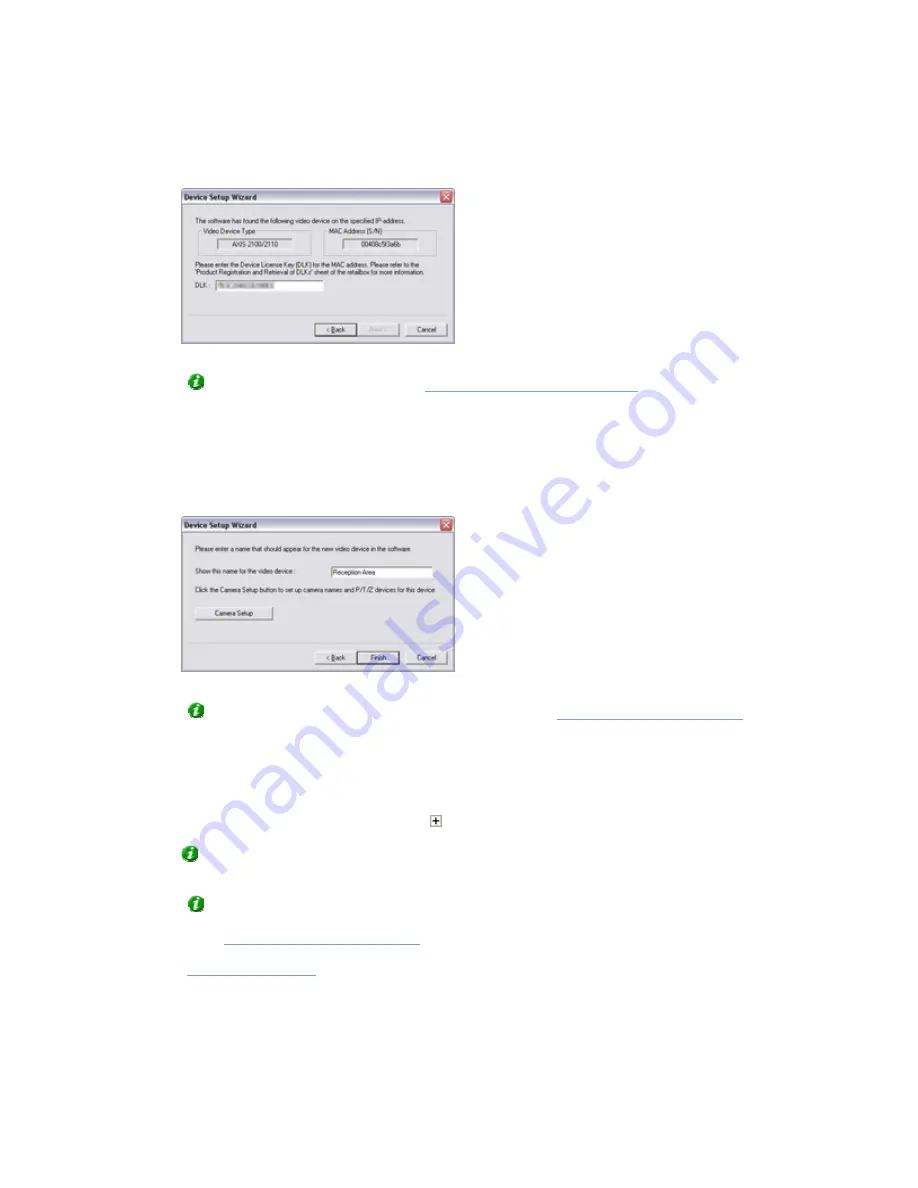
5. When the device has been detected, type the Device License Key (DLK) for the device in the
DLK
field.
Specifying DLK for the device
Tip:
If you have imported DLKs (see
How to Import Device License Keys
), the
DLK
field will already be
filled with the DLK for the device.
Click
Next
.
6. Assign a unique and descriptive name to the device. Upon completion of the wizard, the name will be used
when listing devices and associated cameras in the
Administrator
window's
Device Manager
section. The
name may, for example, refer to the physical location of the camera(s) attached to the device.
Assigning a name to the device
Tip:
You may click the
Camera Setup
button to access the
Camera Settings for …
window
, in which you
are able to specify certain settings related to camera name and PTZ control. The latter requires that the
camera is a PTZ (Pan/tilt/Zoom) camera.
7. Click
Finish
.
8. The device will be listed in the
Administrator
window's
Device Manager
section. To view a list of cameras
attached to the device, click the plus sign next to the device name.
Tip:
Cameras are listed for each device with default names, such as
Camera 1
, etc. If you want to change
the name of a camera, right-click the camera name in question, then select Edit from the menu that appears.
Tip:
Individual cameras listed in the
Device Manager
section are by default enabled, meaning that video
from the cameras are by default transferred to NetDVMS—provided that the cameras are marked as
online
in the
Camera/Alert Scheduler
Window
(also default). If required, you can disable a camera listed in the
Device Manager
section by right-clicking the name of the camera in question. See more information under
Administrator
window
.


