Installation & User Manual – Oncam C-12 Series
©
Oncam Global Group AG, 2020. All rights reserved.
10
keyboard or move your mouse towards the top of the screen at the center and click the X icon
that appears.
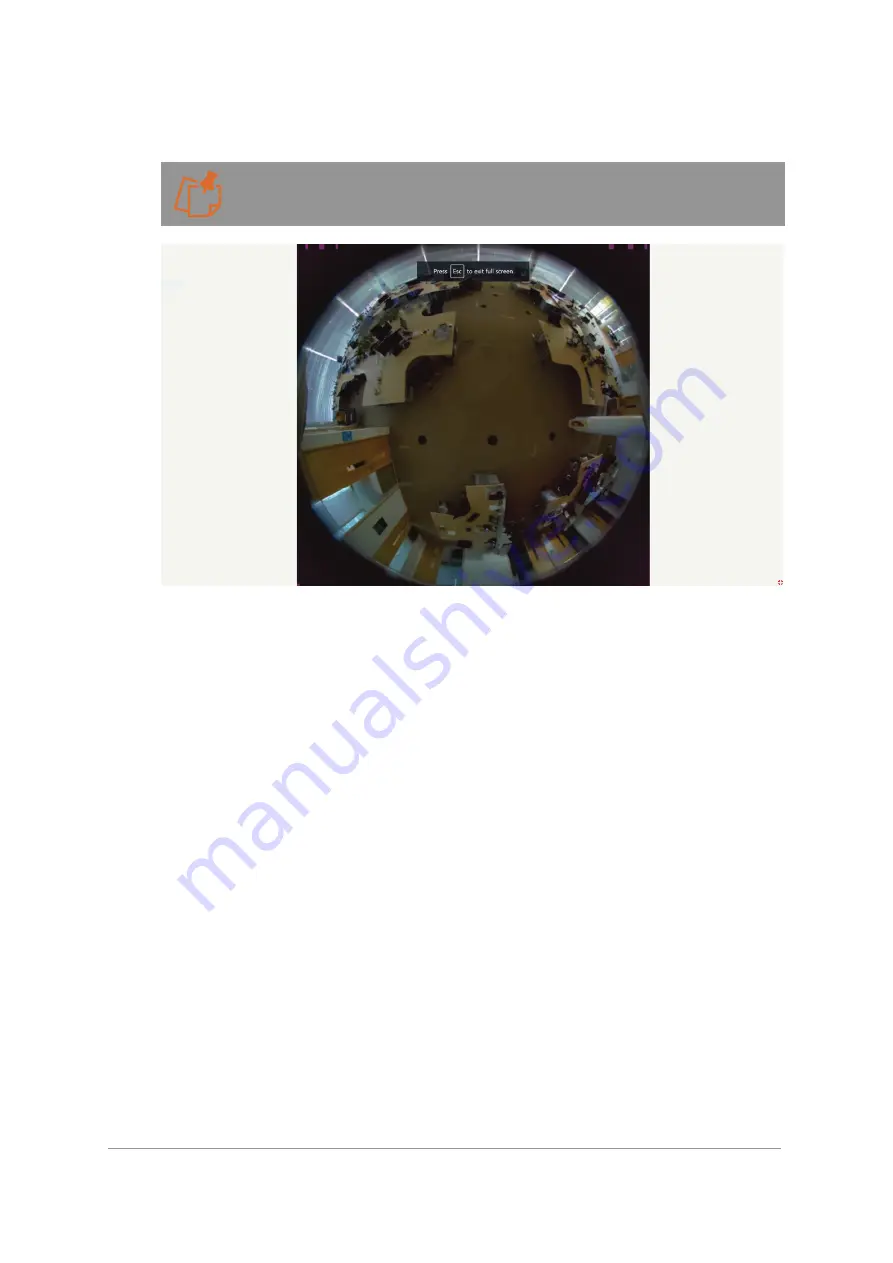
This stream is designed for test and configuration purposes and therefore will display a low-
resolution image of 512 x 512 only.
Figure 7 Dashboard Overview Fullscreen
2.1.1.2 Getting Started
To help easily navigate around the user interface, several tool bars and quick access links are
available. You will also notice that many of the settings have helpful hints displayed, with more
detailed information about the settings available if you hover over the information
(i)
icon. The
get started section in the dashboard briefly describes where to go to access important features
such as creating and editing streaming settings, adjusting image settings, and setting up
StreamLite Compression. There are also links to the Camera FAQ's and Set up instructions.
2.1.1.3 Camera Configuration Access
The Camera Web Interface is designed to be intuitive and easy to use. The left-hand
navigational bar has been created to provide quick access to all the main camera settings as
described below:
Device
- Identification, Date & Time, Support, Firmware update, Security and Licensing
Network
- Standard and Advanced network set up
Video/Audio
- Media Profiles for Streaming Video, Audio and Metadata, Image settings,
Overlays, Global Compression and Audio
Events
- Alarm rule creation based on event triggers
Recording
- Create, manage and search continuous and event recordings on the SD card
Motion
/
Analytics
- Create and configure analytic rules to run on the camera
Users
- User access control
Peripherals
- Input and output connections management on the camera (Plus version of
camera required)
2.1.1.4 Camera Information Bar


