Section 2 - Overview
Page 11
09/11/2008 REV 0.99
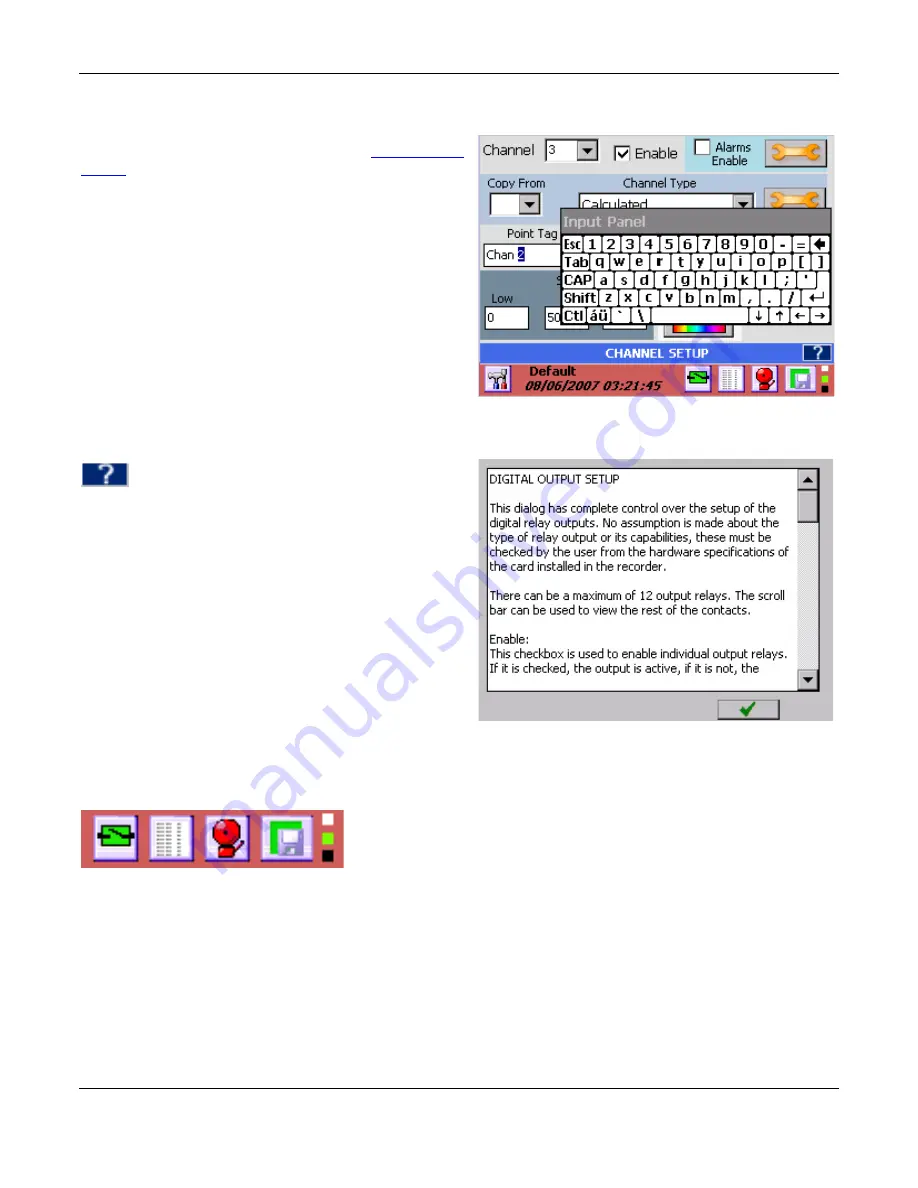
Figure 2-5 On-screen Keyboard
Figure 2-6 On-screen Help
Figure 2-7 Activity Lights
2.8
Keyboarding
While it is possible to connect a standard
keyboard and
mouse
to the recorder, one may not be readily available
in which case data is entered using the pop-up keyboard
as shown right.
When you enter a recorder setup screen where it is
necessary to type in data, the instant you tap the input
field box the keyboard pops up. Entry is made by tapping
the keys firmly with the stylus. As each key is pressed it
inverts its color. The
Shift
key allows a one time
uppercase letter to be entered and pressing the
CAP
key
will lock the keyboard in uppercase. The keyboard can be
moved by pressing in the gray area where it says
Input
Panel
and dragging it out the way in the event you need
to access an entry point behind the current location.
2.9
Help
Help is available on most set up screens by
tapping the help icon (shown left) on the right of
the blue name bar near the bottom of the screen
– see
Figure 2-5 above. This will bring up a help text file which
deals specifically with the subject at hand.
The scroll bar at the right of the screen can be used
to browse through the file.
Tap the DONE button to exit.
2.10
Activity Lights
At the bottom right of the display are three small square activity
„lights‟, the top one being white, the middle green
and the bottom black.
These have no purpos
e for the user other than “feel good” indicators to
indicate everything is working internally. The white block is the analog
subsystem activity and blinks at around 3 Hz. The green block indicates
internal data execution and the black block is the internal watchdog and
blinks at a rate around once every 3 seconds.
2.11
Security
The recorder has several levels of password to protect the various functions and prevent unauthorized access to
the unit. Access can also to limited access and control who can make changes, who can access and who can
administer the unit.


