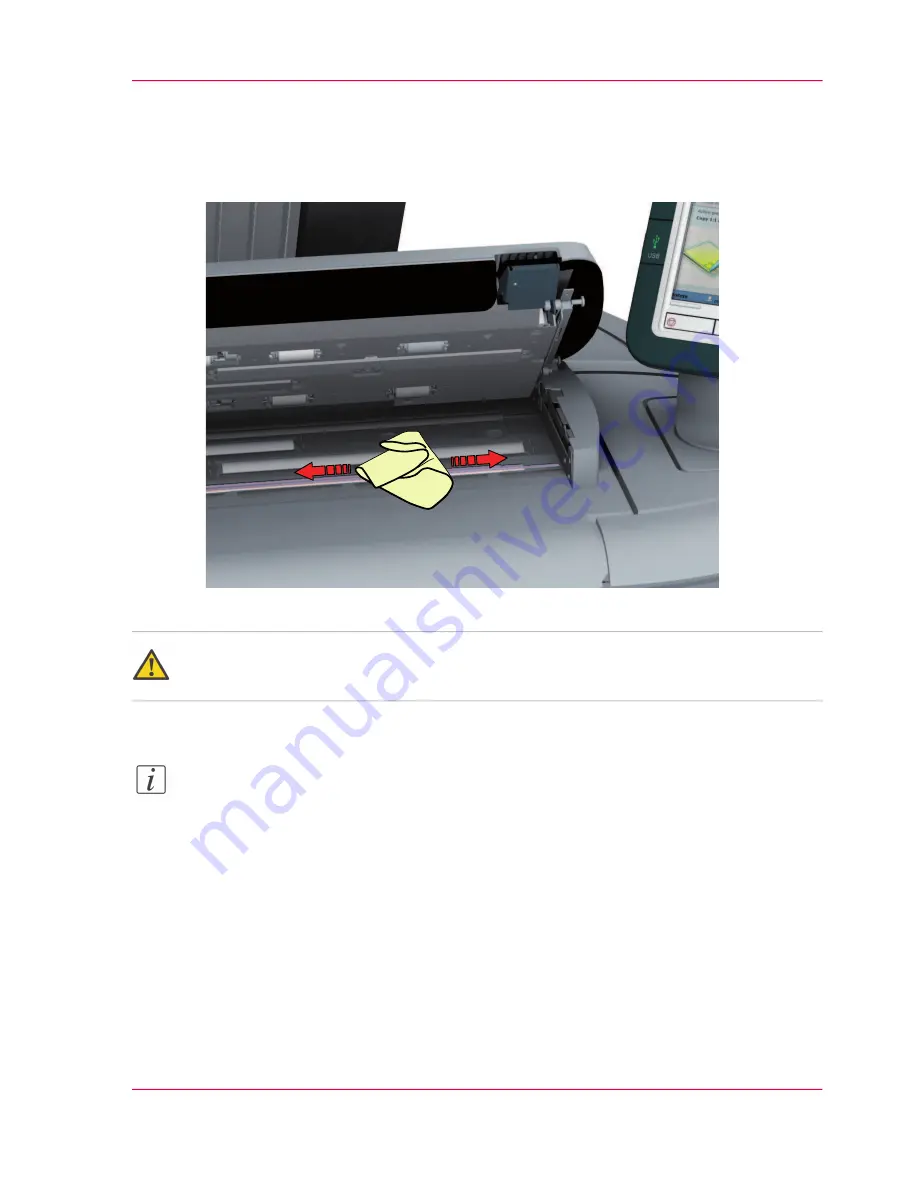
■
the original support rollers (6)
Rotate the rollers to clean them.
■
the transparent contact plates (9)
Wipe off any soiled areas.
3.
Wipe all the cleaned parts once again using a dry Masslin towel.
Caution:
Take care not to get your fingers caught in the scanner top cover.
4.
Press the scanner top cover down gently with both hands to close it.
Note:
Check that the left and right scanner open levers are locked into position.
Chapter 6 - Maintain the printing system
269
Clean the scanner
Summary of Contents for PlotWave 300
Page 1: ... o Océ Océ PlotWave 300 Join the next wave User manual Operating information ...
Page 9: ...Chapter 1 Introduction ...
Page 19: ...Chapter 2 Get to know the printing system ...
Page 37: ...Chapter 3 Quick start ...
Page 79: ...Chapter 4 Define your workflow with the Océ Express WebTools ...
Page 86: ... Pens Chapter 4 Define your workflow with the Océ Express WebTools 86 The Configuration tab ...
Page 147: ...Chapter 5 Use the printing system ...
Page 229: ...Chapter 6 Maintain the printing sys tem ...
Page 271: ...Chapter 7 Solve problems ...
Page 284: ...Chapter 7 Solve problems 284 Adjust the print density ...
Page 285: ...Chapter 8 License management ...
Page 297: ...Chapter 9 Account management ...
Page 306: ...Chapter 9 Account management 306 Enable account management in the Océ Express WebTools ...
Page 307: ...Appendix A Specifications of the Océ PlotWave 300 ...
Page 320: ...Appendix A Specifications of the Océ PlotWave 300 320 Preferred Océ media types and sizes ...
Page 321: ...Appendix B Reader s comment sheet ...
Page 324: ...Appendix B Reader s comment sheet 324 Reader s comment sheet ...
Page 325: ...Appendix C Addresses of local Océ organizations ...
Page 339: ... 1 ...


