Note:
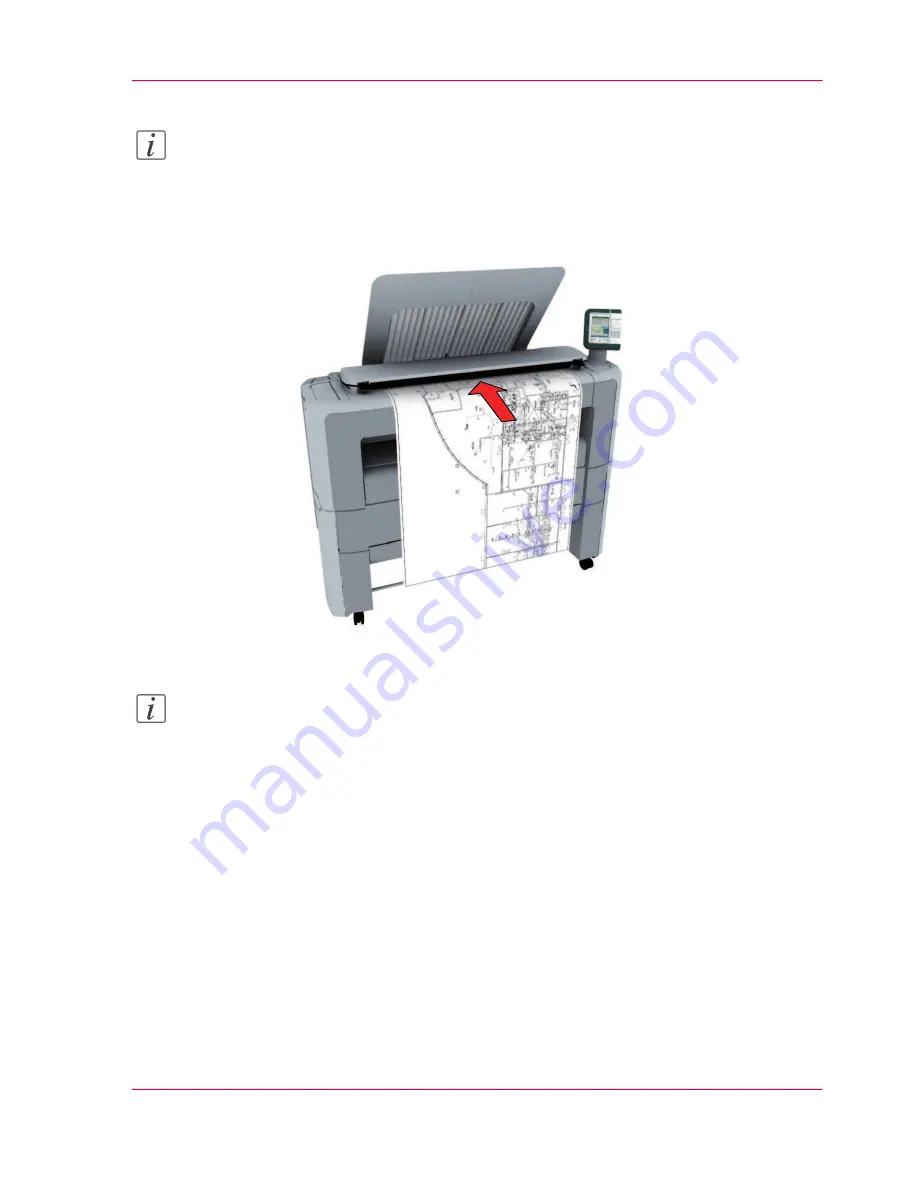
You do not need to center the original precisely when 'Width detect' is set to 'Auto'. The
exact position of the original is automatically detected by the scanner.
When 'Width detect' is set to 'Standard' or 'Custom', feed the original between the
markers or exactly centered.
2.
The scanner takes the original.
Note:
Depending on the selected 'Original release mode' in the Océ Express WebTools, the
scanner holds or releases the original after the scan procedure.
Chapter 5 - Use the printing system
207
Feed the original
Summary of Contents for PlotWave 300
Page 1: ... o Océ Océ PlotWave 300 Join the next wave User manual Operating information ...
Page 9: ...Chapter 1 Introduction ...
Page 19: ...Chapter 2 Get to know the printing system ...
Page 37: ...Chapter 3 Quick start ...
Page 79: ...Chapter 4 Define your workflow with the Océ Express WebTools ...
Page 86: ... Pens Chapter 4 Define your workflow with the Océ Express WebTools 86 The Configuration tab ...
Page 147: ...Chapter 5 Use the printing system ...
Page 229: ...Chapter 6 Maintain the printing sys tem ...
Page 271: ...Chapter 7 Solve problems ...
Page 284: ...Chapter 7 Solve problems 284 Adjust the print density ...
Page 285: ...Chapter 8 License management ...
Page 297: ...Chapter 9 Account management ...
Page 306: ...Chapter 9 Account management 306 Enable account management in the Océ Express WebTools ...
Page 307: ...Appendix A Specifications of the Océ PlotWave 300 ...
Page 320: ...Appendix A Specifications of the Océ PlotWave 300 320 Preferred Océ media types and sizes ...
Page 321: ...Appendix B Reader s comment sheet ...
Page 324: ...Appendix B Reader s comment sheet 324 Reader s comment sheet ...
Page 325: ...Appendix C Addresses of local Océ organizations ...
Page 339: ... 1 ...


