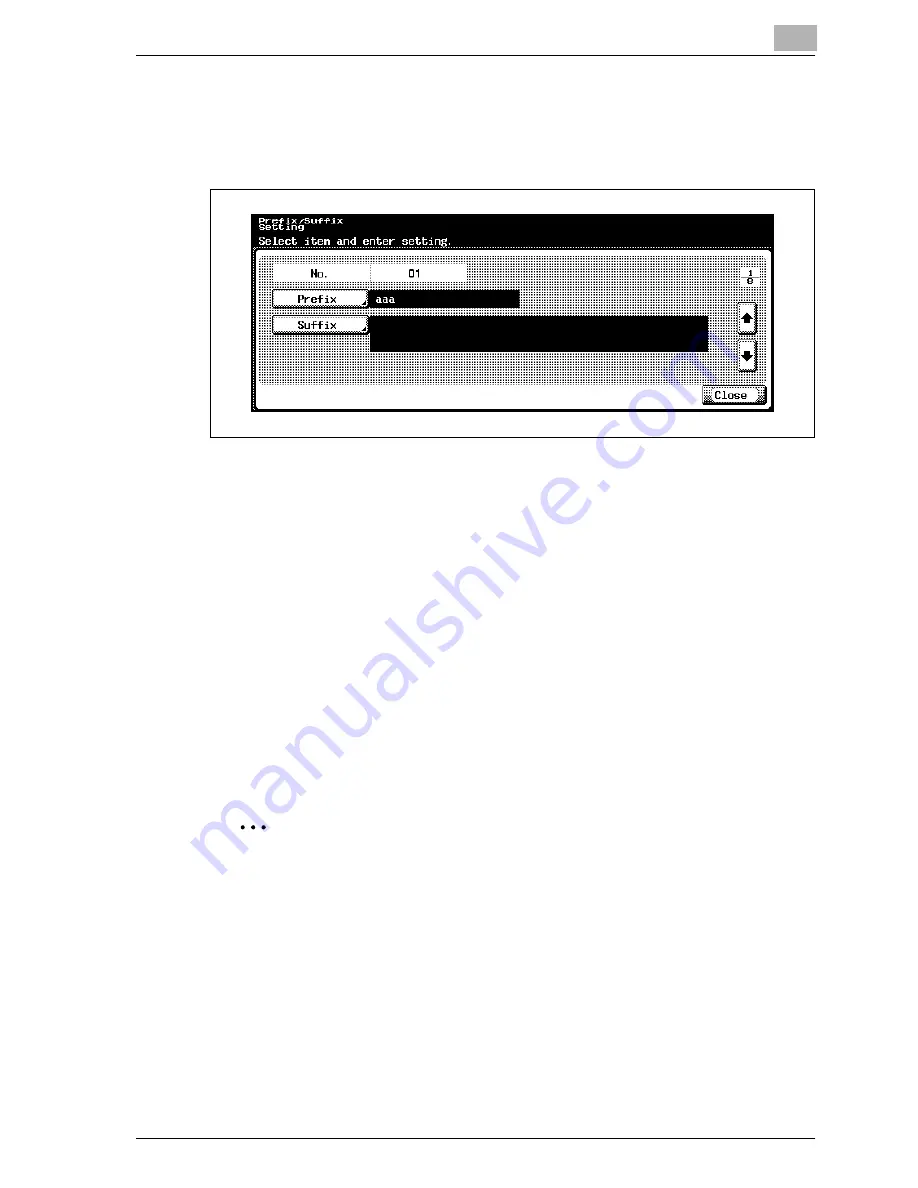
Specifying settings from the control panel
4
CS230 (Phase3)
4-145
4
Touch [OK].
–
To cancel changes to the setting, touch [Cancel].
The prefix is set.
5
Touch [Suffix].
The Suffix screen appears.
6
Enter the character string that is to be used as a suffix (up to 64
characters).
–
For the procedure to enter characters, refer to "Entering text" on
page 7-6.
7
Touch [OK].
–
To cancel changes to the setting, touch [Cancel].
The suffix is set.
8
Touch [Close].
2
Note
When [Administrator Setting] - [System Connection] - [Fax Server Setting]
is enabled, register the address to be added to the fax number in "01" of
"No.".
For the address to be registered, refer to instruction manual of the fax
server.
Summary of Contents for CS230
Page 1: ...Oc CS230 Phase 3 User s Guide Network Scanner...
Page 13: ...1 Introduction...
Page 14: ......
Page 26: ...1 Introduction 1 14 CS230 Phase3...
Page 27: ...2 Before using the scan functions...
Page 28: ......
Page 42: ...2 Before using the scan functions 2 16 CS230 Phase3...
Page 43: ...3 Scanning documents...
Page 44: ......
Page 125: ...Scanning documents 3 CS230 Phase3 3 83 4 Touch Yes to delete the job 5 Touch Close...
Page 131: ...4 Specifying settings from the control panel...
Page 132: ......
Page 303: ...5 Specifying settings Using Web Connection...
Page 304: ......
Page 392: ...5 Specifying settings Using Web Connection 5 90 CS230 Phase3 TCP IP Specify TCP IP settings...
Page 402: ...5 Specifying settings Using Web Connection 5 100 CS230 Phase3 5 24 SNMP Specify SNMP settings...
Page 412: ...5 Specifying settings Using Web Connection 5 110 CS230 Phase3 4 Specify the desired settings...
Page 441: ...6 Scan function troubleshooting...
Page 442: ......
Page 444: ...6 Scan function troubleshooting 6 4 CS230 Phase3...
Page 445: ...7 Appendix...
Page 446: ......


