


Security Settings
41
Broadband ADSL2+ Modem DM111PSPv2
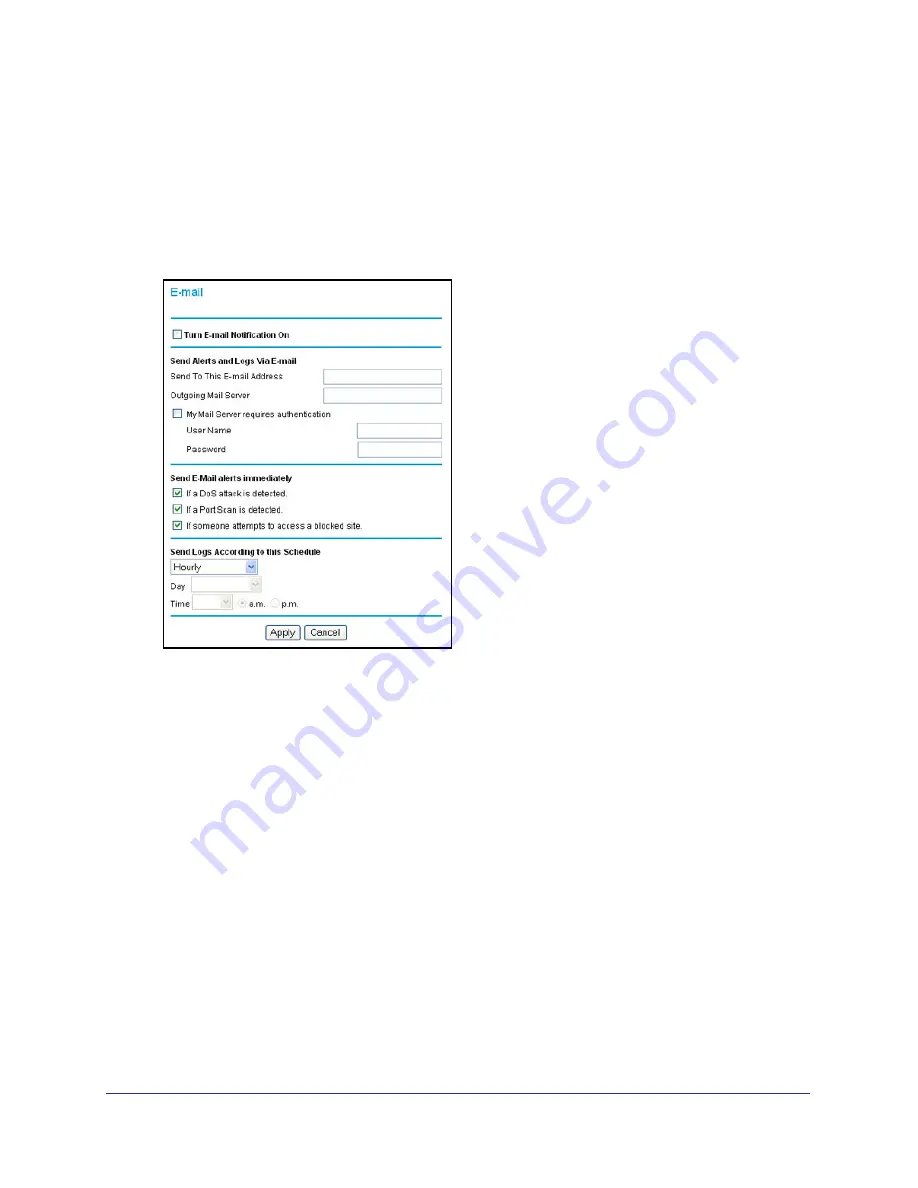
Enable Security Event Email Notification
To receive logs and alerts by email, provide your email information in the Email screen and
specify which alerts you want to receive and how often.
To enable email notification:
1.
Select
Security >
to display the following screen:
2.
Fill in the fields as follows:
Turn E-mail Notification On
. Select this check box if you want to receive email logs and
alerts from the modem.
Send To This E-mail Address
. Enter the email address where you want logs and alerts
sent. This email address is also used as the From address. If you leave this field blank,
log and alert messages are not sent by email.
Outgoing Mail Server
. Enter the name or IP address of your ISP’s outgoing (SMTP) mail
server (such as mail.myISP.com). You might be able to find this information in the
configuration settings of your email program. Enter the email address to which logs and
alerts are sent. This email address is also used as the From address. If you leave this
field blank, log and alert messages are not sent by email.
My Mail Server requires authentication
. If you use an outgoing mail server provided by
your current ISP, you do not need to select this field. If you use an email account that is
not provided by your ISP, select this field, and enter the required user name and
password information.
Send E-Mail alerts immediately
.
Select the corresponding check box if you would like
immediate notification of a significant security event, such as a known attack, port scan,
or attempted access to a blocked site.


