7/33
SI 72
4.4 Other job menu
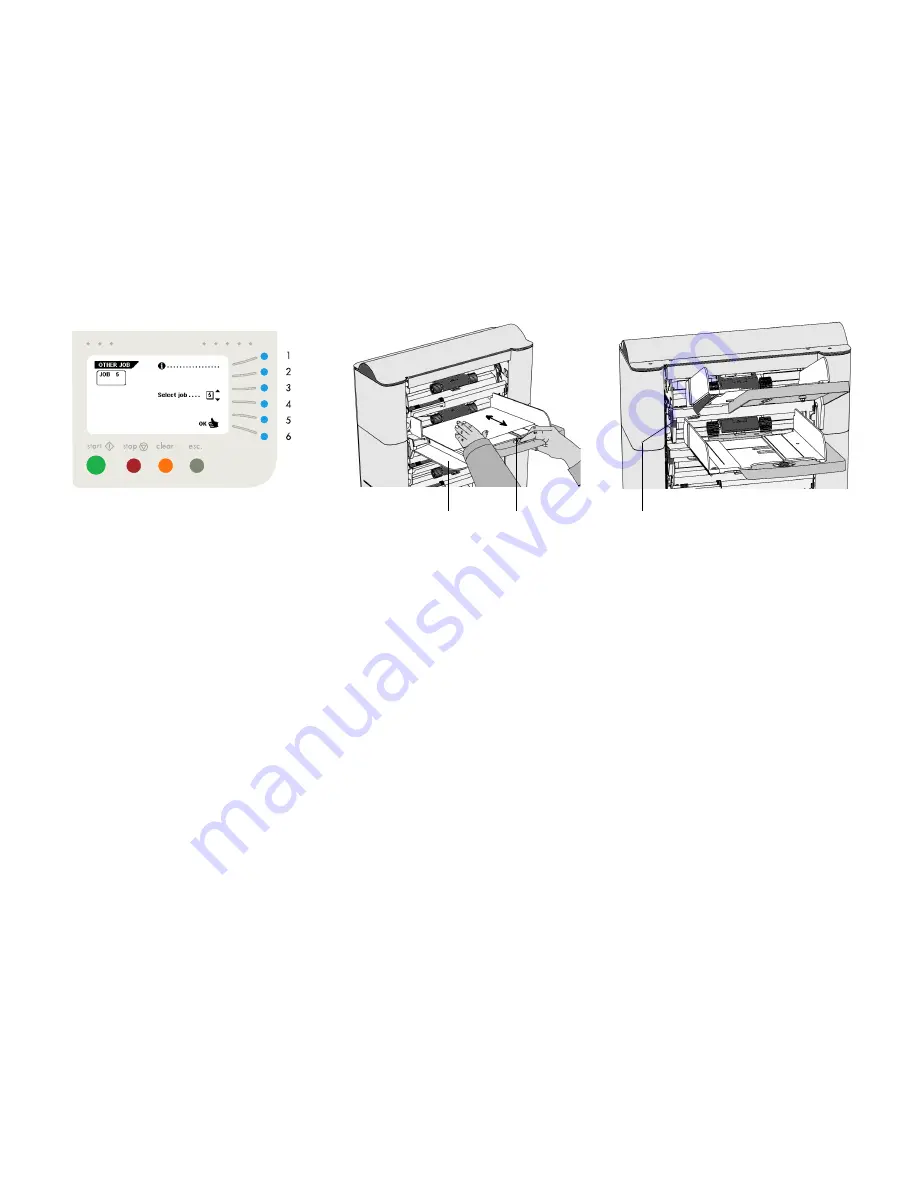
After pressing key 2 in the “main menu (1)”, the display
shows the “other job” menu (see fig. 11). The
“other job” menu shows the following functions:
• job information (key 1) (see section 4.3),
• select a higher job number (key 3),
• select a lower job number (key 4),
• select the desired job and confirm with “OK” (key 6)
which will get you back to the “main menu (1)”.
Only programmed jobs can be selected (maximum of 9
jobs).
Fig. 11
4.5 ADJUSTMENT OF THE DOCUMENT HOPPER
4.5.1 Document separation
The document separation for the automatic feeders is set
automatically. There are no manual adjustments needed.
The document separation for special feeders must be
adjusted manually as follows:
• push the knob A (fig. 12) forward until it clicks,
• open the left side guide B (fig. 12) by turning it
downwards,
• place a document on the feeding tray and slide it about
60 mm (2.4 inch) into the machine (turn the knob A
counter clockwise if the separation is set to narrow),
• push the document between the rollers,
• turn the knob A clockwise to get more resistance or
counter clockwise to lower the resistance.
The separation is adjusted correctly when a slight
resistance is felt on the document.
Pull the knob A (fig. 12) back again when ready. Close the
left side guide upwards.
Fig. 12
4.5.2 Side guides
To adjust the side guides it is best to remove the document
feeding tray from the feeder as follows:
• push handle A (fig. 13) downwards,
• lift the document feeding tray upwards to unhook it and
then pull it out from the feeder,
(Continued on the next page).
Fig. 13
B
A
A
Key


