15/33
SI 72
5. JOBS
For an overview of the complete “create” or “edit job”
menu structure, see page 23.
5.1 Job menu
After pressing key 4 in the “main menu (2)”
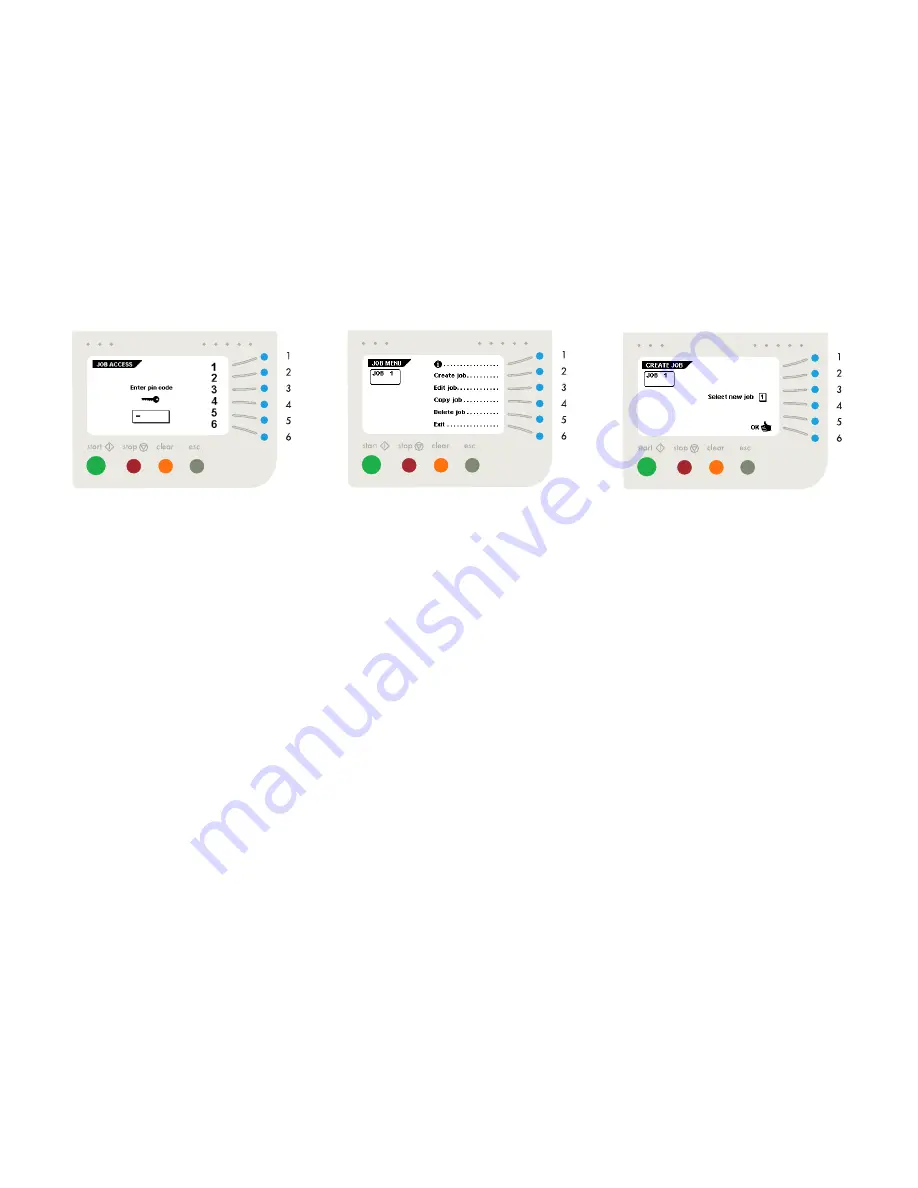
(fig. 9 on page 6), the display shows the “job access”
screen and asks for a pin code to enter (fig. 29).
Enter the pin code with the keys 1 through 6.
When the wrong pin code is entered, the cursor is set to
the first number to try again.
After 3 times entering the wrong pin code the display
shows the “main menu (2)” again.
Fig. 29
When a correct pin code is entered, the display shows the
“job menu” as shown in fig. 30. The “job menu” shows the
following functions:
• job information (key 1),
• create a job (key 2),
• edit a job (key 3),
• copy a job (key 4),
• delete a job (key 5),
• exit and go back to the “main menu (2)” (key 6).
The escape key will get you back to the previous menu.
Fig. 30
5.2 Create job menu
After pressing key 2 in the “job menu” the display will
show the “create job” menu as shown in fig. 31. If all jobs
are programmed the display shows “No more free jobs”.
The “create job” menu shows the following functions:
• choose a higher free job number (key 3),
• choose a lower free job number (key 4),
The display will start with the lowest free job number
available. Job numbers already programmed or job
numbers locked by service personnel will not be shown.
• select the desired job and confirm with “OK” (key 6)
which will get you to the “job settings” menu. All job
settings are described in chapter 6, starting on page
17.
A new selected job number starts with default settings.
Fig. 31
Key
Key
Key


