


SECTION 3
OPERATING THE SYSTEM
46
USER GUIDE
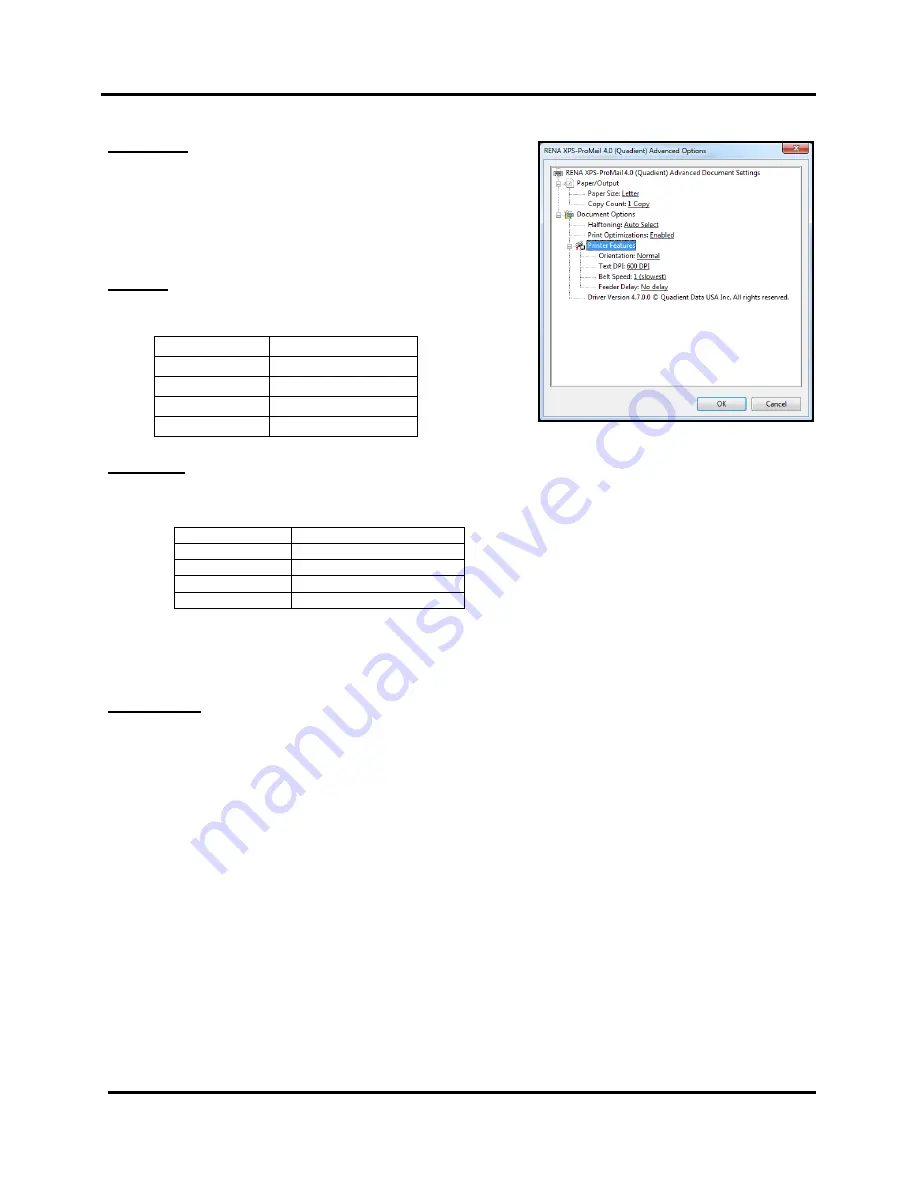
Printer Features
Orientation:
Provides the ability to rotate the printed output by
180 degrees. Normal (up-side-down to operator),
Reverse (right-side-up to operator).
NOTE
: If you change from Normal to Reverse; the data that
was being printed with cartridge 1 will now be printed with
cartridge 6 (ProMail 3.0) or cartridge 8 (ProMail 4.0), or vice
versa.
Text DPI:
Sets
resolution
of print quality. Changing
resolution
to a higher number (
e.g. 200 DPI to 600 DPI
)
increases image quality.
Belt Speed:
Sets the media transport speed. 1 = slowest. 4 = highest
Important!
You must select a Belt Speed that is compatible with the current Print Quality
(Text DPI) selection as follows.
Selection (DPI)
Compatible Belt Speeds
150
1, 2, 3, 4
200
1, 2, 3
300
1, 2
600
1 (slowest)
NOTICE!
Image distortion and printer issues will occur if you select a belt speed that is not
compatible with the print quality (Text DPI) selection.
Feeder Delay:
No delay, 0.10 Seconds, 0.20 Seconds…… up to 60 Seconds.
Lets you select a delay between each piece that is printed. Can be used to provide additional dry time,
before the next piece is printed and ejected.
How to Apply Driver Selections as Default:
Driver selections, made from the software application, are NOT saved as default. In this case; driver
changes/selections are lost as soon as you close the software application.
If you want certain driver selections to become your “default” selections when you open your software
application:
1. Set your desired driver as the “default” driver. From the “Devices and Printers” folder; right-click
on the desired driver and select “Set as default printer”.
2. Make your desired driver changes/selections from the “Devices and Printers” folder.
From the “Devices and Printers” folder; right-click on the desired driver and select “printer
preferences”. Then click on the “Advanced” button. Make your desired selections/changes to the
driver then click on “Apply”.
3. If your software application is already open; close and reopen the application. Your software
application will now open with the “default” driver selections that were just made within the
“Devices and Printers” folder.
Selection (DPI)
Resolution
150
600 x 150 DPI
200
600 x 200 DPI
300
600 x 300 DPI
600
600 x 600 DPI
Summary of Contents for RENA XPS-ProMail 3.0
Page 6: ...TABLE OF CONTENTS 6 USER GUIDE Notes...
Page 14: ...SECTION 1 GETTING ACQUAINTED 14 USER GUIDE Notes...
Page 36: ...SECTION 2 SETTING UP THE SYSTEM 36 USER GUIDE Notes...
Page 48: ...SECTION 3 OPERATING THE SYSTEM 48 USER GUIDE Notes...
Page 56: ...SECTION 4 MAINTENANCE 56 USER GUIDE Notes...
Page 65: ...SECTION 5 TROUBLESHOOTING 65 USER GUIDE Notes...
Page 72: ...Appendix 72 USER GUIDE Notes...
Page 74: ......
Page 76: ...Rev 03 2018...


