System Configuration and Setup 2-21
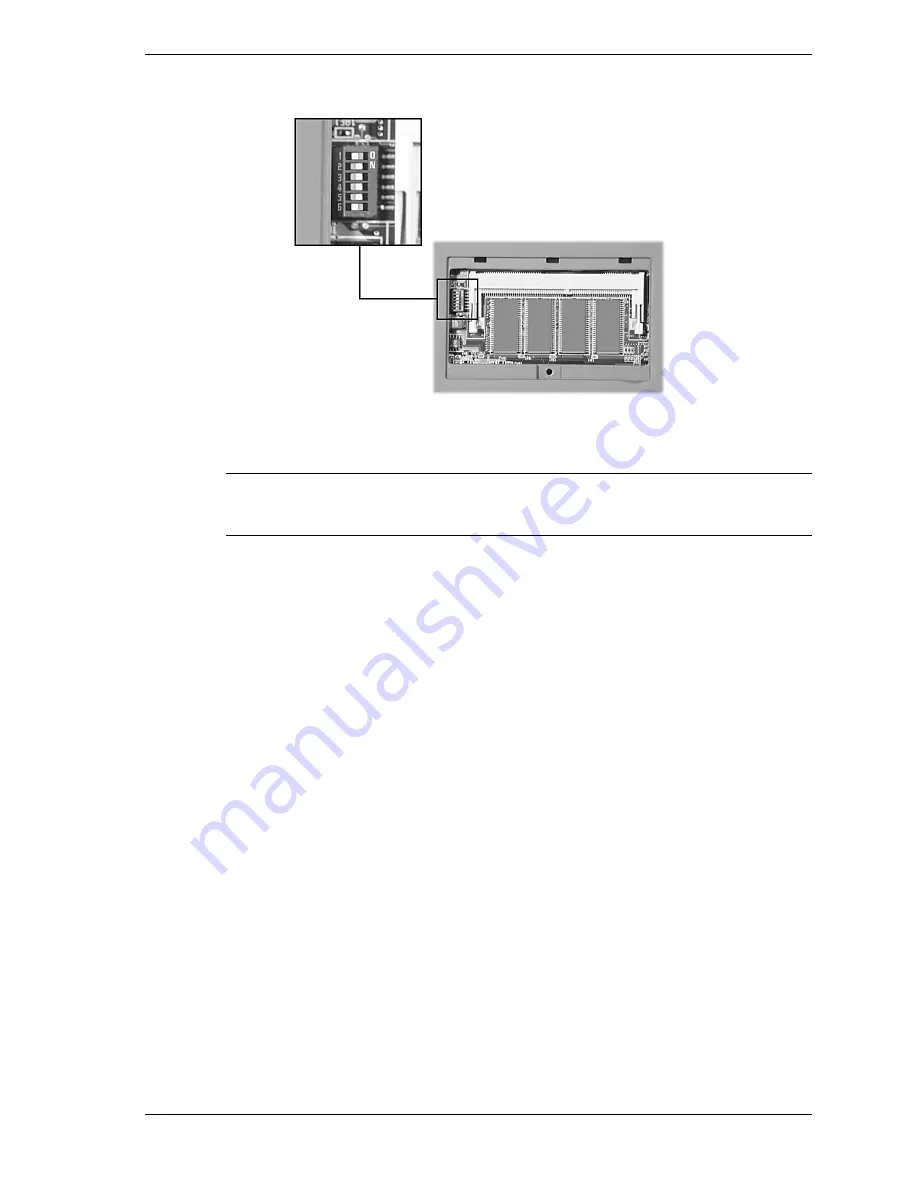
BIOS flash switch enabled
Dip switches 2, 3, 4, and 5 set to “On
Note
The system memory expansion slots are also located here. Therefore, if you need to
install/replace SO-DIMM modules, you might want to do so while the system is already
disassembled.
5.
Replace the memory module bay cover and screw.
6.
Turn over the system.
7.
Follow the instructions later in this chapter, “Performing the BIOS Update.”
Performing the BIOS Update
Follow these steps to perform the BIOS update.
1.
Make sure that the computer is operating under AC power and that the power is off. Insert
the BIOS Update diskette into the floppy diskette drive.
2.
Power on the computer with the diskette in the floppy diskette drive. The computer boots
and automatically loads the utility. Read the message that displays and follow the
instructions.
3.
Press
Enter
to continue.
The utility checks the currently installed BIOS version and the diskette’s BIOS version. The
Main menu appears.
4.
Use the arrow keys to highlight the “Display BIOS Version” option on the Main Menu. Use
this option to check the currently installed BIOS version and the version of the new
replacement BIOS.
Press any key to return to the Main menu.
5.
Highlight the “Install New BIOS” option and press
Enter
.
6.
Press
Y
and then press
Enter
. After a brief pause, a message appears telling you to remove
the diskette from the floppy drive.
7.
Remove the diskette and press any key to continue. The utility updates the BIOS.
Summary of Contents for VERSA FXI
Page 44: ...3 Disassembly and Reassembly Required Tools and Equipment Disassembly Reassembly...
Page 65: ...4 4 System Board Layout Mini PCI LAN A Connector P1...
Page 66: ...5 Illustrated Parts Breakdown Illustrated Parts Breakdown Parts List...
Page 67: ...5 2 Illustrated Parts Breakdown Illustrated Parts Breakdown...
Page 74: ...7 Troubleshooting Quick Troubleshooting Helpful Questions...
Page 81: ...9 Specifications System Components Connector Locations Memory Map Interrupt Controllers...


