34
Installation Procedure
Install the blade assembly unit on the rack. If using a non-NEC rack, confirm that it complies with
the EIA standard and is designed for installing a blade assembly unit. For details, contact your
service representative.
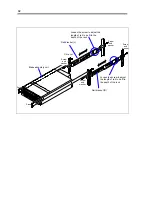
Install the blade assembly unit on the rack in the following procedure.
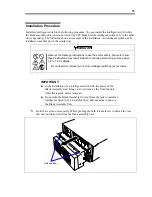
Check the possible installation positions
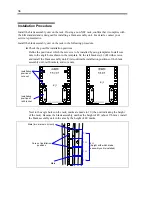
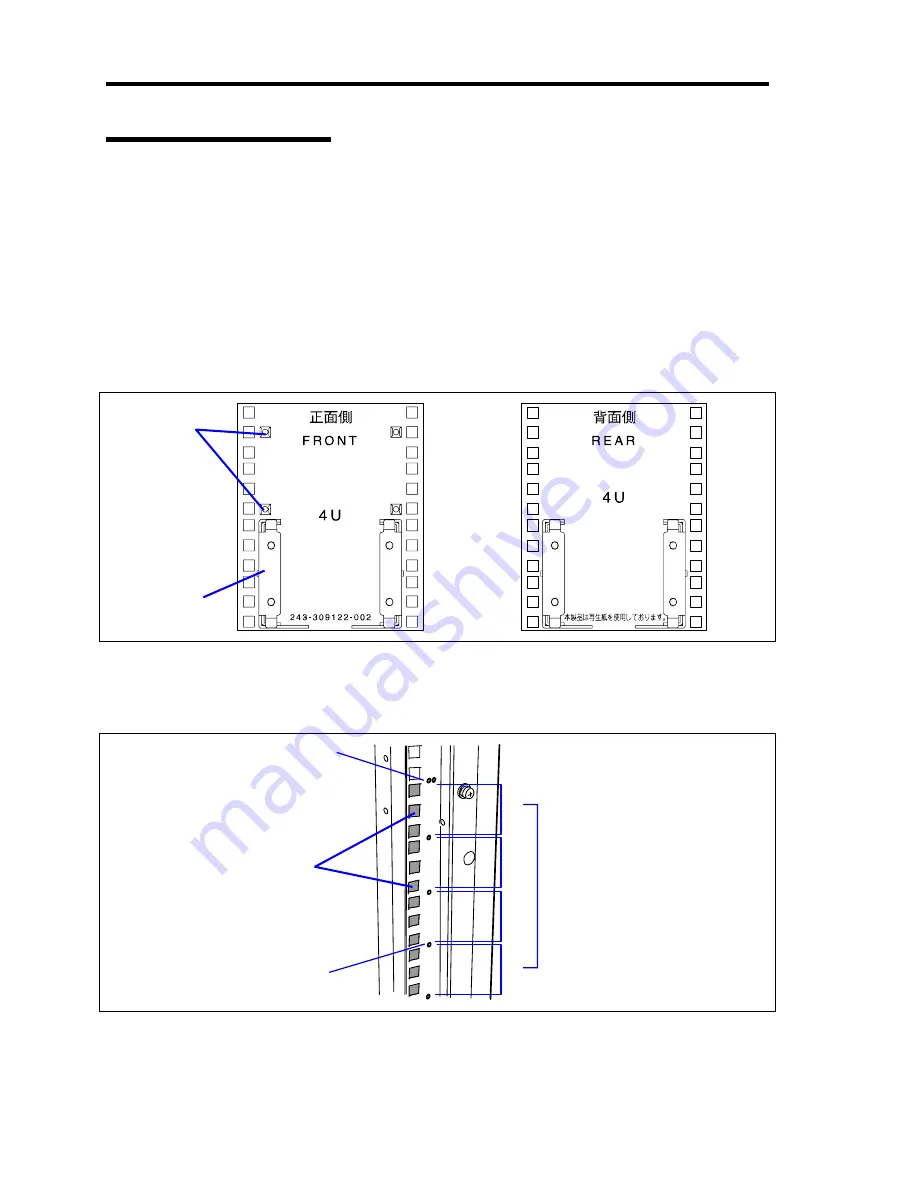
Define the position at which the server is to be installed by using templates. Install core
nuts to the angle holes shown in the template, fix the rail brackets (L)/(R) with screws,
and install the blade assembly unit. First confirm the installation positions of the blade
assembly unit, rail brackets, and core nuts.
Installation
position of
core nut
Installation
position of
rail bracket
Next to the angle holes on the rack, marks are made in 1U (the unit indicating the height
of the rack). Because the blade assembly unit has the height of 4U (about 176 mm), install
the blade assembly unit in the area by the height of 4U marks.
Mark (two marks in 5U unit)
Mark
1U
1U
1U
1U
Core nut installation
positions
4U
(height with which blade
assembly unit is installed)

