4-43
Disk Image Backup and Recovery Tool
Running the Recovery Tool
Starting the Recovery Tool
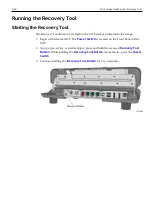
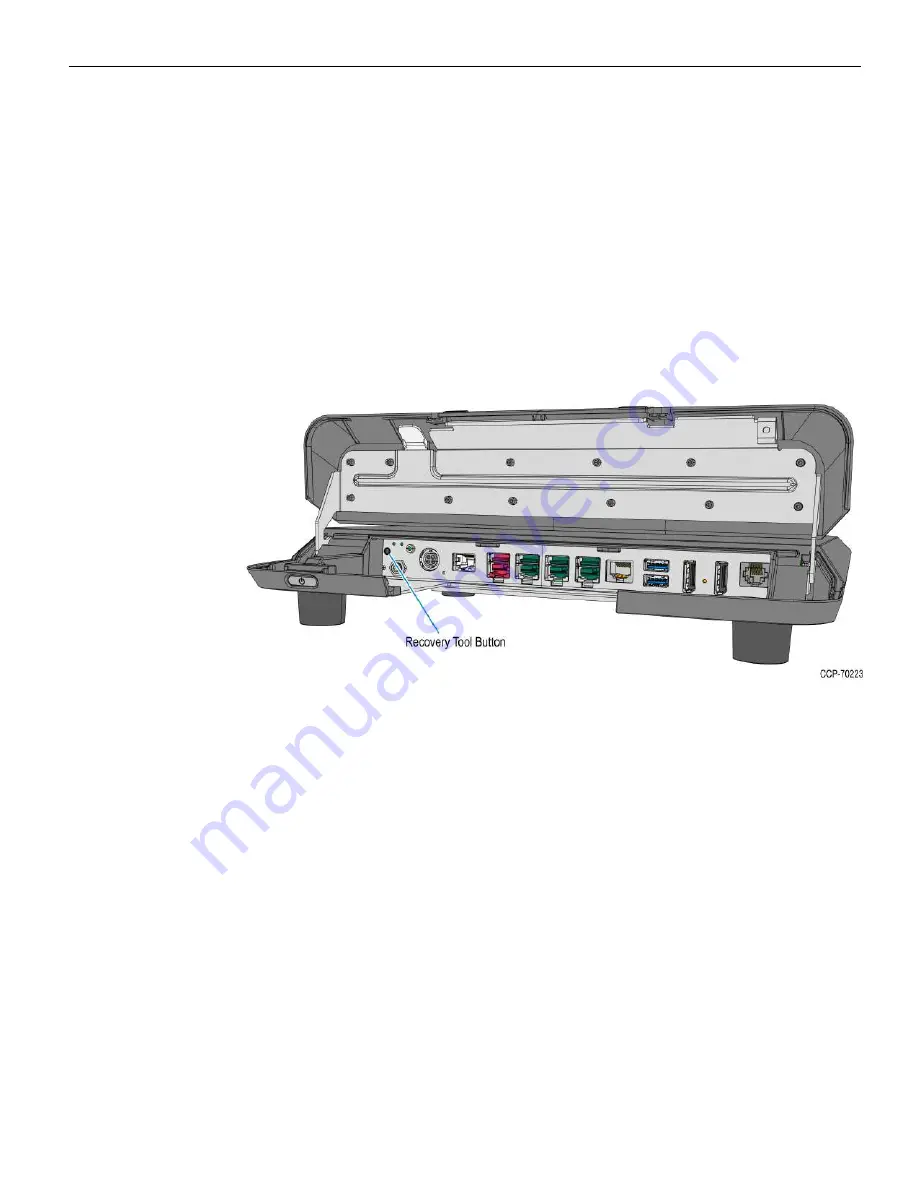
The Recovery Tool Button is located on the I/O Panel, as indicated in the image.
1. Begin with terminal OFF. The
Power Switch
is located on the Front Panel of the
POS.
2. Using a pen, stylus, or similar object, press and hold the recessed
Recovery Tool
Button
. While holding the
Recovery Tool Button
momentarily, press the
Power
Switch
.
3. Continue holding the
Recovery Tool Button
for 5 to 6 seconds.
Summary of Contents for XR3 (7613)
Page 1: ...User Guide NCR RealPOS XR3 7613 Release 1 0 BCC5 0000 5154 Issue B...
Page 13: ...xi...
Page 20: ...Product Overview 1 7 Label Locations...
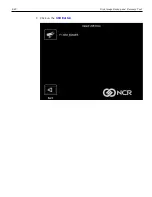
Page 62: ...4 49 Disk Image Backup and Recovery Tool 2 Click on the USB Button...
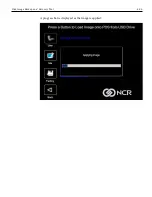
Page 69: ...Disk Image Backup and Recovery Tool 4 56 A progress bar is displayed as the image is applied...
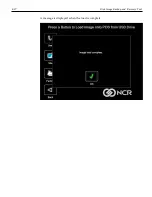
Page 70: ...4 57 Disk Image Backup and Recovery Tool A message is displayed when the load is complete...
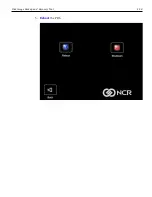
Page 71: ...Disk Image Backup and Recovery Tool 4 58 5 Reboot the POS...
Page 82: ...5 69 Power Management 2 Select Network Adapters Realtek PCIe GBE Family Controller 2...
Page 98: ...7 85 BIOS Updating Procedure 5 Select Make Bootable...
Page 124: ...2x20 Customer Display Interface 9 111 245 246 247 248 249 250 251 252 253 254 255...
Page 132: ...2x20 Customer Display Interface 9 119 245 246 247 248 249 250 251 252 253 254 255...
Page 140: ...2x20 Customer Display Interface 9 127 245 246 247 248 249 250 251 252 253 254 255...
Page 144: ...10 131 Wireless Adapter Switching 6 Select Create a new package OK...
Page 151: ...B 138 Touch Screen Calibration Do NOT touch the bezel with your other fingers...

